HOW TO REFRESH A PANTRY
Have you had a nice summer? Me too!!! It was so fun and we accomplished so many projects like updating our kitchen island, reorganizing all of my spices and refreshing my pantry! In fact it turned into a whole farmhouse pantry makeover! You see we live in this 100 year lil’ ol’ farmhouse that’s so much more like a cottage. Well, it has this adorable pantry in the kitchen that’s original to the house. However, it’s a bit small.
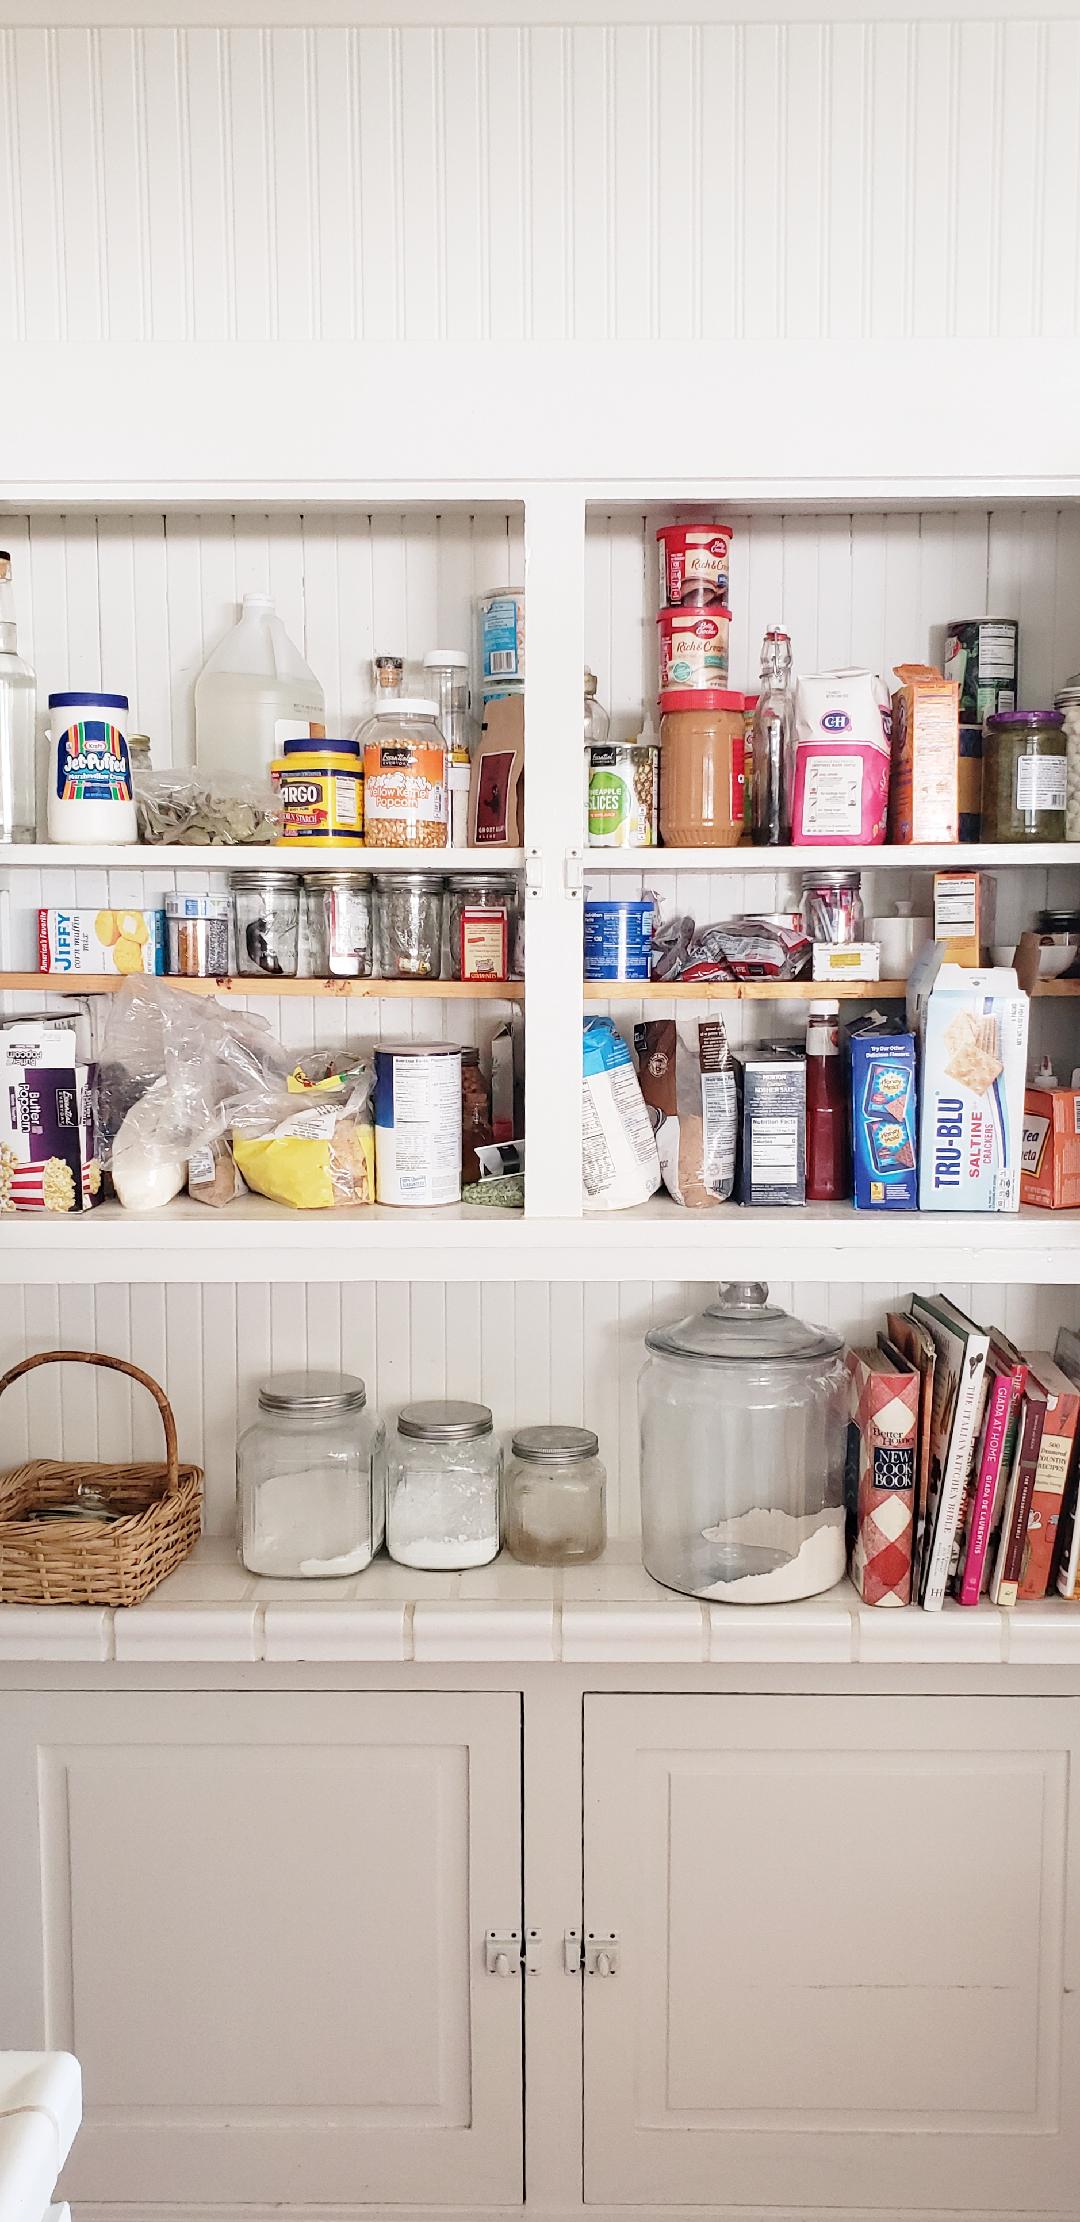
So as I put things away in it, like all the things we eat – you know pasta, crackers, things to bake cookies with, it was so very cramped. Cramped and unorganized, and frankly, things were like almost falling out. Hey, what can I say. I love to cook.
That’s when I decided to refresh, redo, and reorganize this tight space to make it more efficient. That’s always a fun thing to do! However, often the problem you face when you decide to tackle a new project is where to begin.
Well, I’m here to give you the low down on everything I did so you can makeover your pantry farmhouse style if you’ve been longing to do it too! And I have to say, it was not very daunting at all, especially once I got started.
LET’S GET STARTED
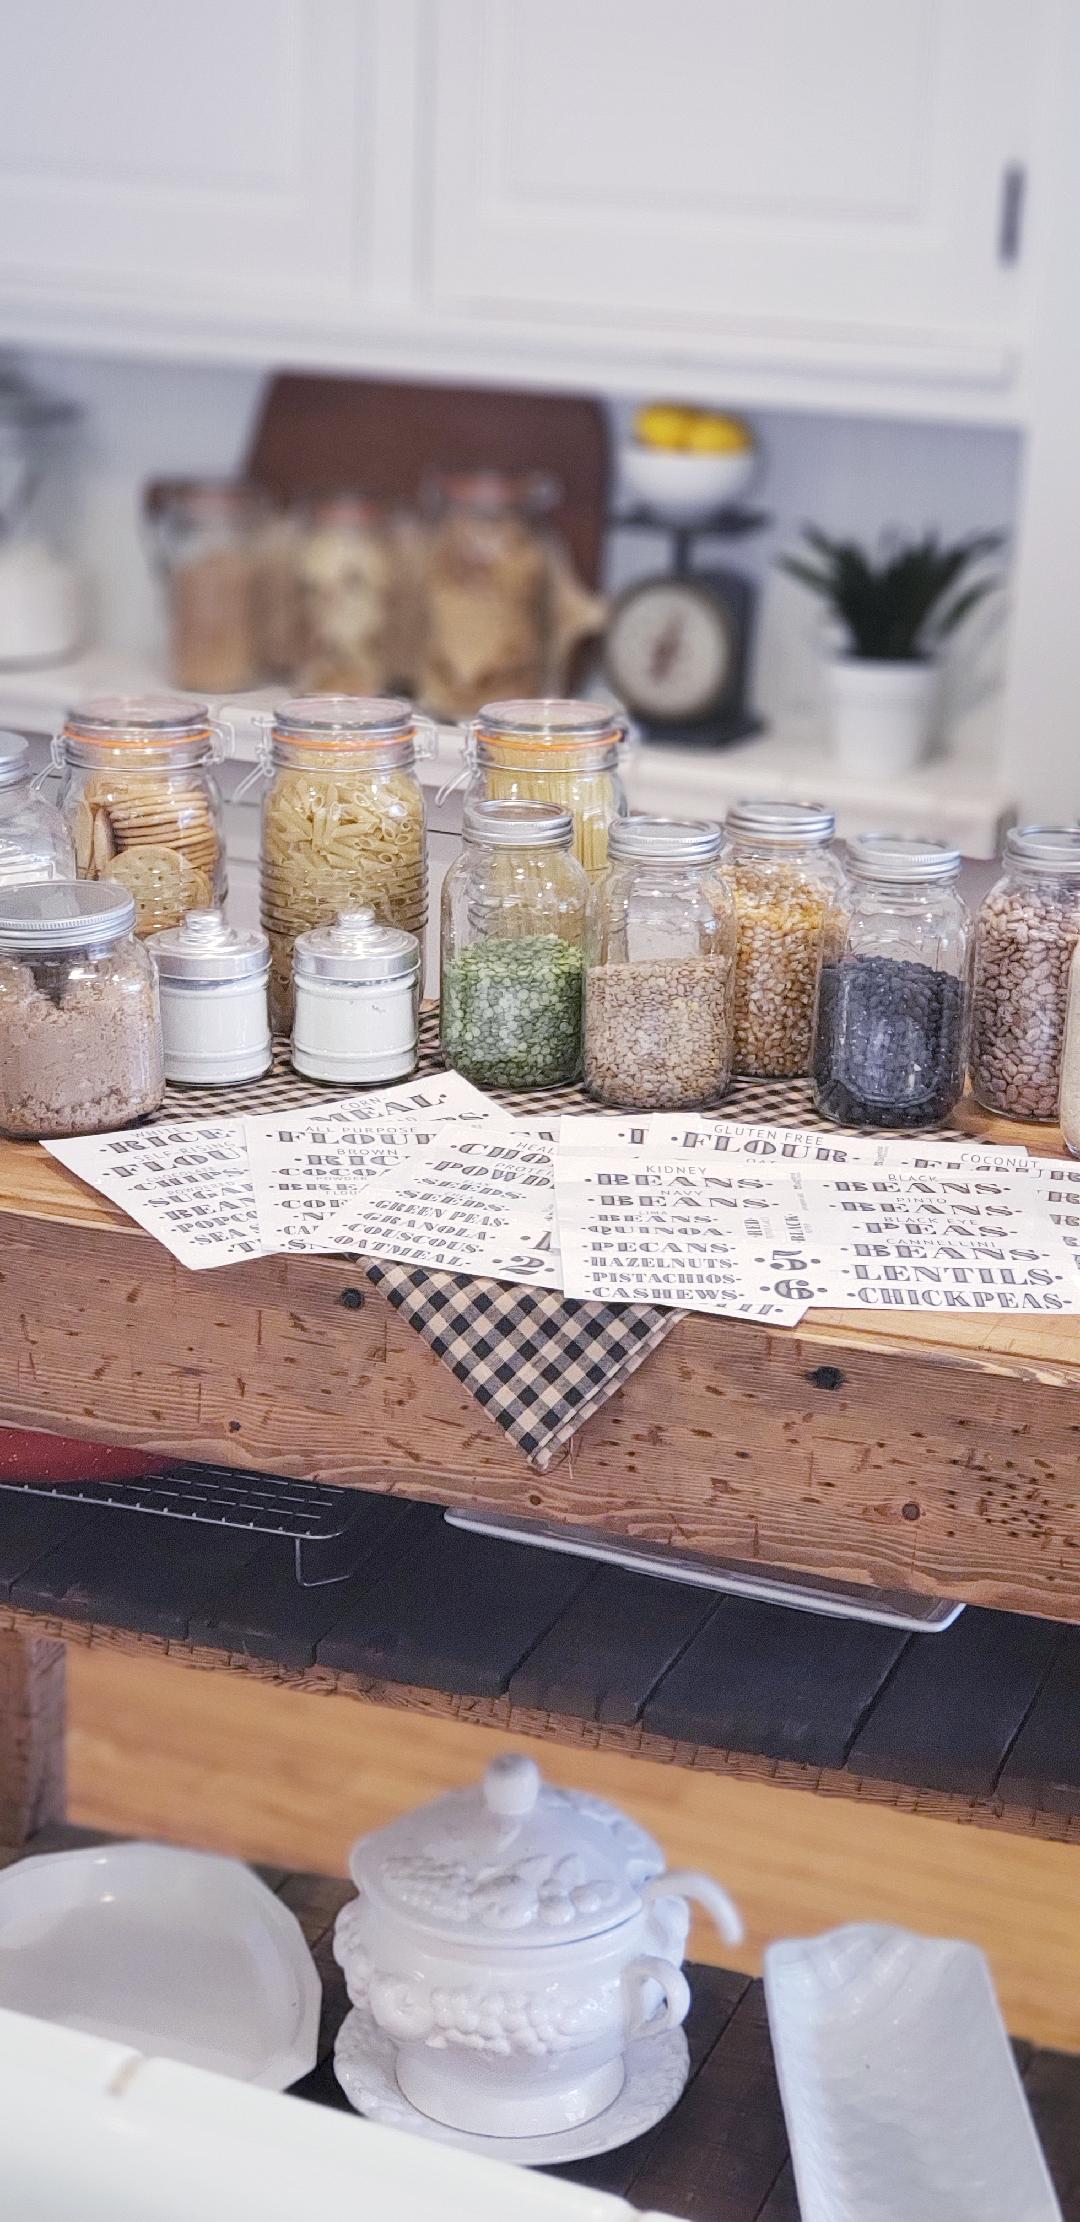
First things first, I suggest you take everything out and put it on a counter or table so you can go through it all. Because I mean, really, do we need all of this stuff? I think not. Some things in here were half open bags, too many expired things and frankly, many things I just don’t use. Do you also buy something for a recipe and only use a bit of it? Then it’s hanging around like a wall flower that nobody wants to dance with any more? Poor thing.
I went through it all and decided if it was a keeper or a sleeper. Keepers would make the cut to stay on the table, soon to go back into the pantry. Sleepers on the other hand were given a farewell and put to rest in the trash. Buh Bye.
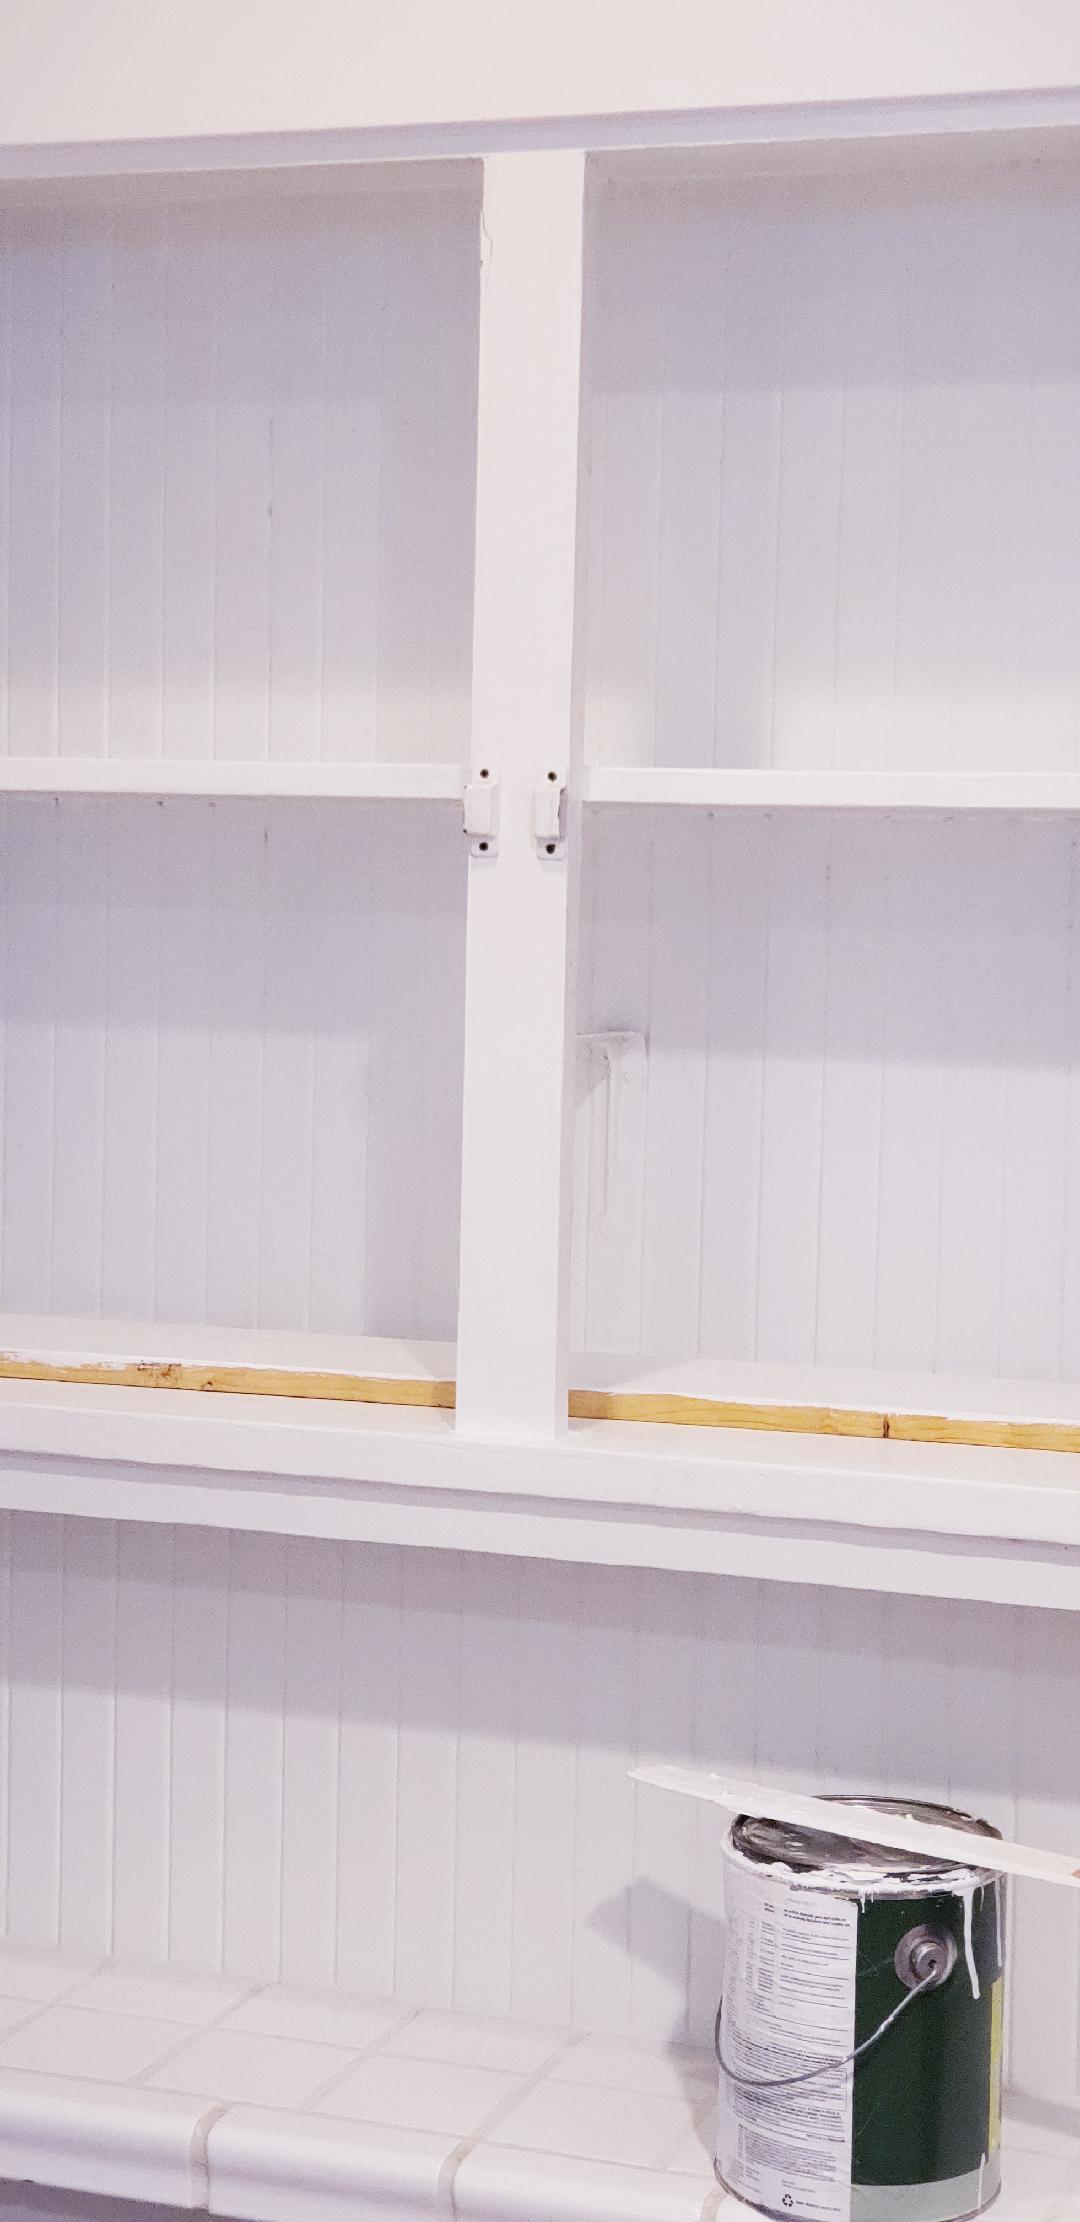
Now onto cleaning out the pantry by washing it all out and I even went as far as giving it a fresh coat of paint. After it was all clean, crisp, and white, I decided upon the containers I would use. Clear jars with clear labels were the perfect solution to what I wanted, to see everything easily so I know what I have.
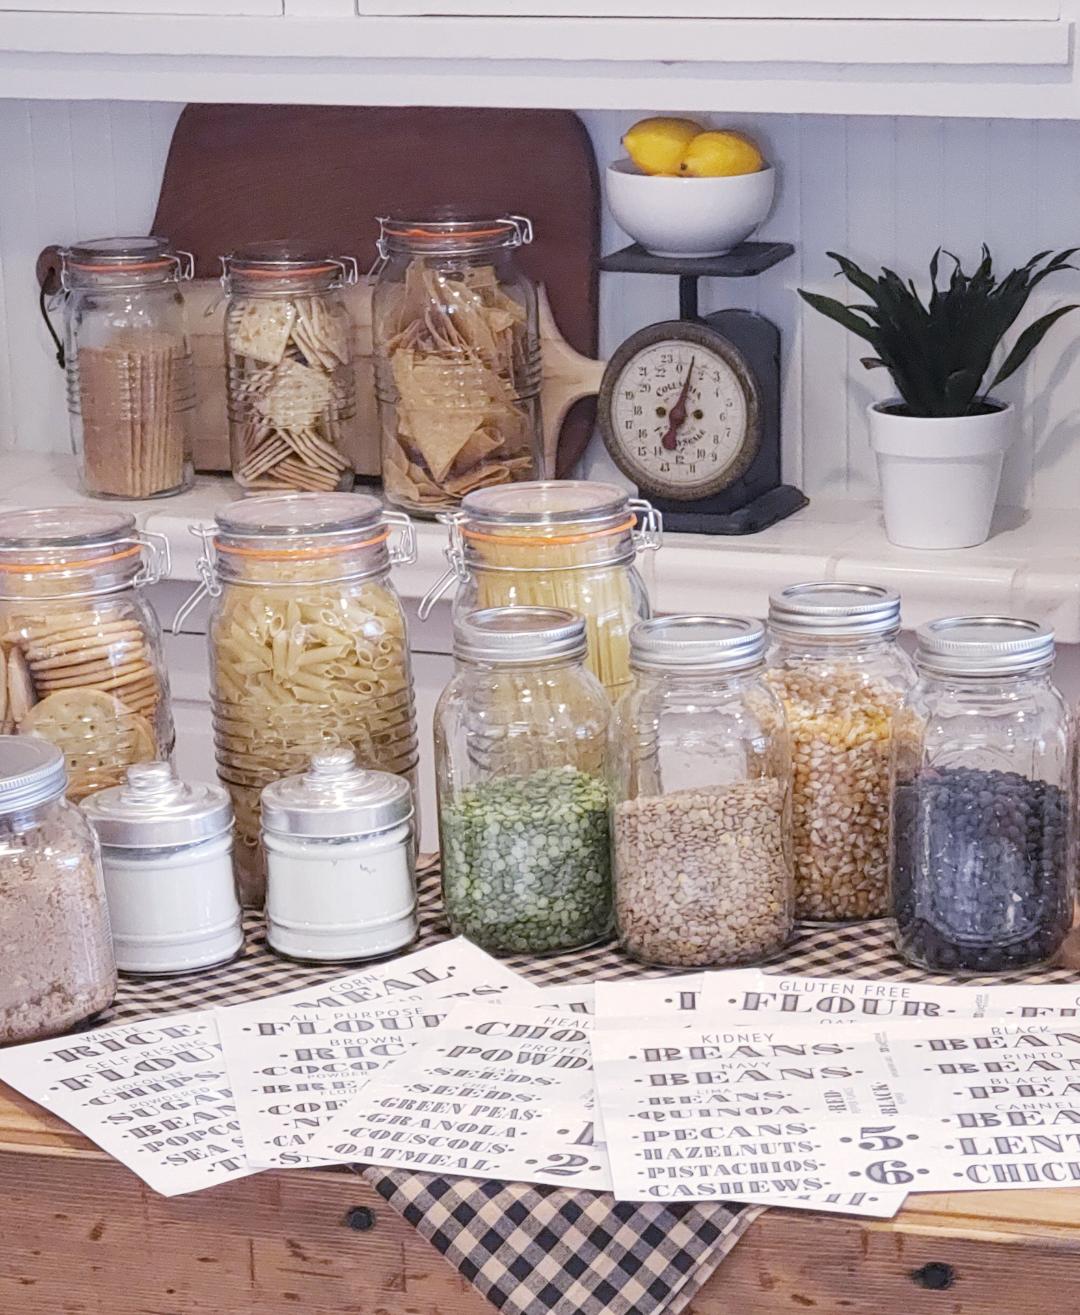
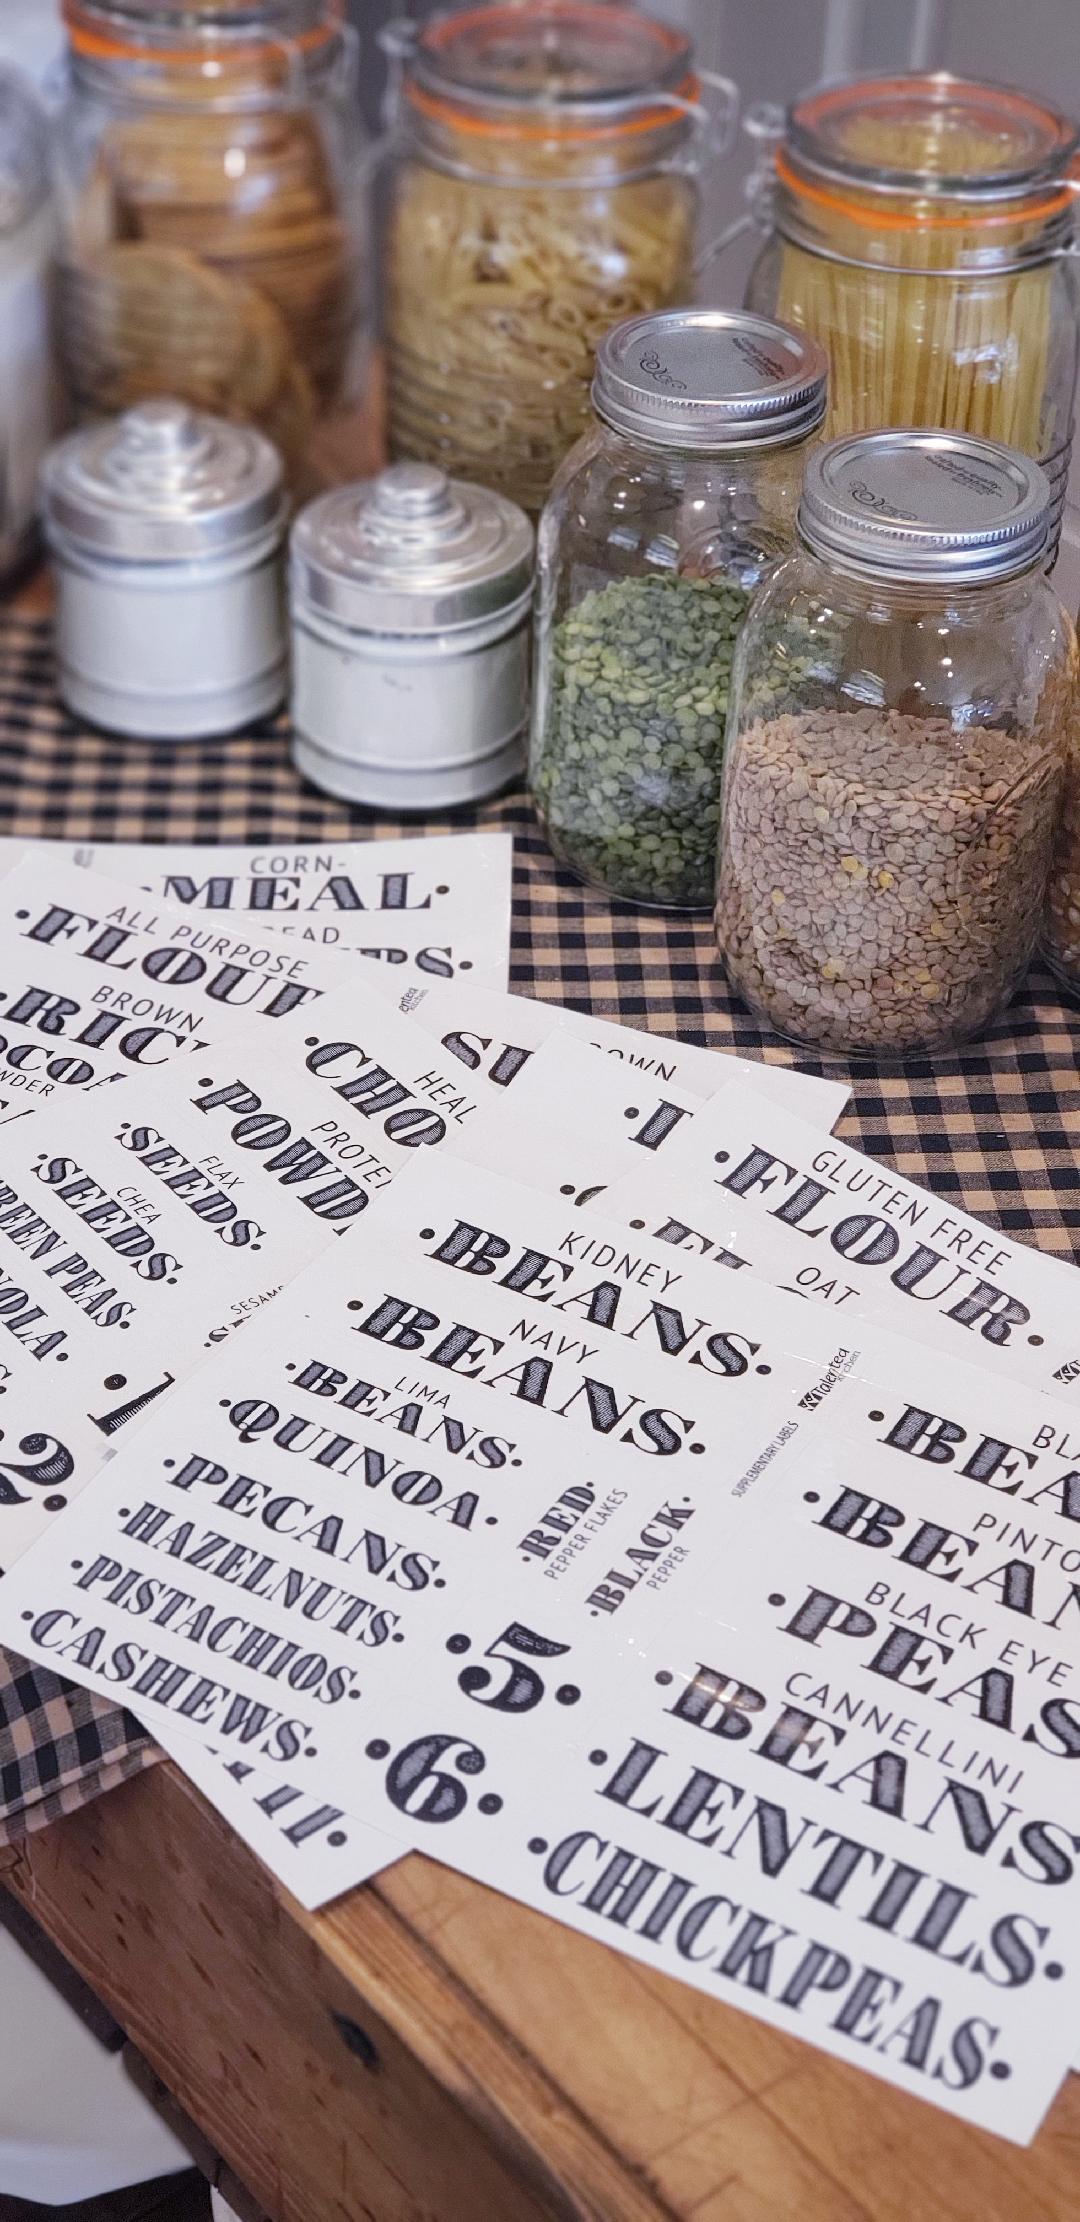
I thought about how we use our kitchen and truly, I am in here a lot and I love to cook. So my goal was creating a chef’s style pantry with fresh ingredients at my fingertips. Accessibility and easy to see what and where everything is was a big priority when designing the layout. Then, besides the function, simple elegance was a necessity as well. I found these beautiful clear farmhouse style pantry labels to use for my pantry makeover from Talented Kitchen that were perfect!
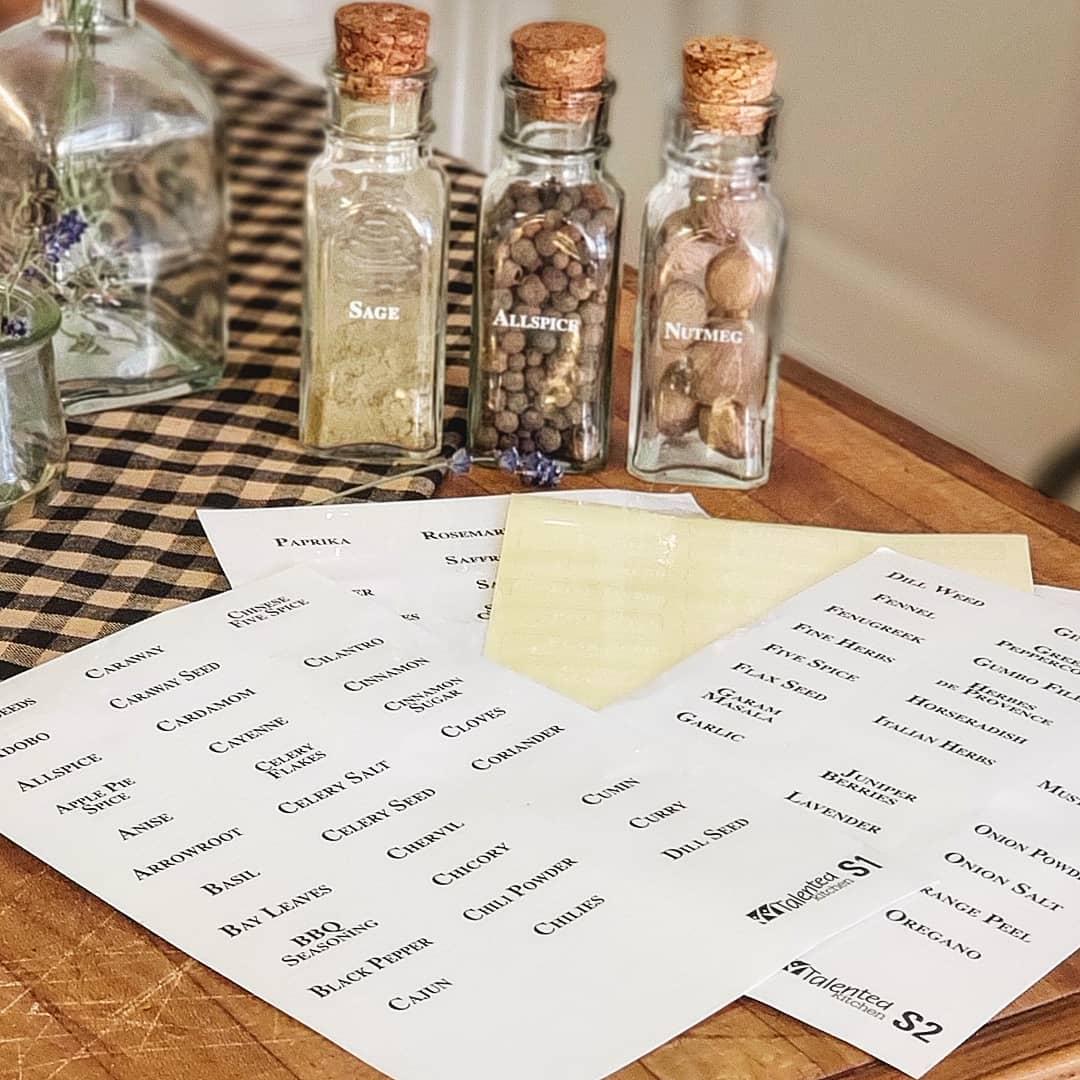
They are clear silicon that peel and stick onto any container so they were so easy to use! They have so many different styles to choose from both black and white. I used the farmhouse style and healthy title labels which not only looked so pretty but I love how it had specific and generic titles for items like pasta or as detailed as Penne and Spaghetti!
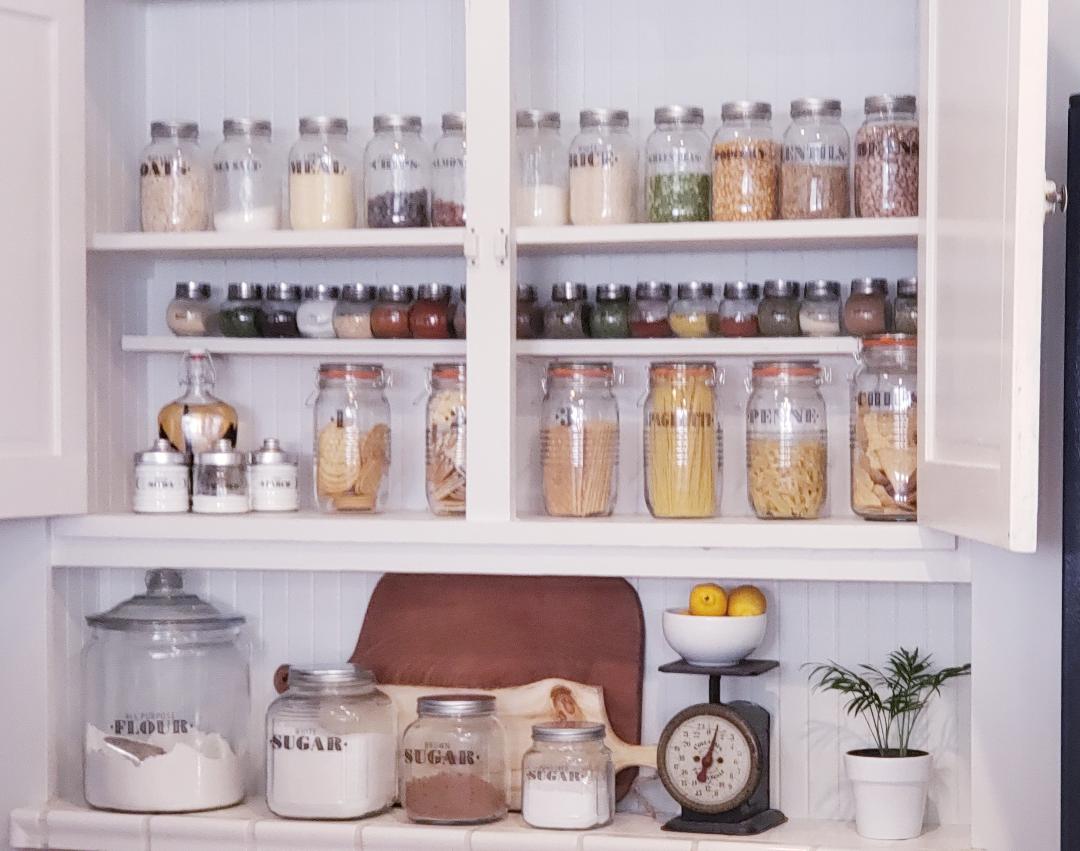
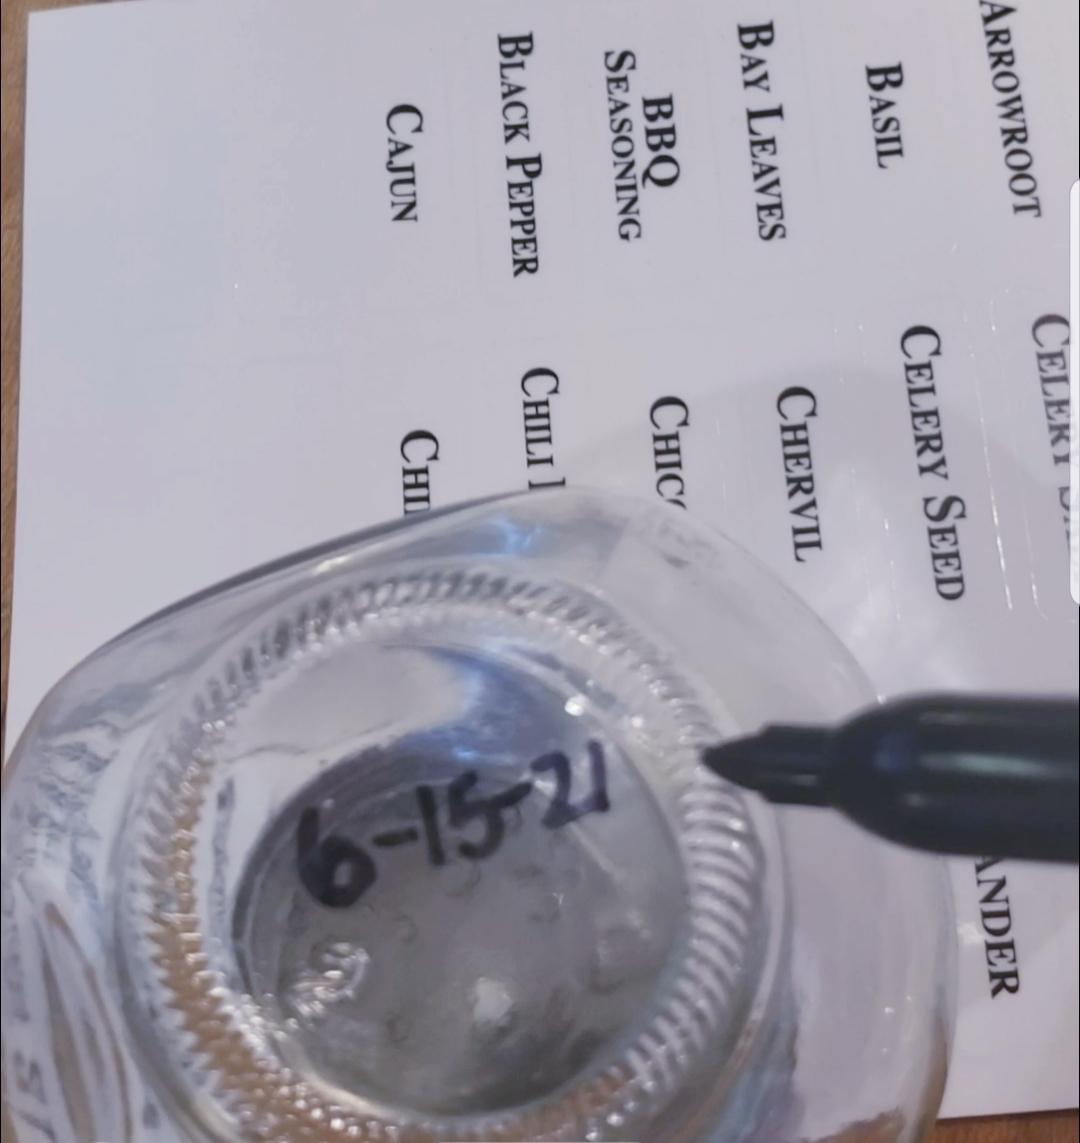
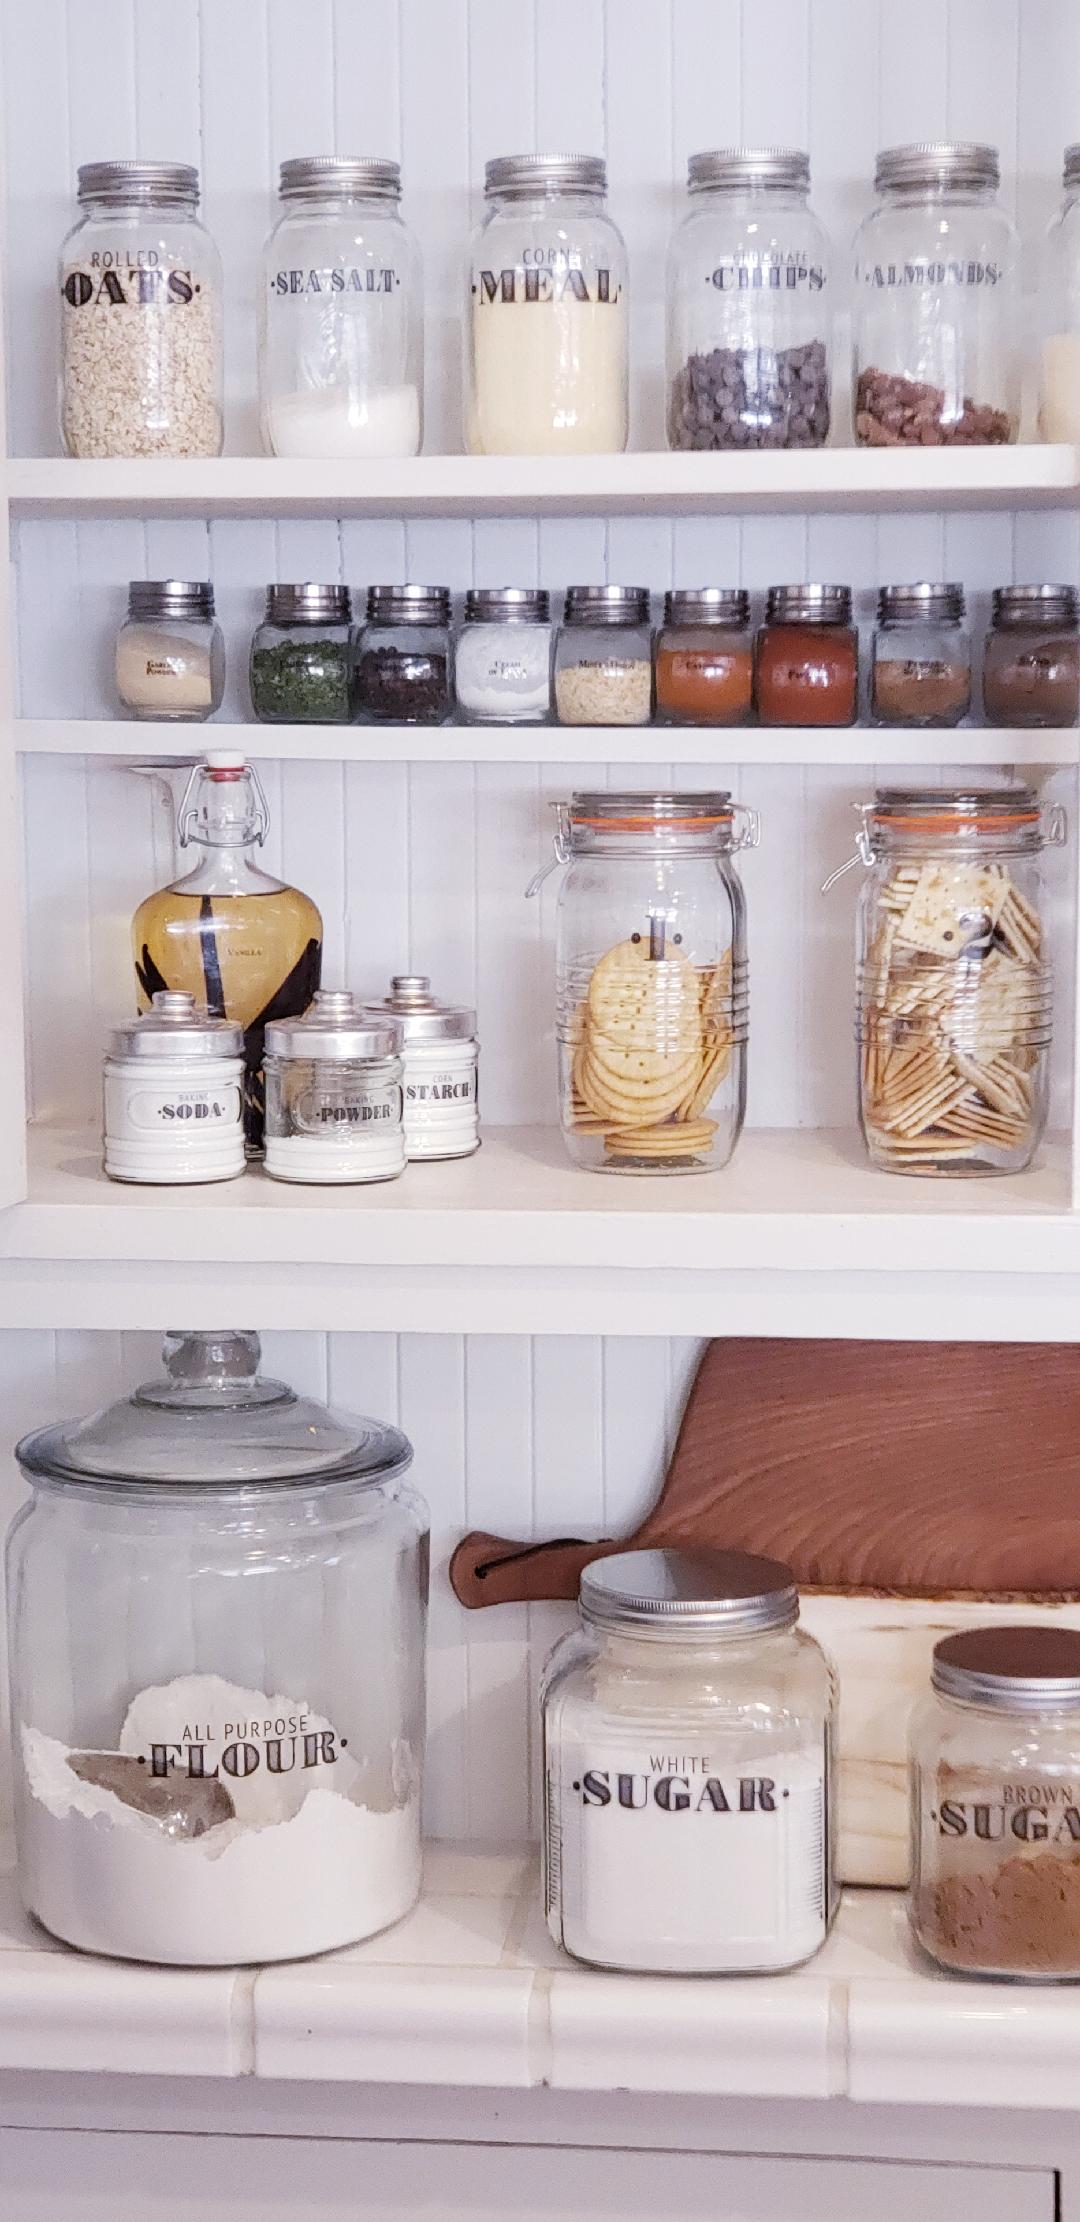
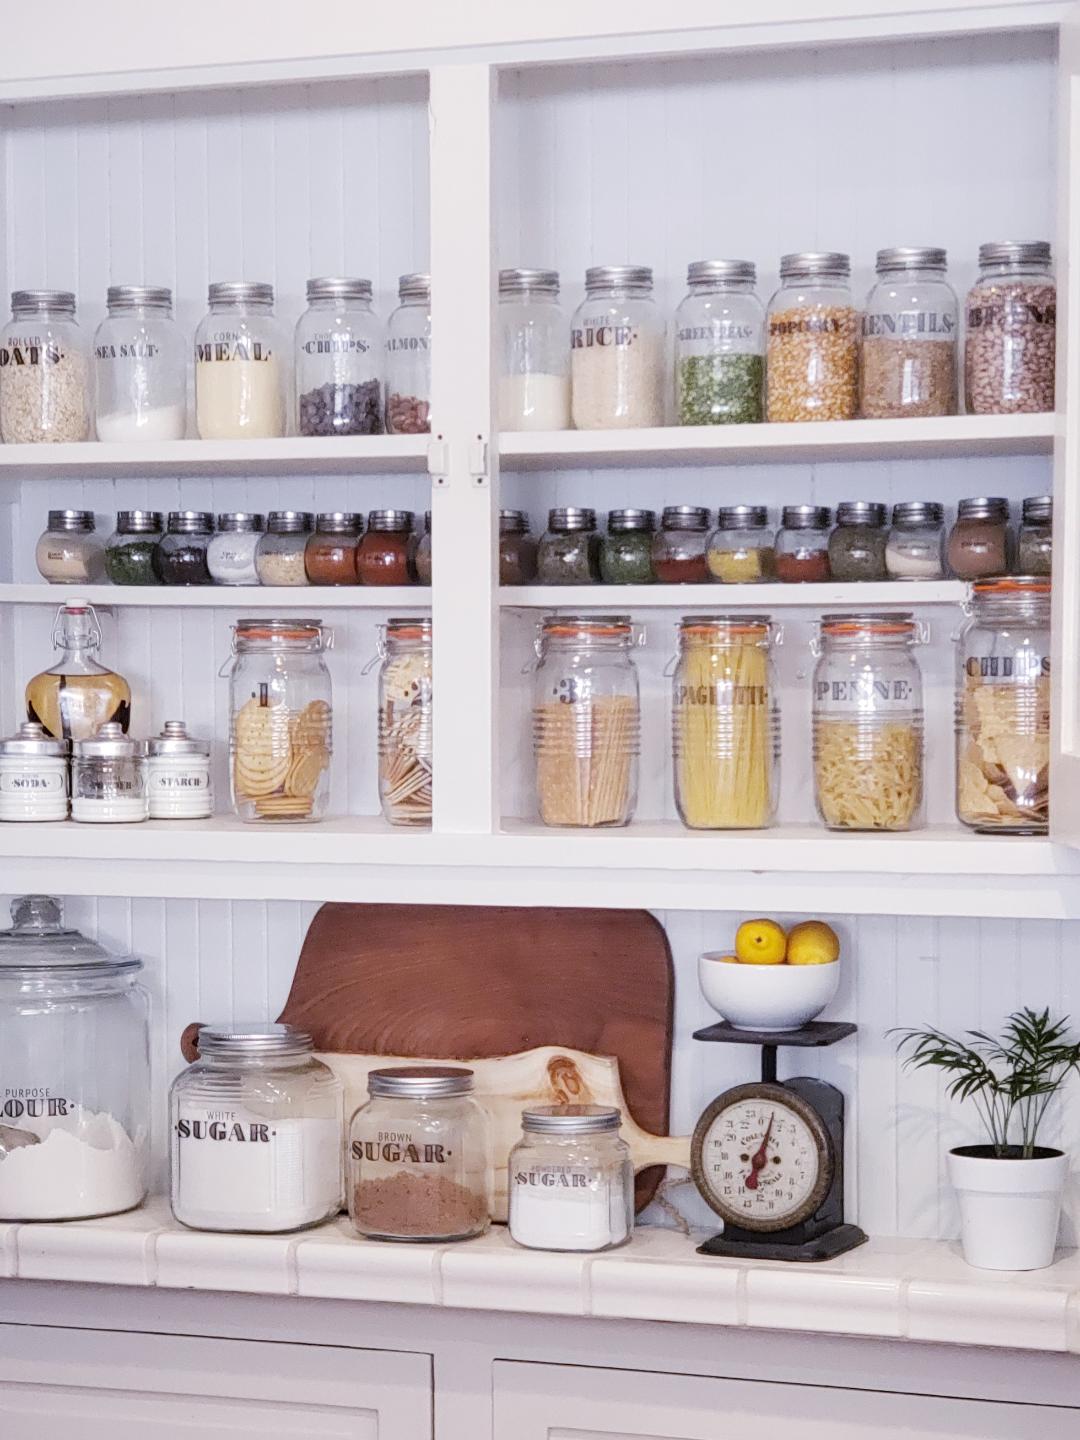
For this makeover of my farmhouse pantry, I used mason jars in the quart size for most of my dry goods like beans, nuts, rice, corn meal, and oatmeal. I just poured everything in, and took a pen to mark the expiration date on the bottom of the jar. Great idea huh?
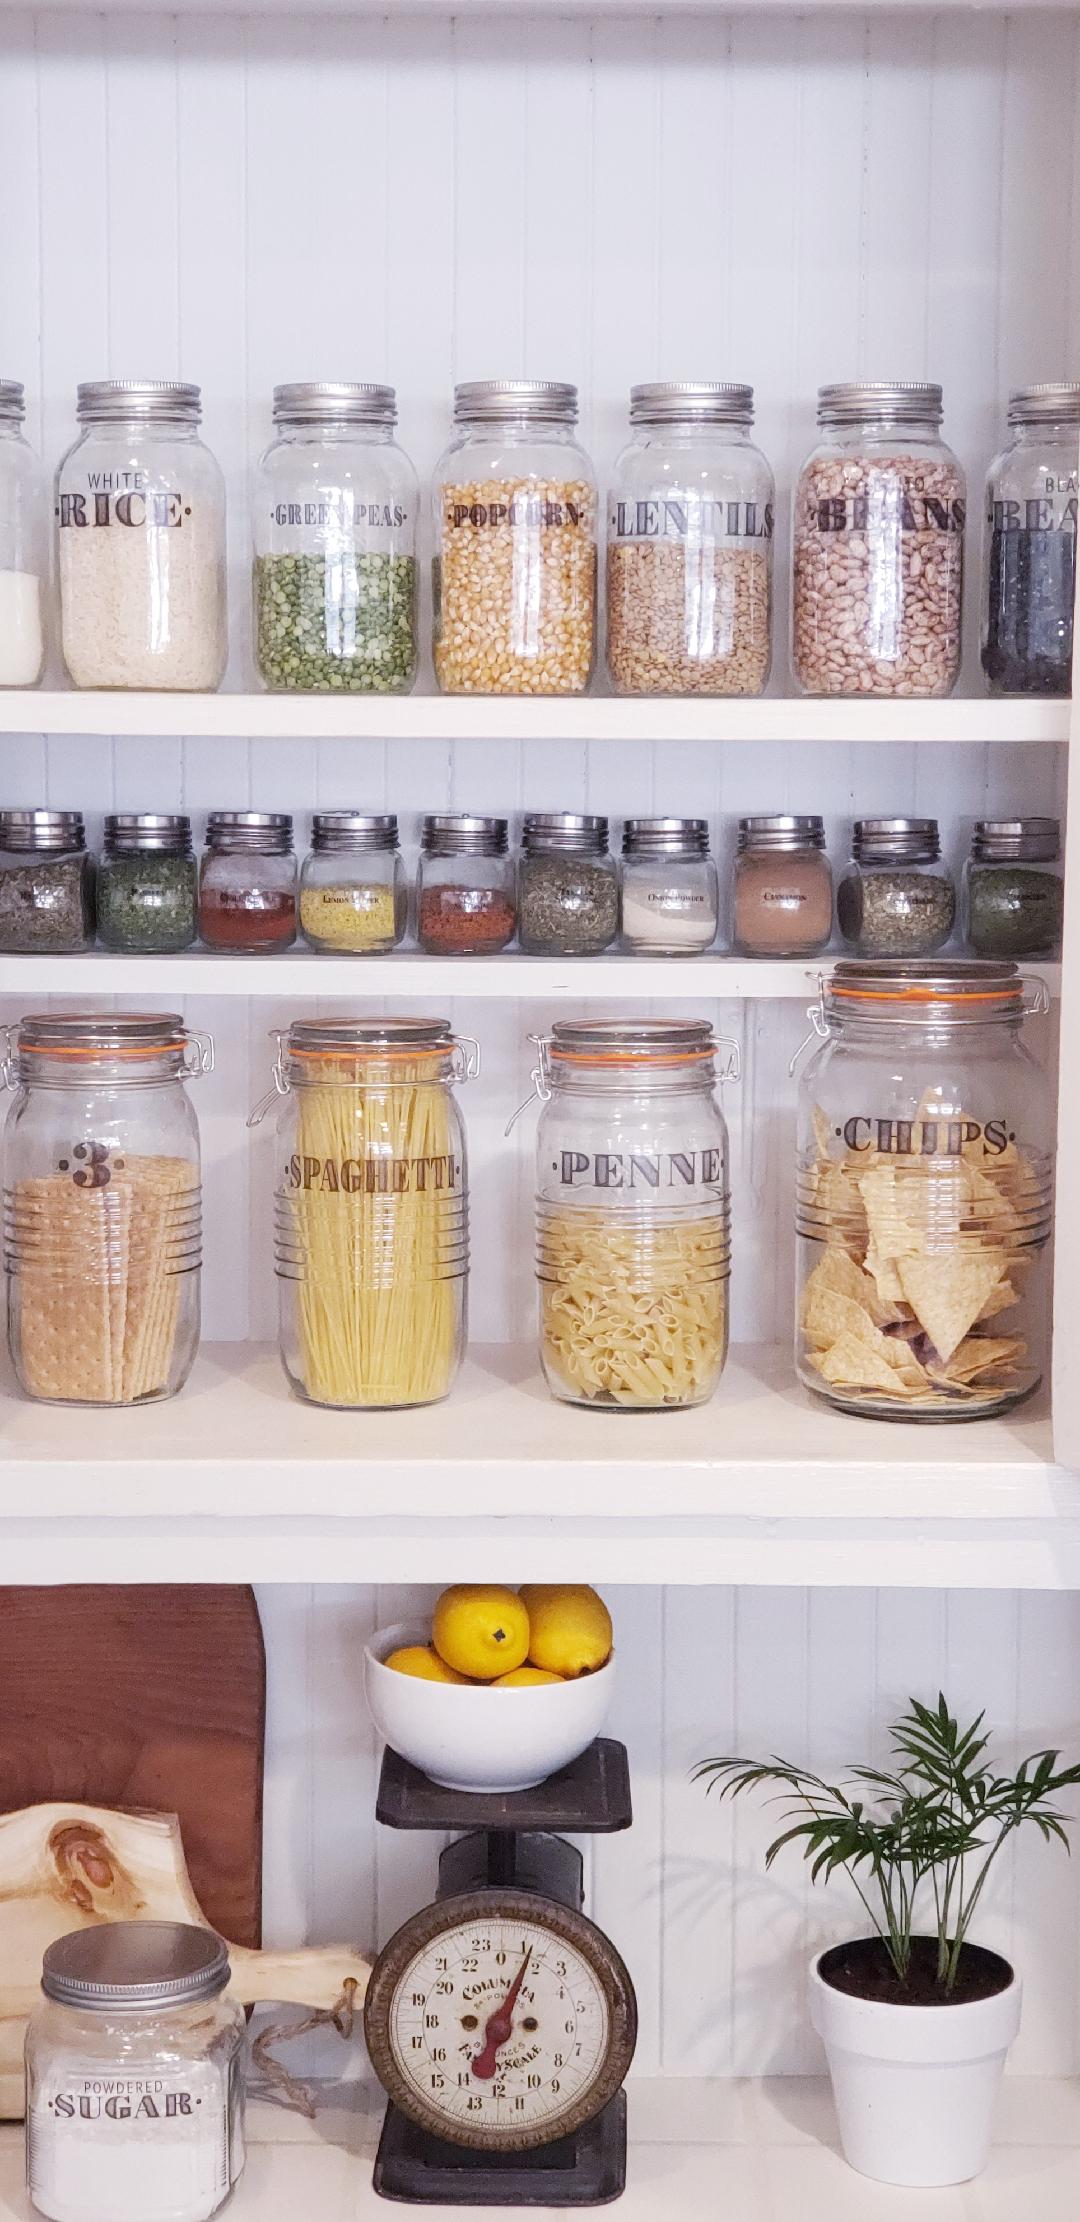
Then for larger sized things like pasta and crackers, I found these larger old country jar style containers with the old style swing lid. This gave the entire feel of my pantry a simple vintage, classic, and kind of a timeless flair which I was very pleased with.
Now onto the labels. They were so easy to just peel and stick the labels onto the jars and the variety of titles for the labels were so impressive! There were so many specific choices to choose from. It almost made me kind of want to go out and buy some more stuff just so I could put another pretty label on it.
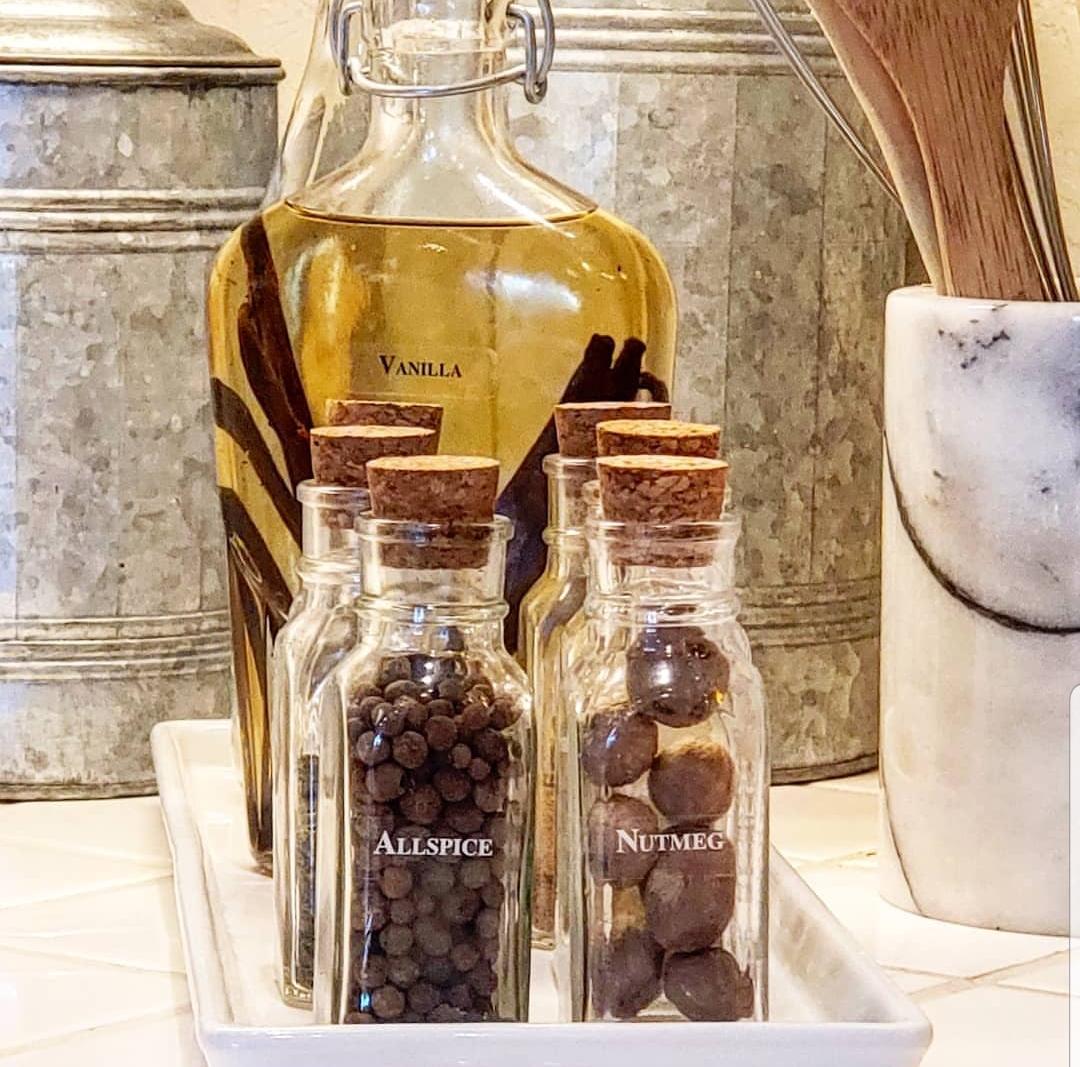
Then I made the decision to keep all my dried goods inside the pantry including the spices. I just felt that I wanted it all in one place. So I found these small little spice jars and with these clear spice labels in this classic style that Talented Kitchen had, I fell in love! I mean, I did go out and pick out as many spices as I could to match the labels! Ha!
Just look how it all turned out! Beautiful right?! I absolutely loved how it all turned out. So fresh, clean, and organized. It’s all so easy to see and read what everything is now and besides, it looks so pretty too!
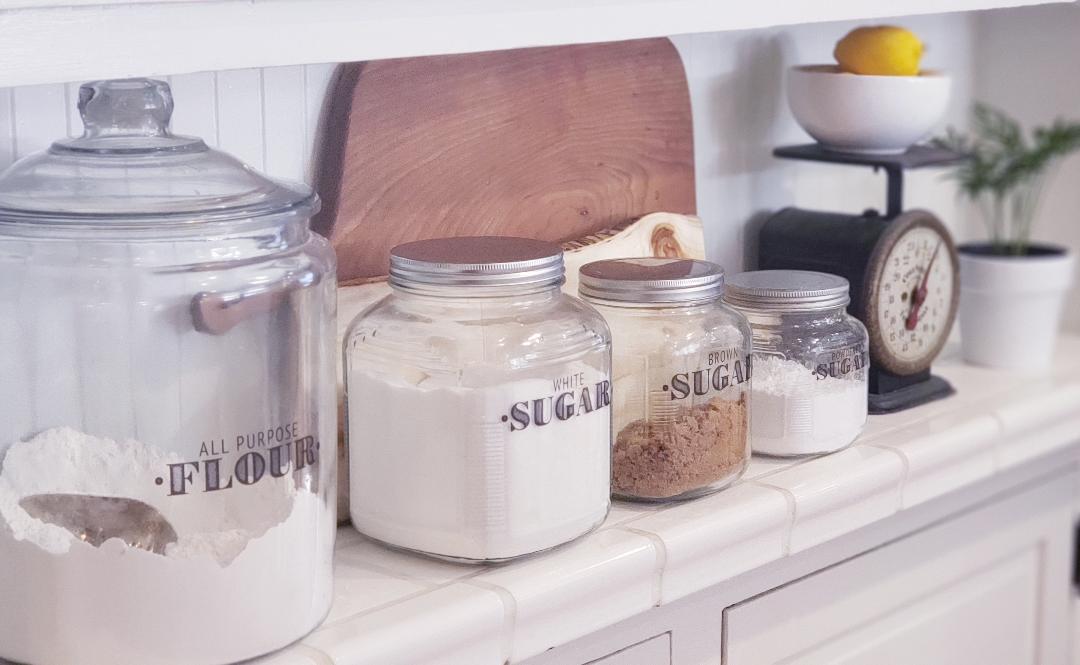
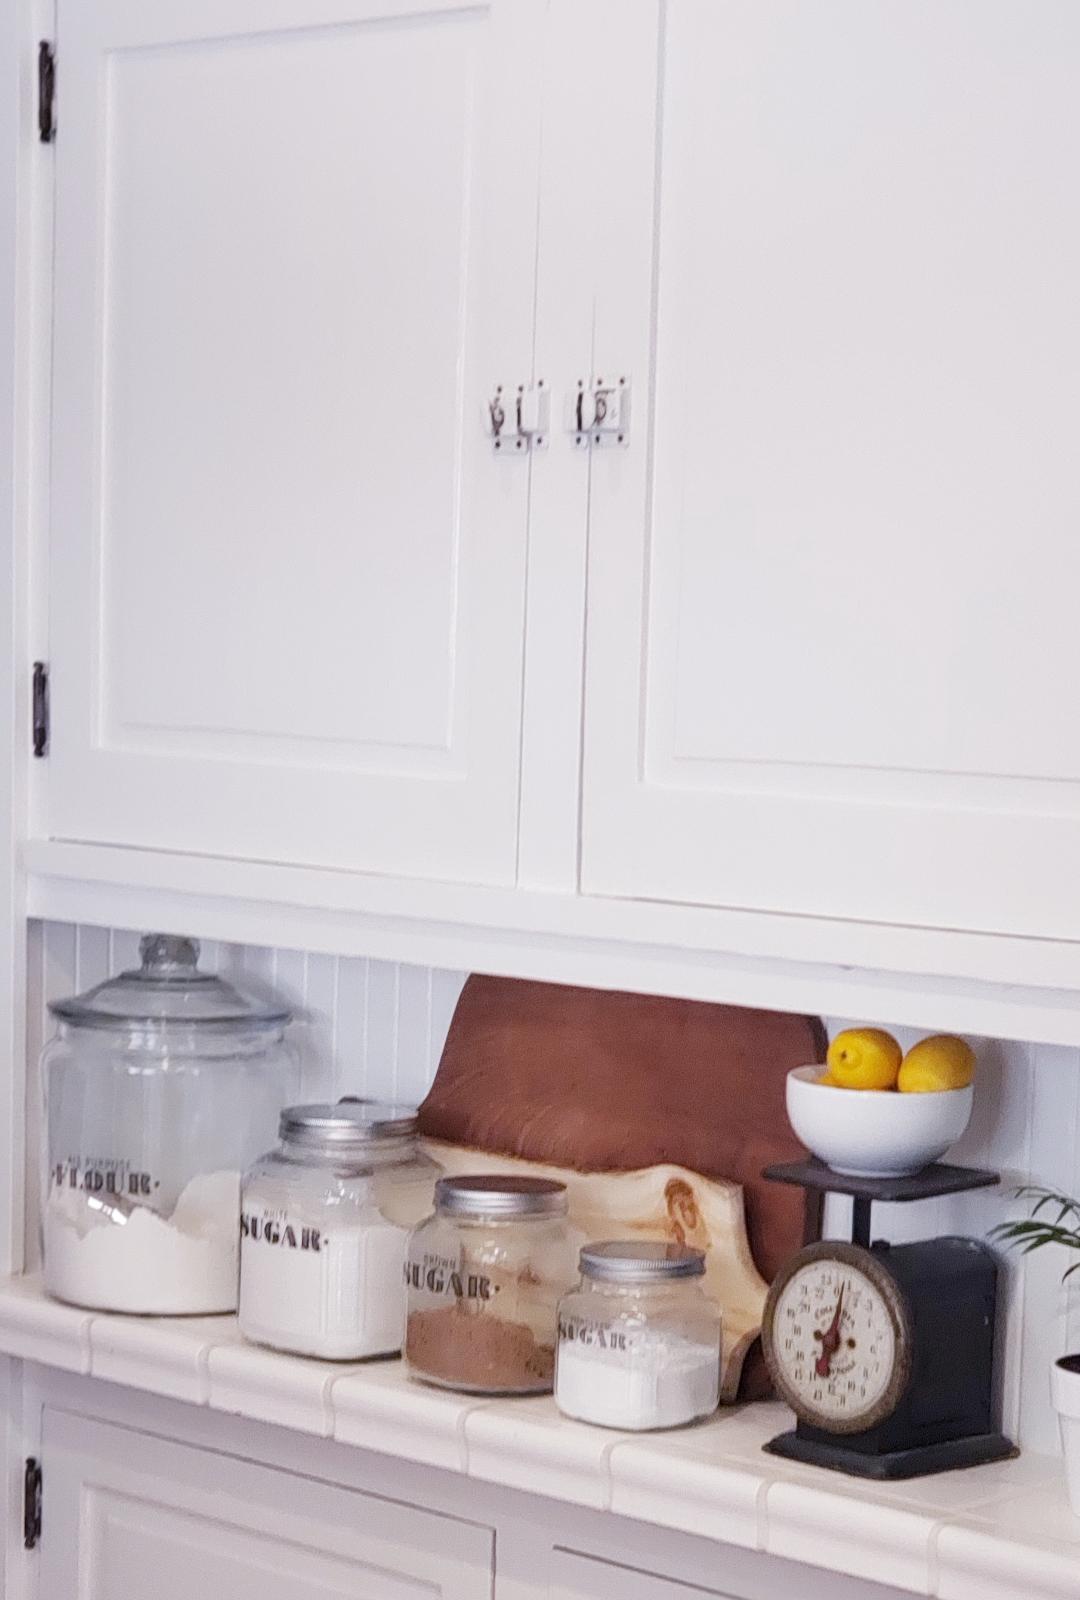
I even put some of my most frequently used things like my homemade vanilla, baking soda and cream of tartar for all of the cookies I love to make, up front. Then the other most important essentials like flour and sugar, on the counter of the pantry so it’s very handy for a quick batch of my famous chocolate chip cookies or snickerdoodles!
Here are my tips to do your own pantry make over:
PANTRY MAKEOVER TIPS
- Clean the pantry out and set everything on a table to go through.
- Decide if it’s a staple you use regularly and put it in the keeper pile.
- Put expired items and one and done things that you never use to rest in the sleeper pile to toss.
- Clean the pantry with warm sudsy water and give it a fresh coat of paint if you like.
- Pick out containers to store all dried food in and ditch the boxes.
- Choose some beautiful labels that have each item titled for easy to see and very accessible use.
Hey, here she is in all her glory! Ready for me to get creative and cook up something yummy! Oh, and now, I want to cook and bake even more now that everything is beautiful! I hope you’re inspired my friend to tackle this easy project and get cooking yourself too!
XO Jerri
