HOW TO REFURBISH A KITCHEN ISLAND
I so love my kitchen island. It may not be big but it still is so well loved and serves its purpose in my kitchen. I use it to chop food on, knead dough for bread and pasta, or even to display some fresh cut flowers from the garden.
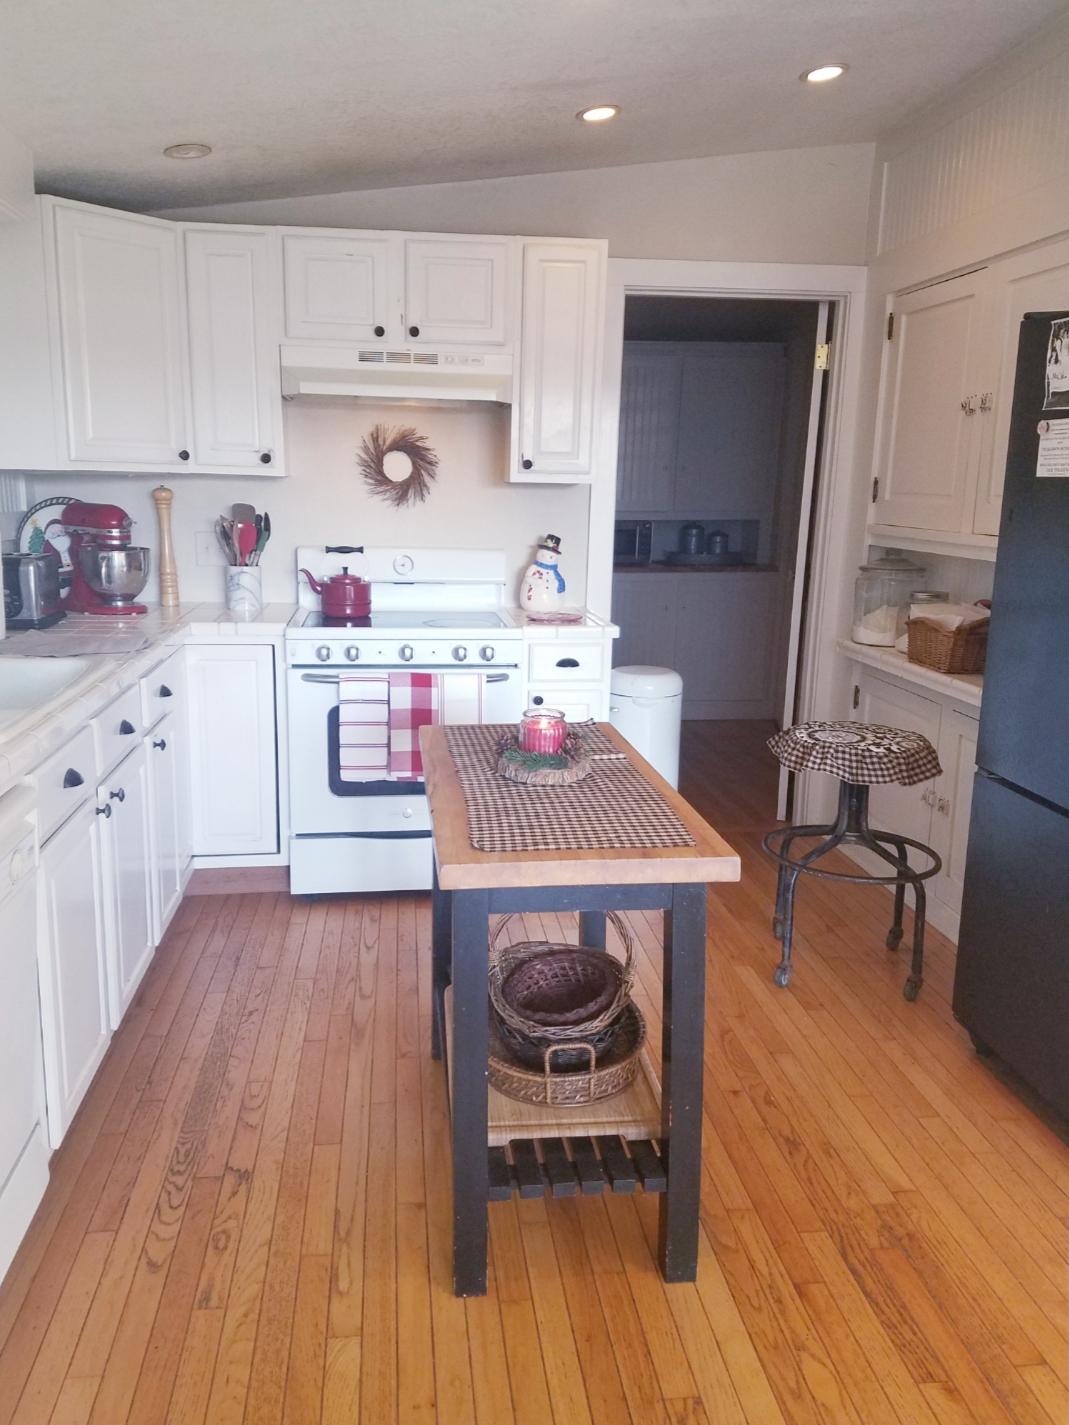
But lately, hubby and I noticed that ours was looking pretty shabby. You see, we’ve had this island pretty early on in our marriage. We’re talking mid 80’s people! Woohoo! It was a hand me down from my in-laws, and I can remember it in their kitchen when my husband and I first met. What?! Yes we met at a Halloween Costume Party at his parents’ home. Well, when I walked into the kitchen, I looked over the island and introduced myself to this cute guy. (At least that’s one of the many versions I tell, all true, but tweaked to fit my story) But so funny that we met in a kitchen. Hmmm…. I wonder what the symbolism of that means?
Anyways, back to this island. It has traveled with us through many homes, been painted many colors from the natural wood, to red, and even to this black. But Mr. Farmhouse Fun was done with this antique and decided to change it from drab to fab and that’s just what he did!
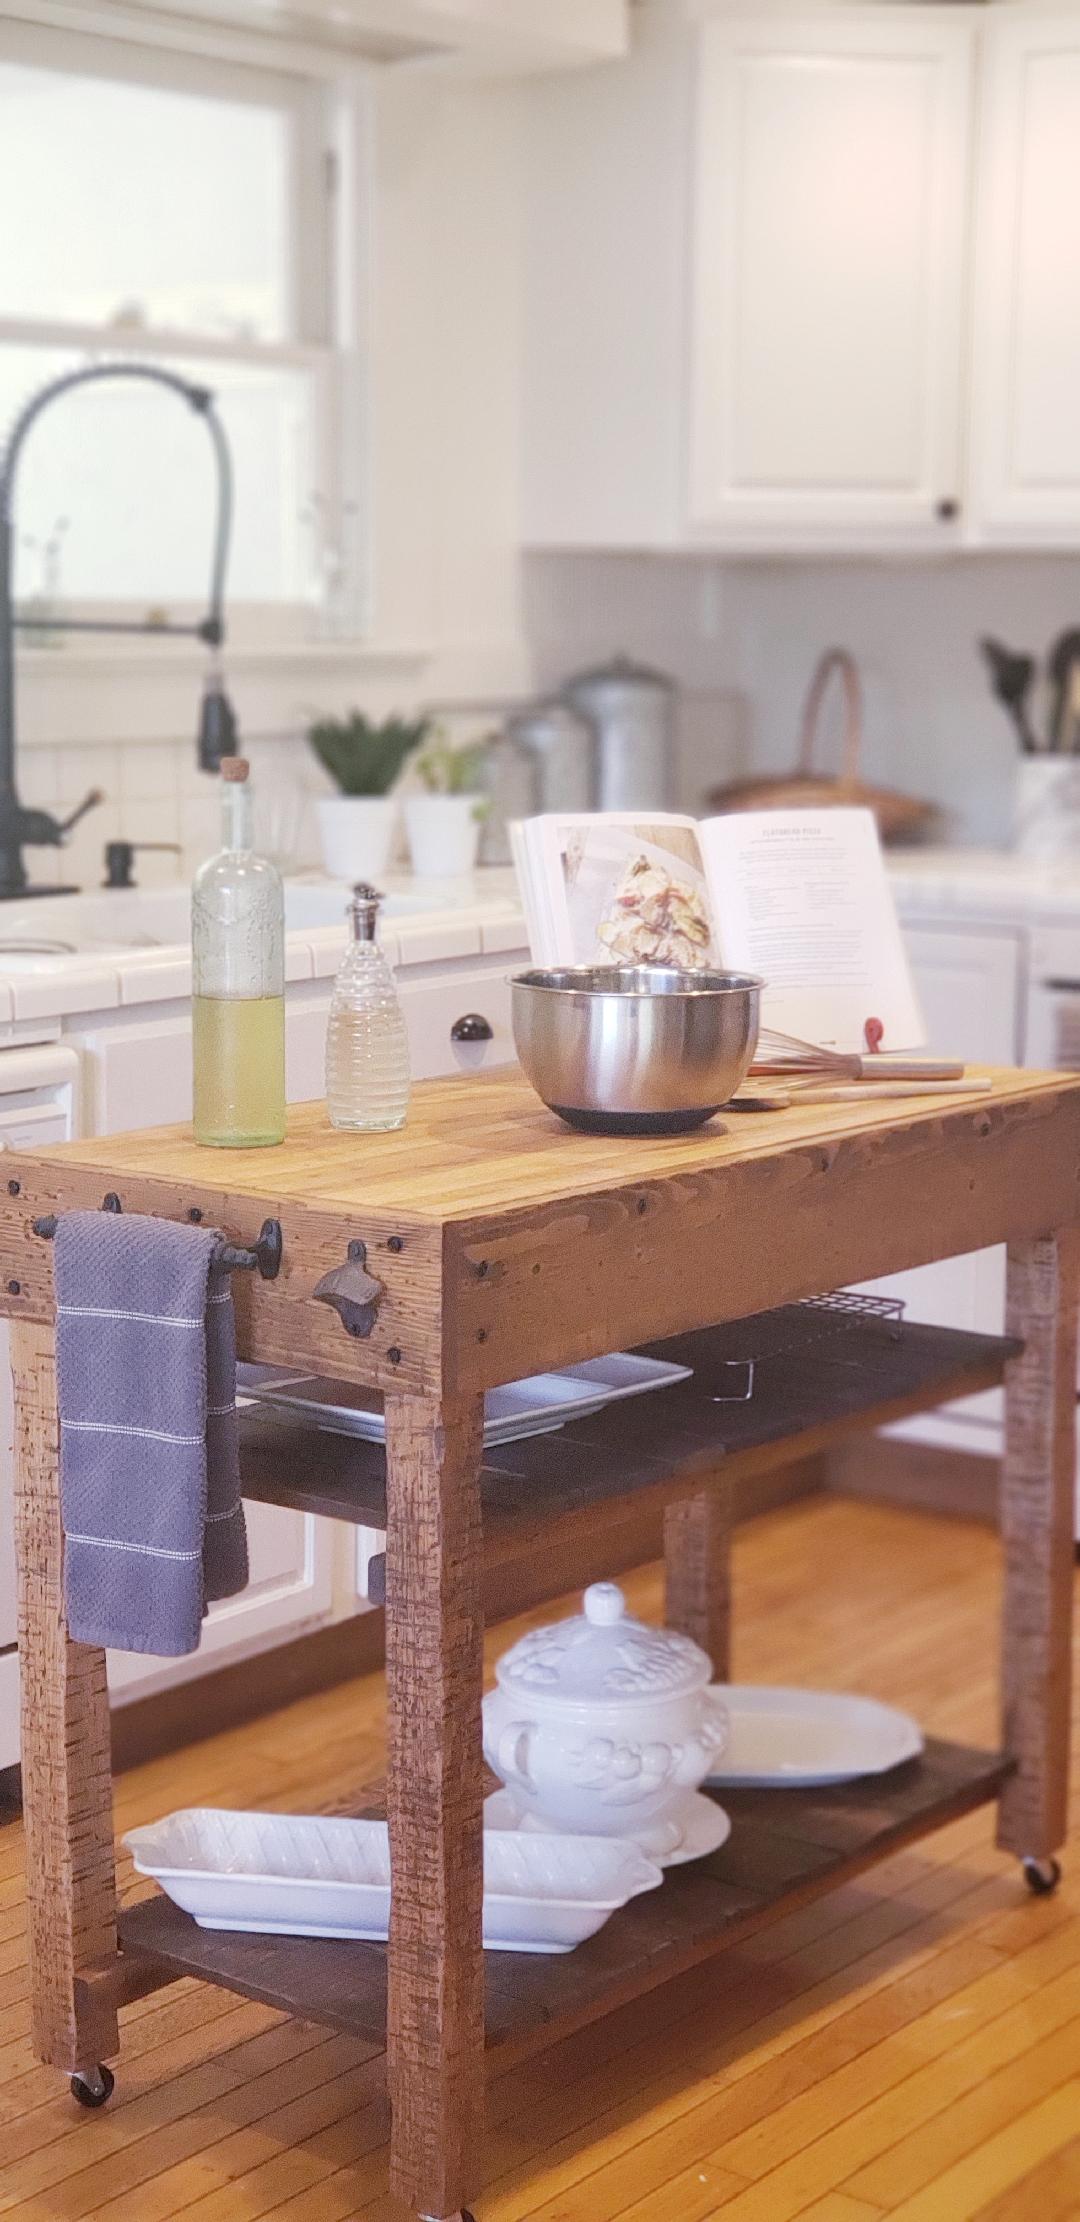
First he sanded it all down, taking many of the old layers of paint off and restoring her back to its original natural look.
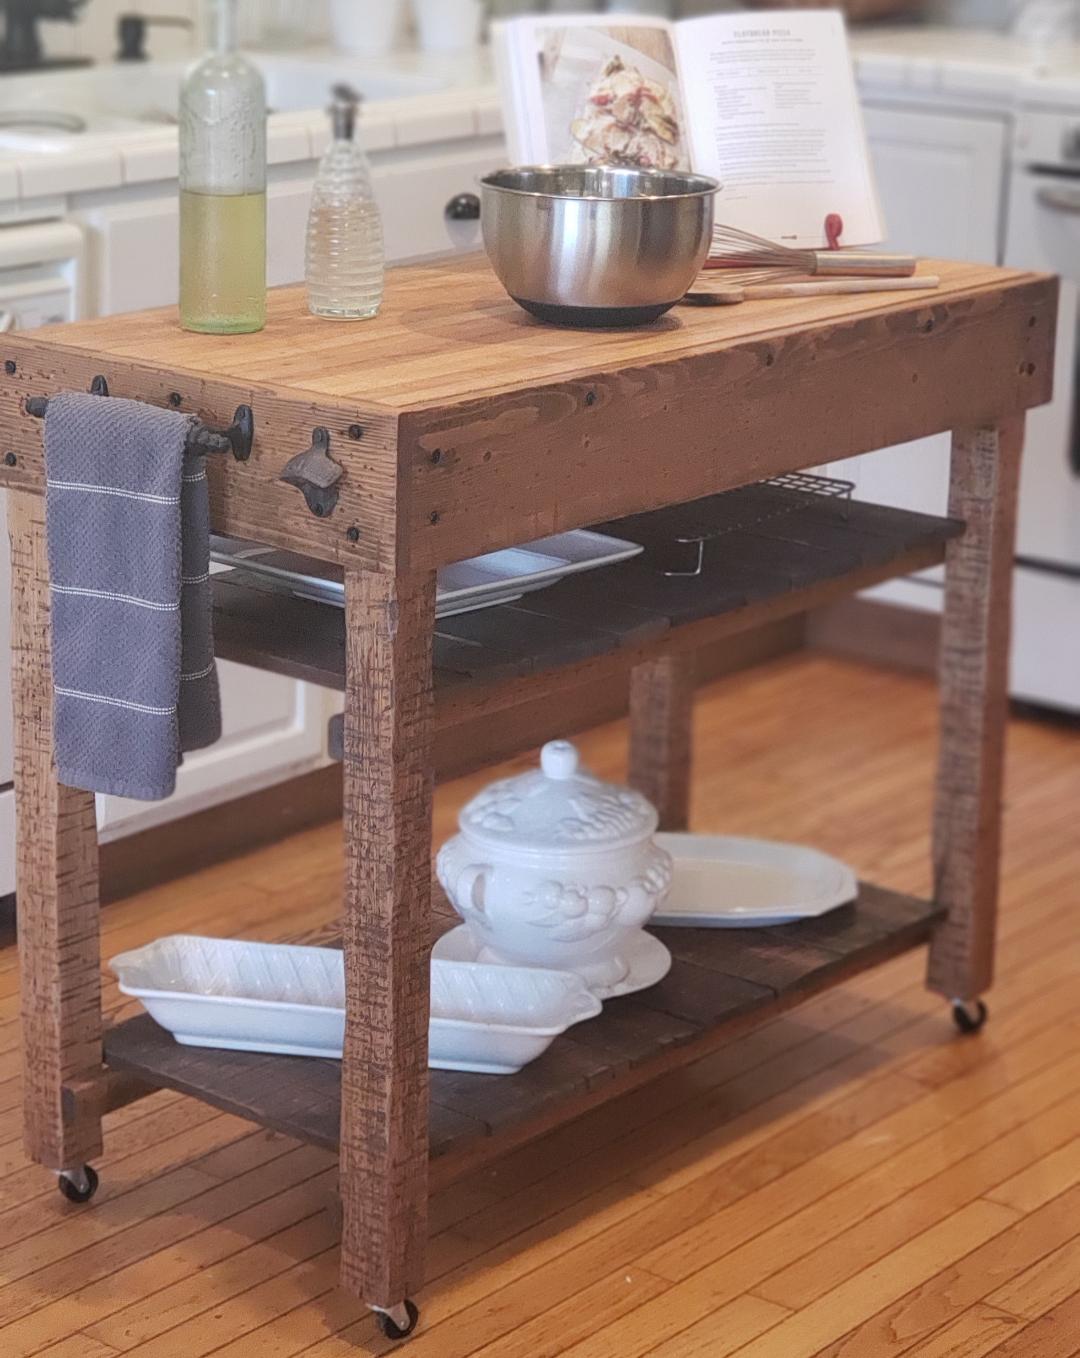
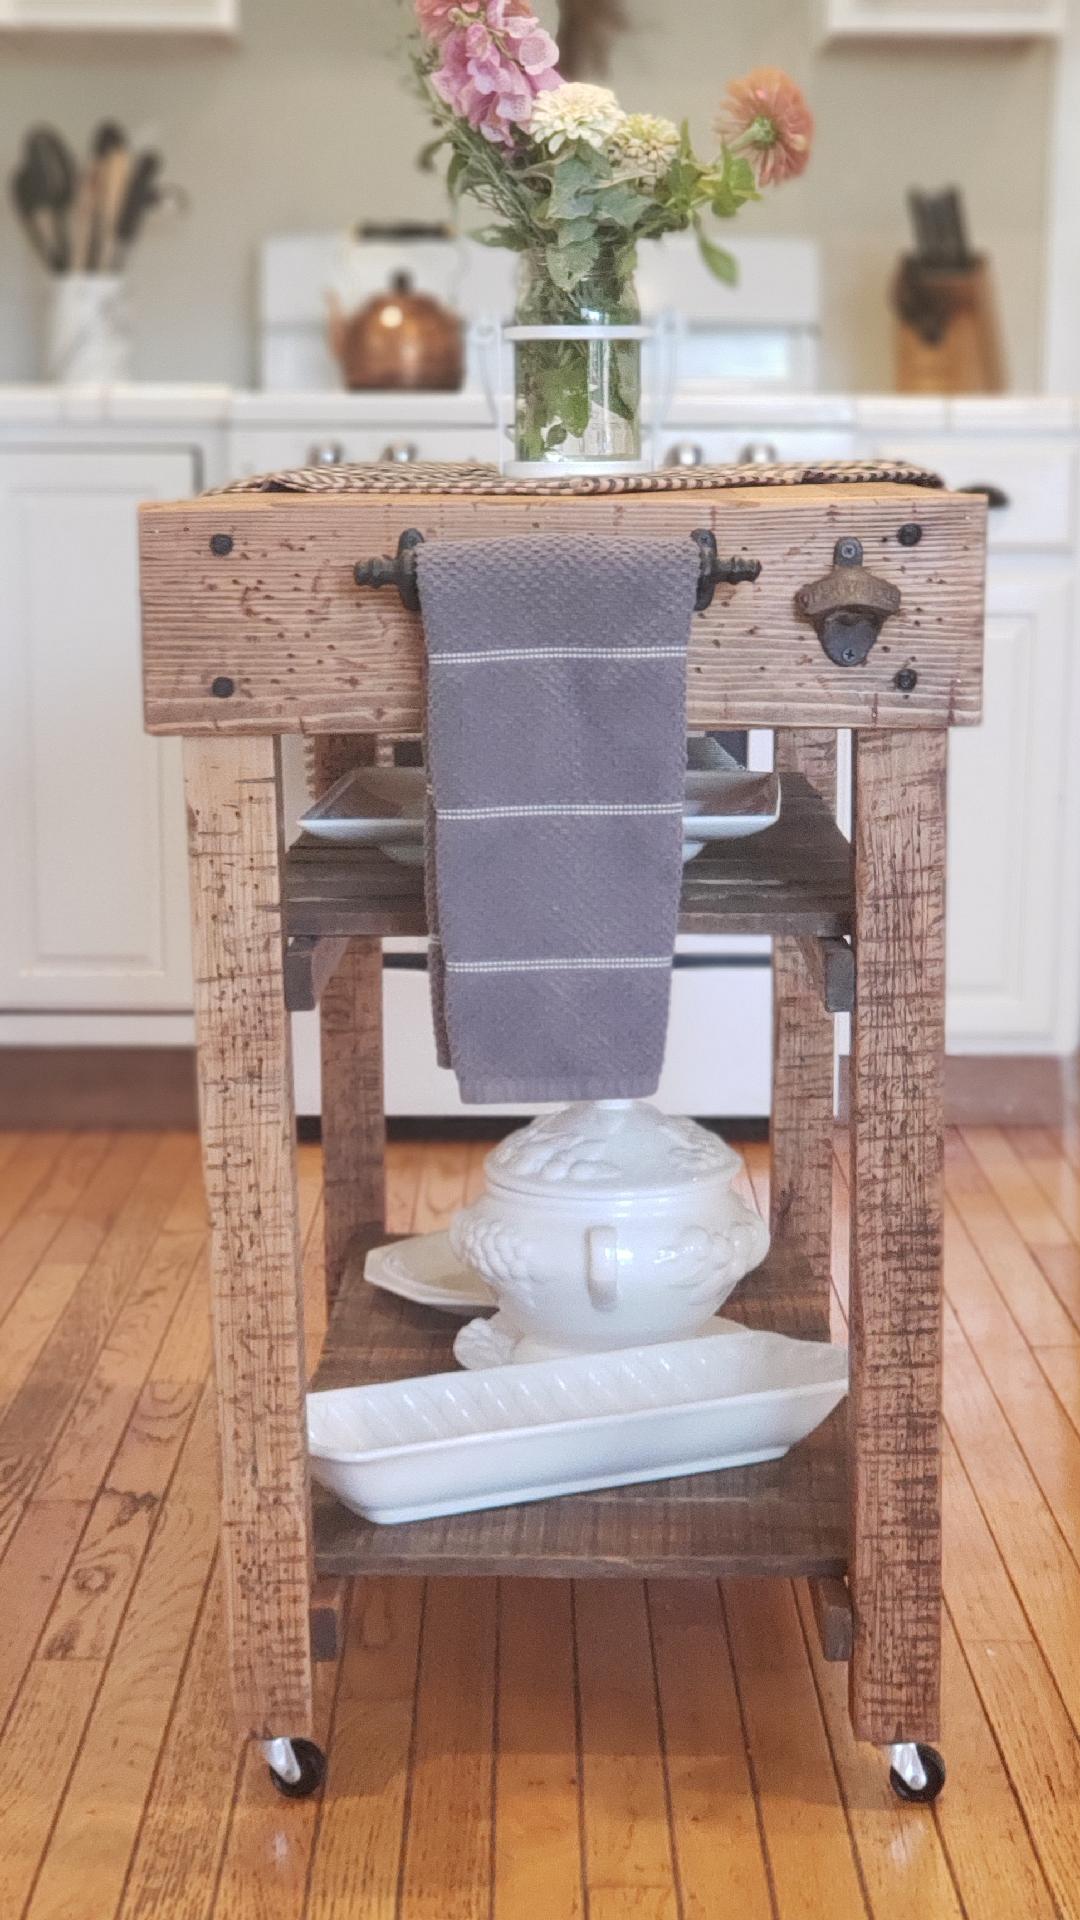
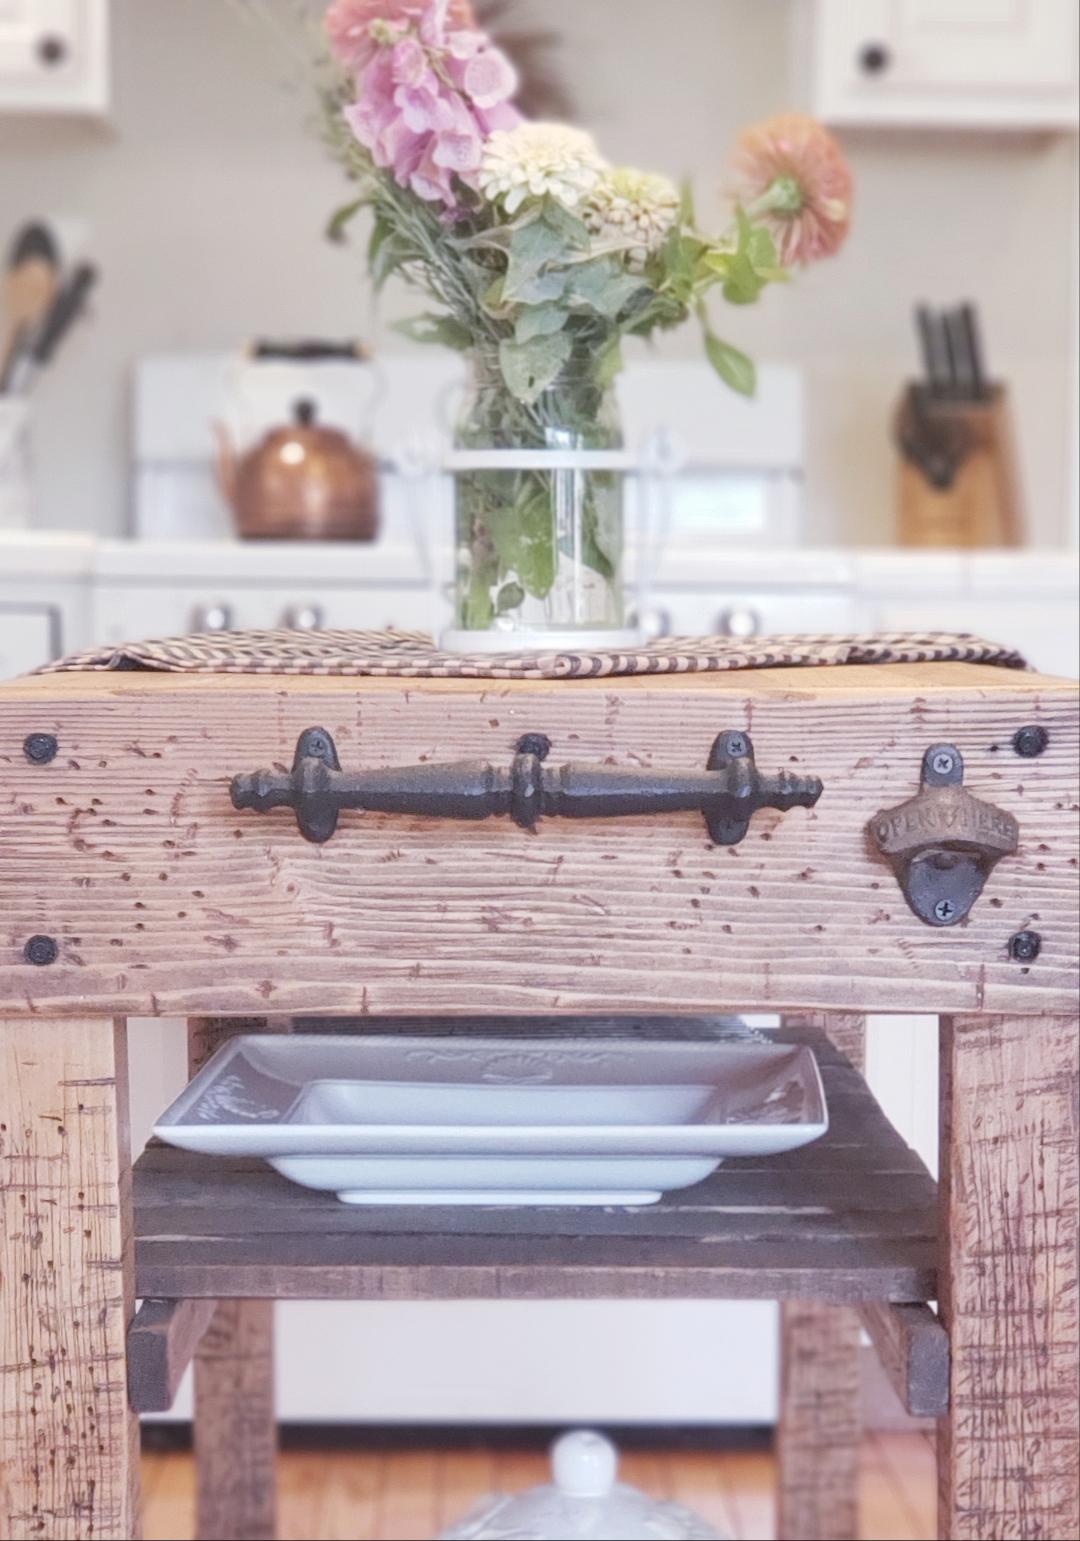
Then he added some trim to the sides skirting it with a bit more style.
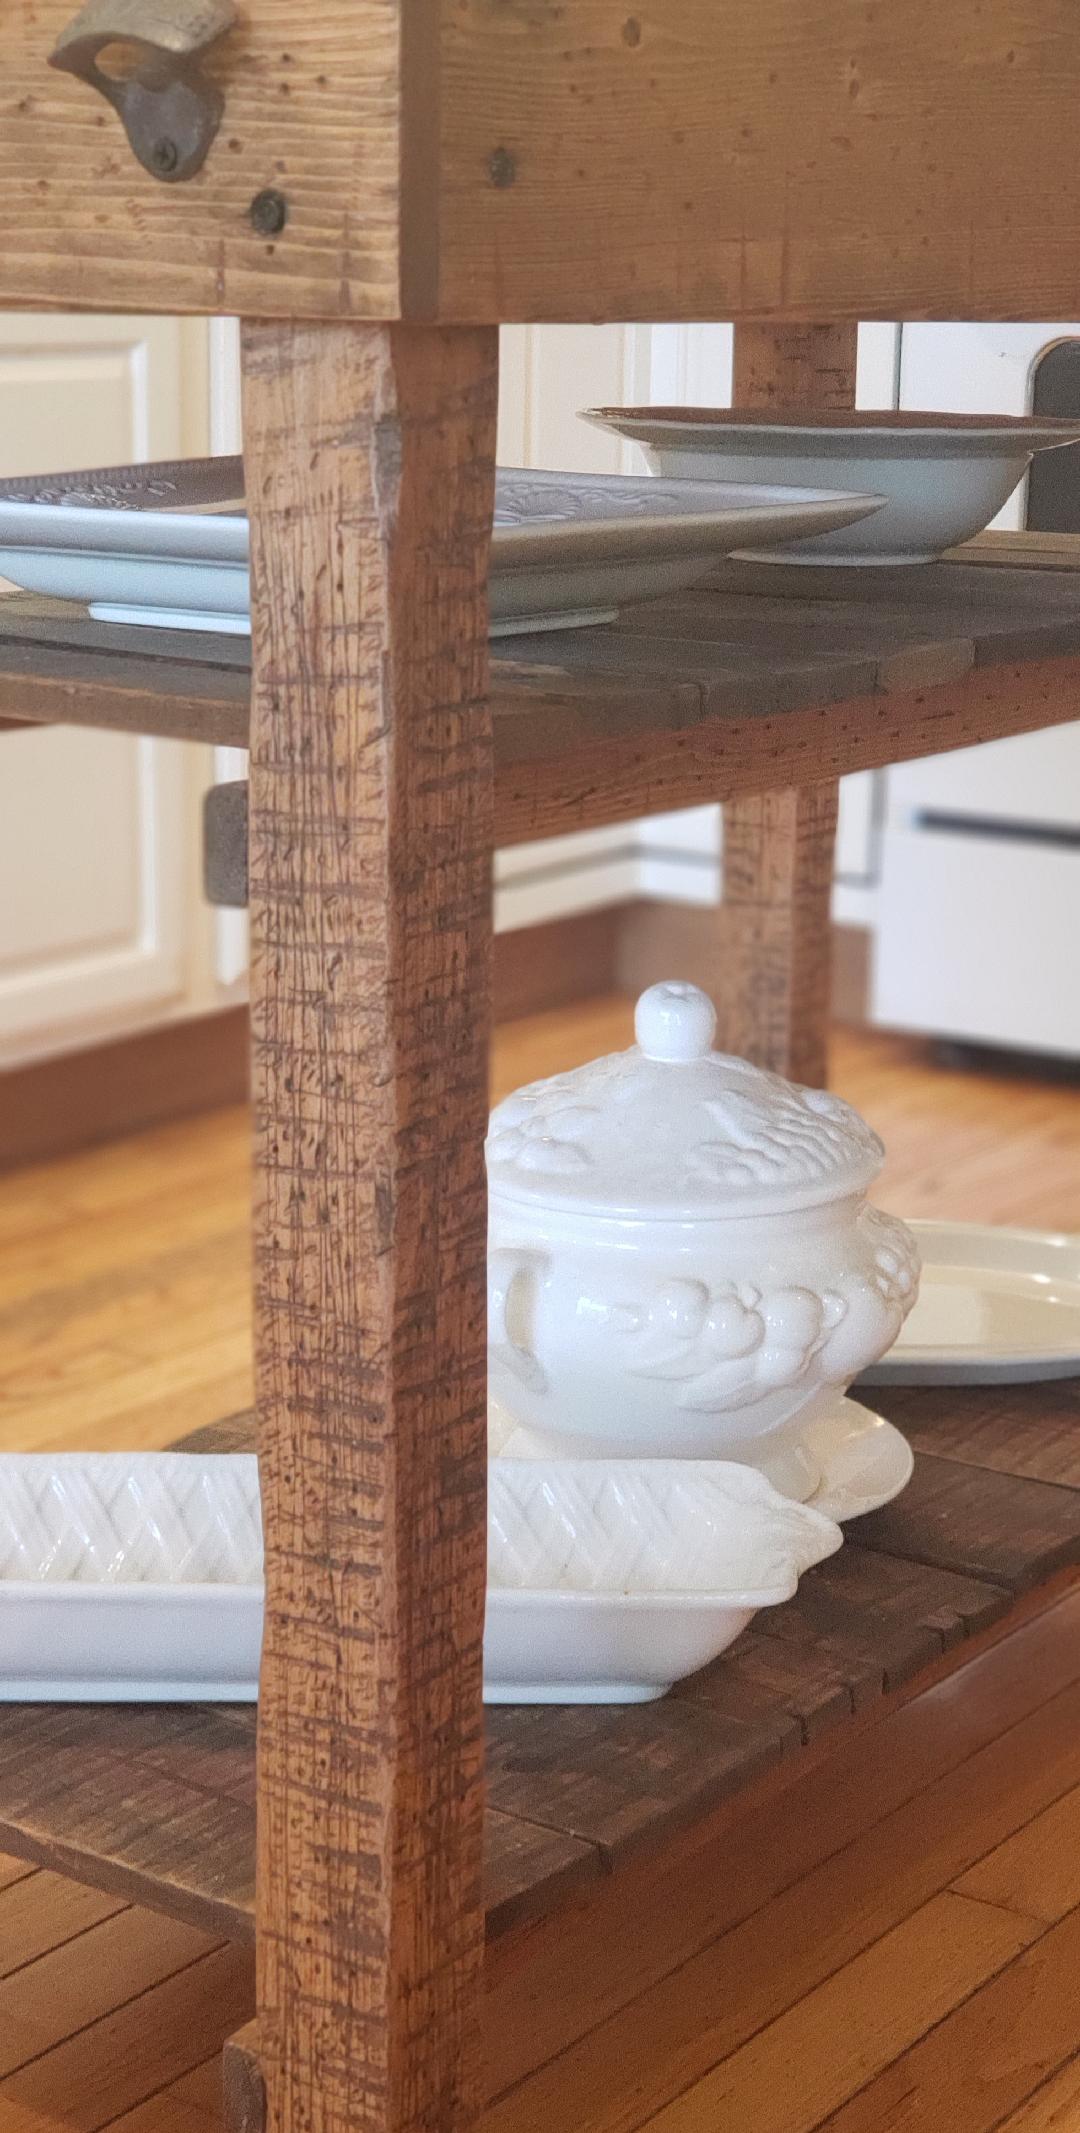
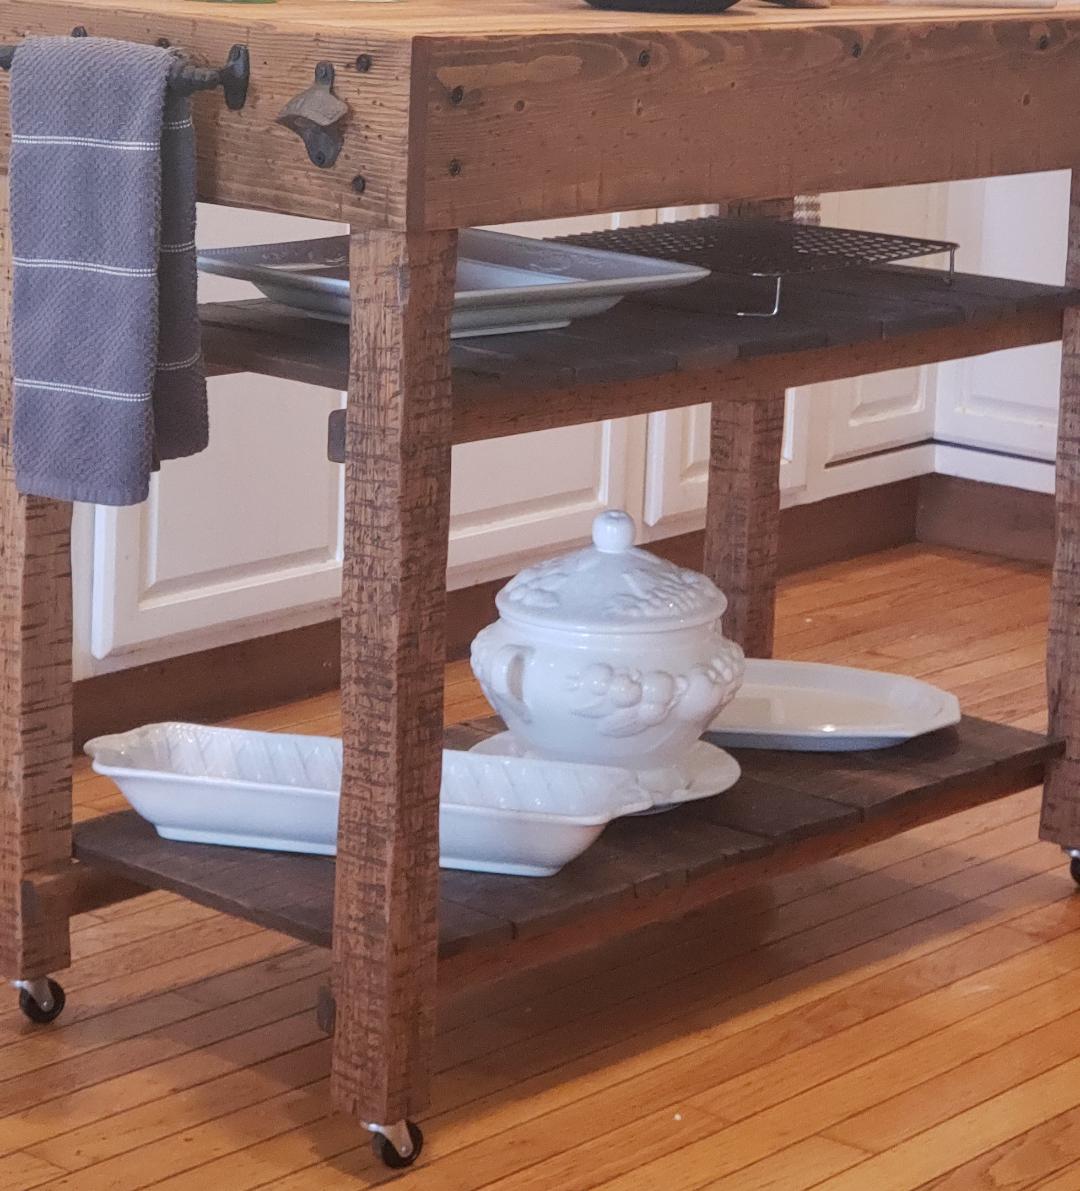
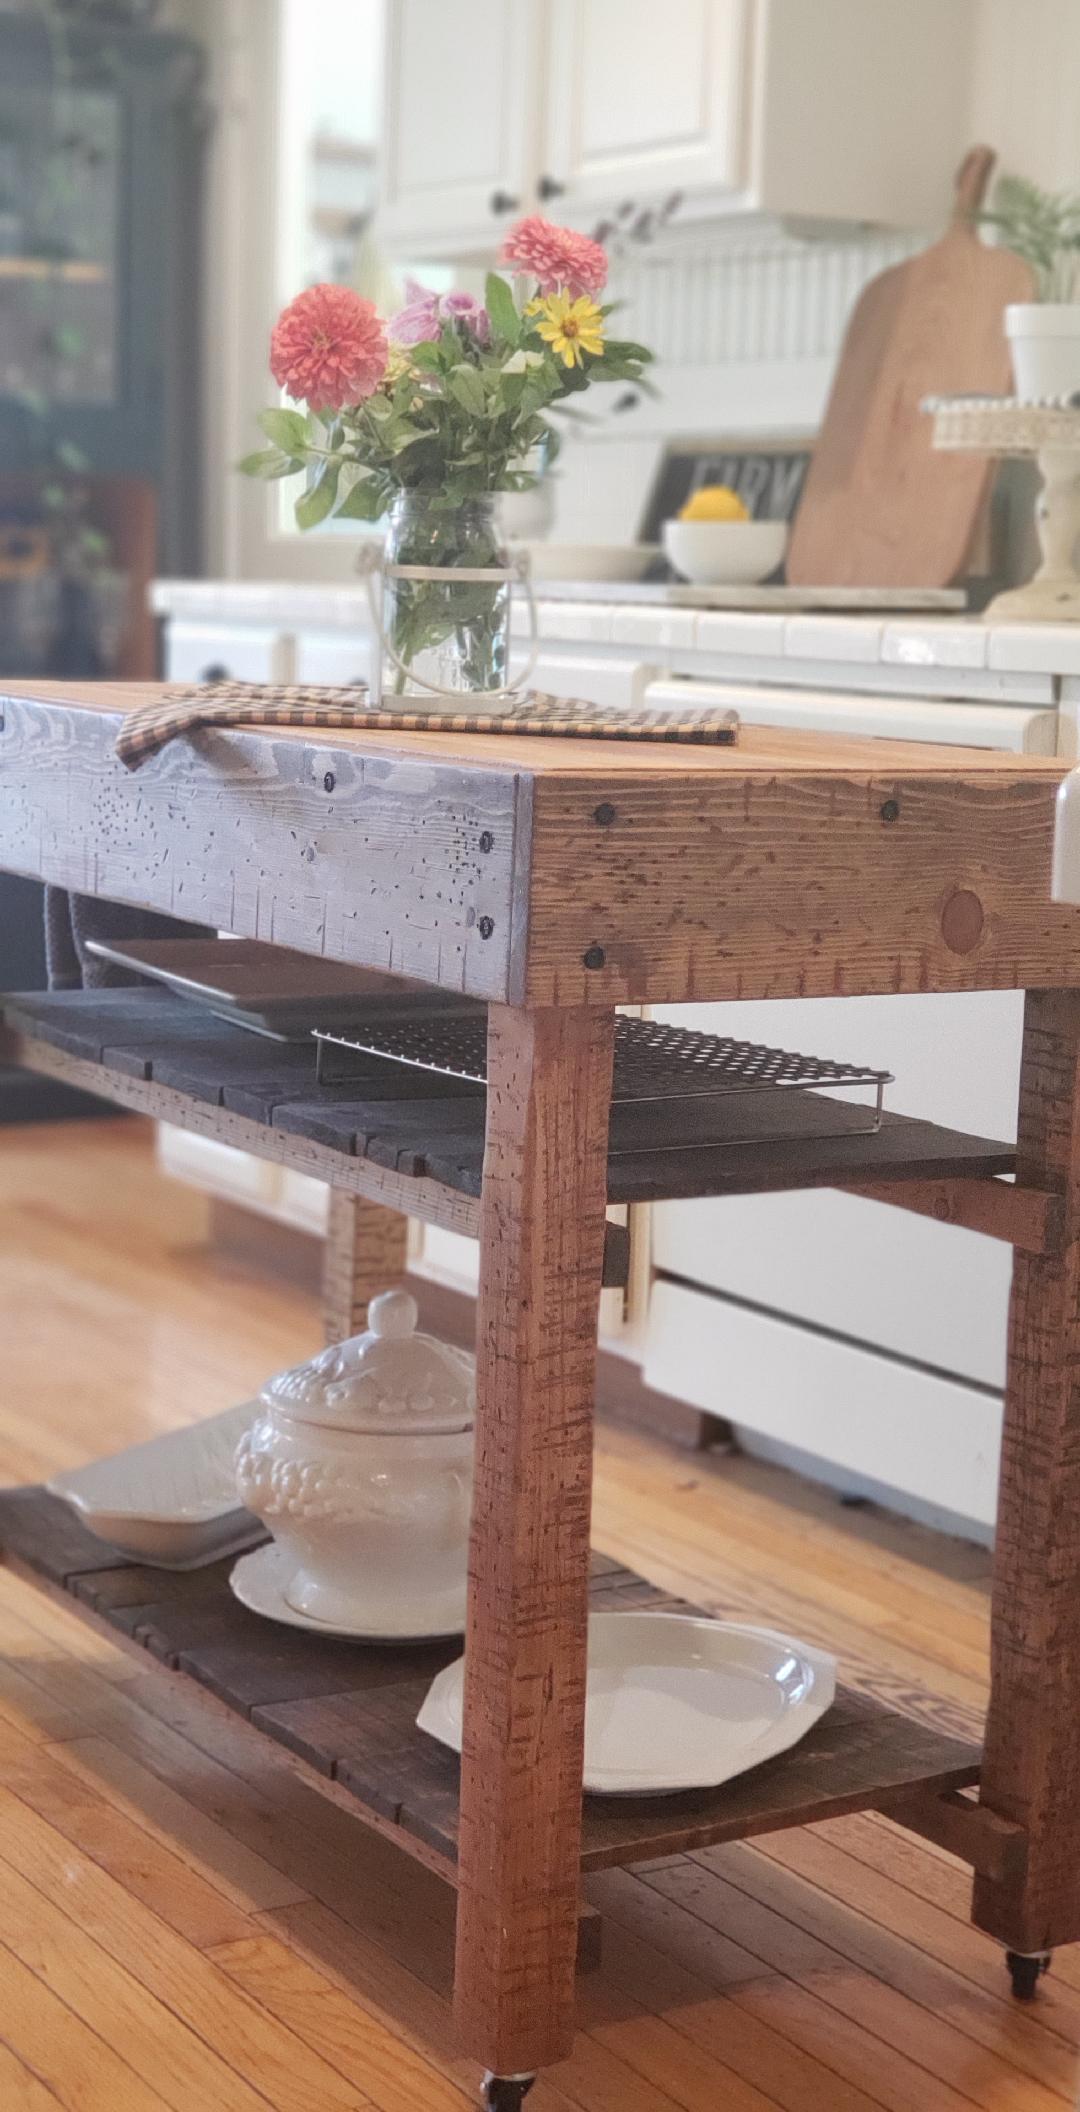
The bottom part had this nice shelf which was great but the slats were just so tiny and hard to clean in between, so he replaced them with wider boards which made it much easier to display and store things on, let alone wipe down better.
Then, this part is so fun, he added a second shelf above using the same style!
I love this shelf because one, I never had it before and now I can store more things like a saute pan or two. Sometimes, I’ve just liked having my cookie cooling rack on it all handy like because after all, cookies are baked in this kitchen on a regular basis.
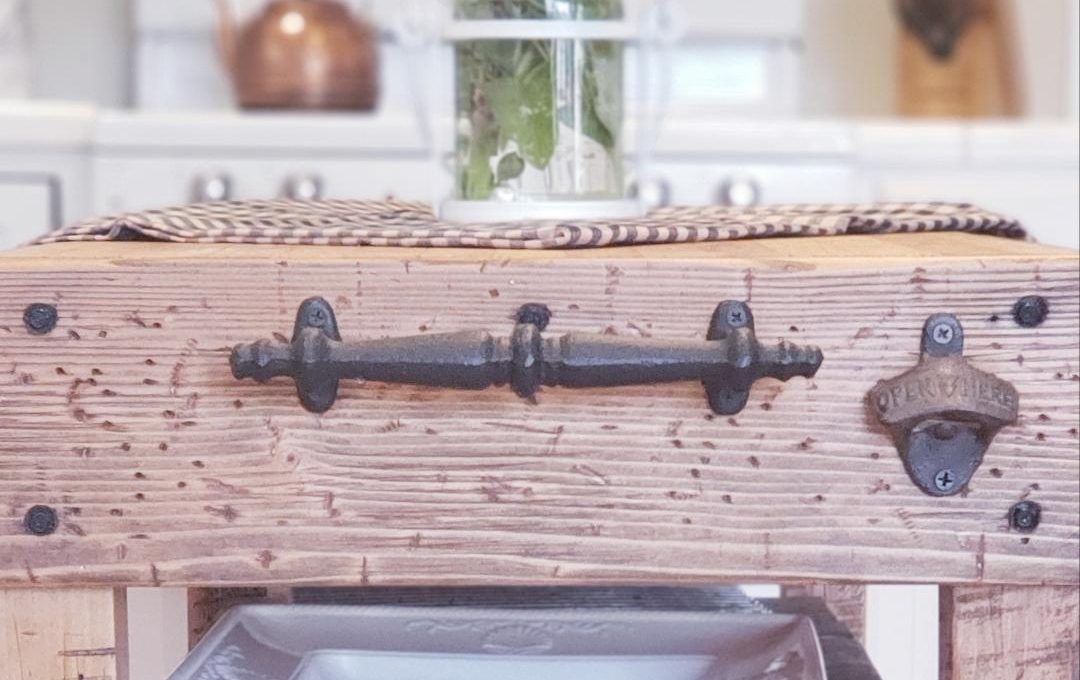
Now after the extra wood had been added, he did this distressing technique to match the already old and distressed chopping block top. So he hammered and banged it up leaving dents and nicks in all of the new wood to really age it.
To finish it off, he rubbed it down with a light stain that looked a like golden honey color which actually wasn’t much darker than the original natural color it had, but was just enough color to get into the grooves and nicks with a contrasting look.
These bolts he used when he attached the newer wood, just add to the character I think!
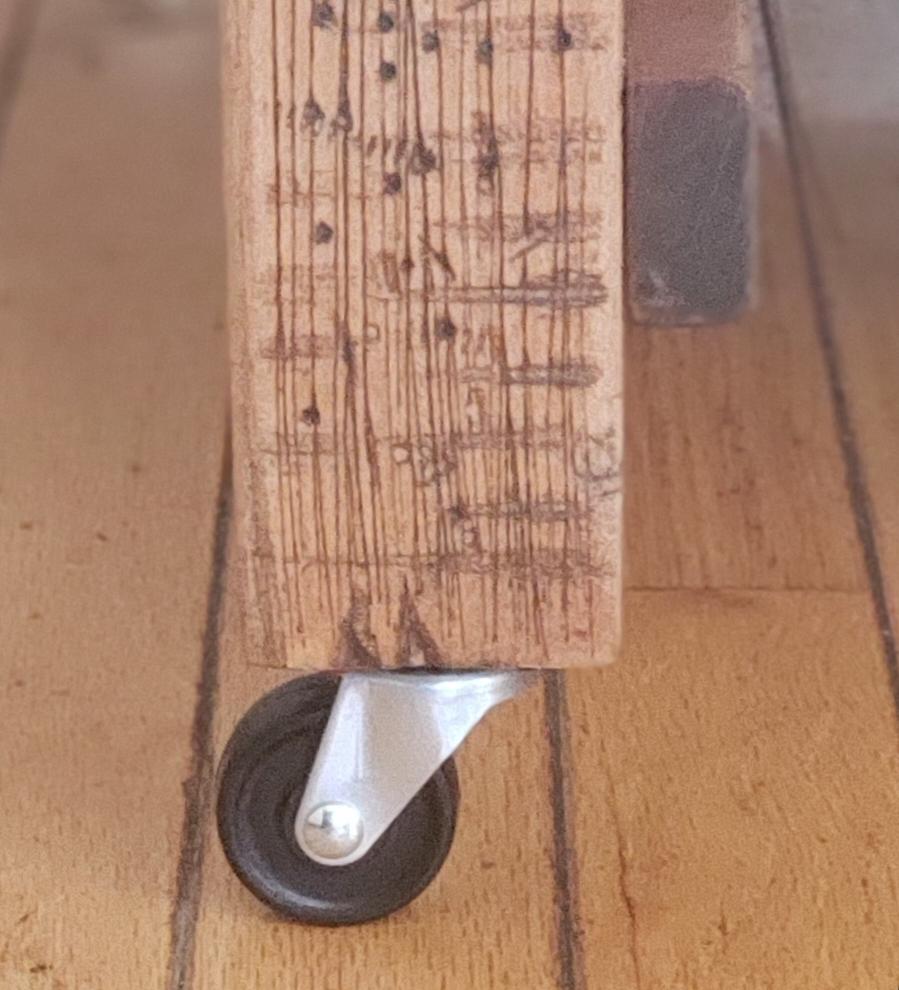
Another thing he added, which I so L – O – V – E are these casters! It makes it so easy to move it out of the way or around the kitchen if needed, by just rolling it.
Easy Peasy, Lemon Squeezy!
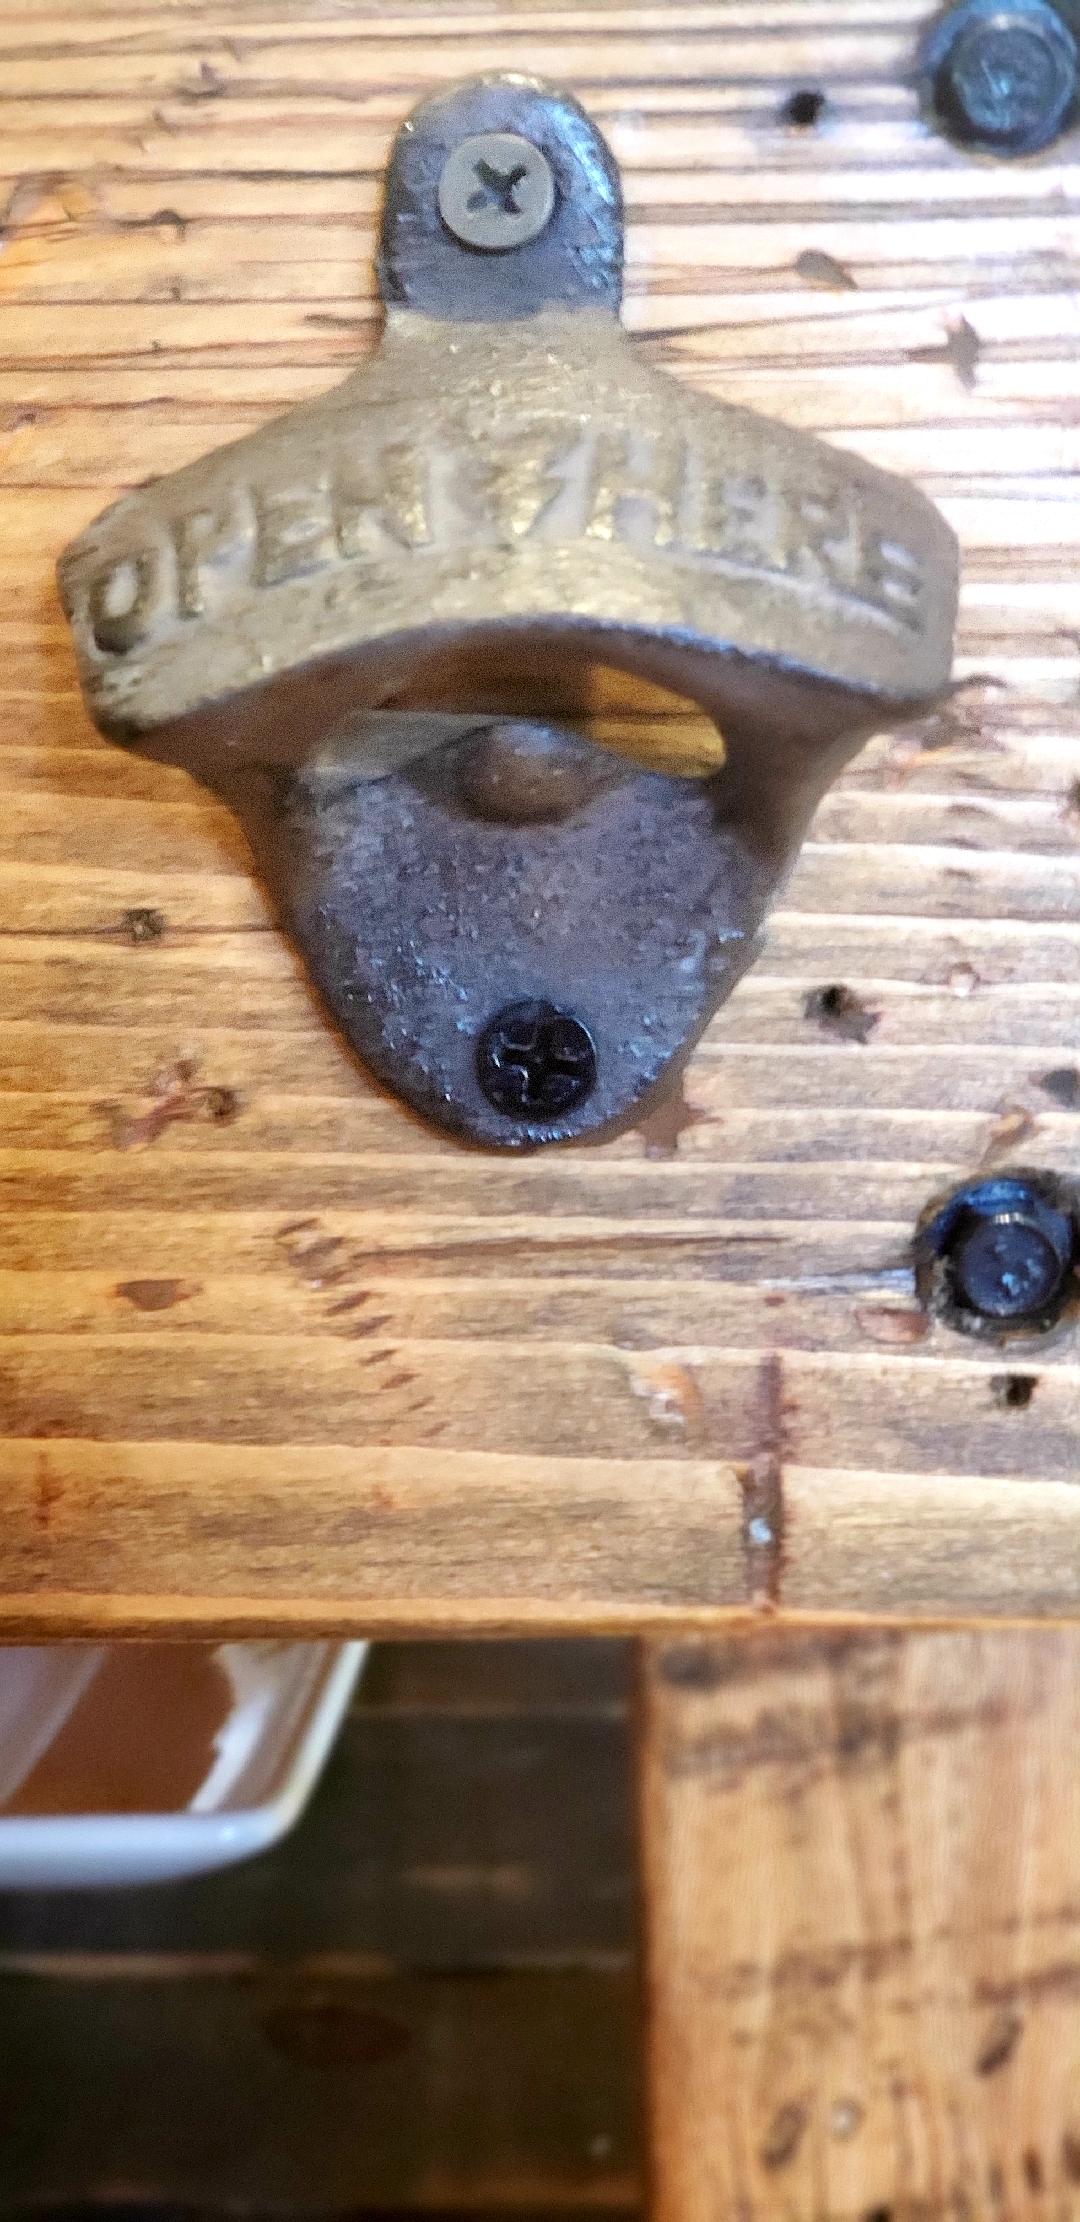
Then he absolutely insisted on this new but old looking bottle opener.
Voila!
So cute right?!
I am so loving it and the whole refreshed but vintage look it has, and it really didn’t take much time or expense for this refurbish either!
So I’m asking you now, do you have a piece of furnish that could use a little update or refurbishing? Just tilt your head as you look at it and picture, with a little effort, how much better it could look. Don’t throw it out, just envision what it could be!
Or, are you looking for a small island to add to your kitchen? Don’t have a piece of furniture that you could transform into what you need, like a console or old dresser? Then what are you waiting for? Get yourself on FB Market Place or your local thrift store and find some old discarded thing that’s super cheap and refurbish it into what you want!
It doesn’t take much money or effort. Just a little vision and some elbow grease, then you too can have an updated look that will transform your kitchen, or any other room in your home that just might need a little extra love.
I’m telling you, you can do it, you’re amazing, and have hidden skills and talent that’s just waiting to be unlocked!
Happy DIY -ing my friend,
XO Jerri
