A GARDEN ROOM
Hey there! How’ve you been? You good? Ok? Hanging in there? Gosh I sure hope so. Here I am a new Granny in my Garden Room but boy it took me awhile to get there. You see, I’ve been teaching distant learning which has been something totally new for me.
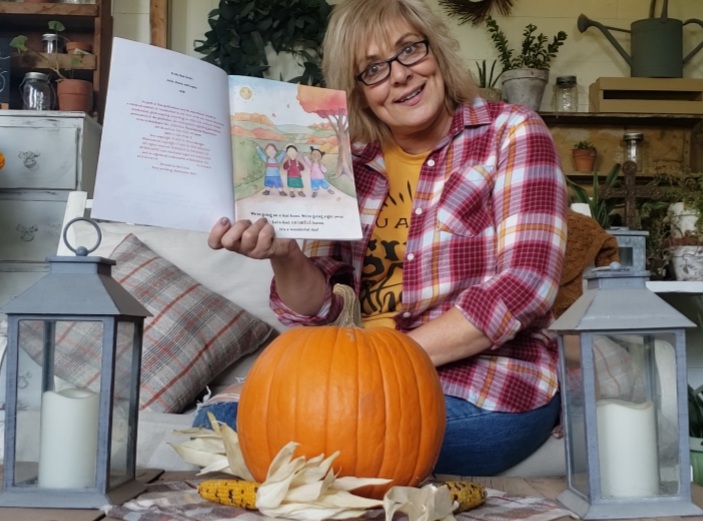
Most of you may, but some of you might not, know that I am a kindergarten teacher, TK in fact. So there has been no time for blogging, let me tell you. I feel like I’m blogging my lessons now and creating Bitmoji Virtual Classrooms, Google Slides and hosting Live Meets with 4 & 5 year olds where we somehow still sing, dance, count, do our ABC’s and learn and get so smart!
Now that’s me, but can you imagine what the parents of my students are going through? Maybe you know exactly what that’s like because you’re a parent monitoring distant learning yourself. Here’s a great article to support you. It is very strange to say the least but as we say in Kinderland, “Do we cry, or do we try?” We try and that’s what I’ve been “trying” to do. Ha Ha
It really was so sad not to finish out the year with my sweet students last May but I learned how to create story time and video lessons which was challenging but kind of fun and now that the year has started again, I am doing it all live on the computer! What in the world! Hmmm, so what I thought was going to be a “Spring Break Project” pre – pandemic thinking, turned into an end of summer/ fall thing. So here it is, my Garden Room!
THIS GARDEN ROOM HAS HISTORY
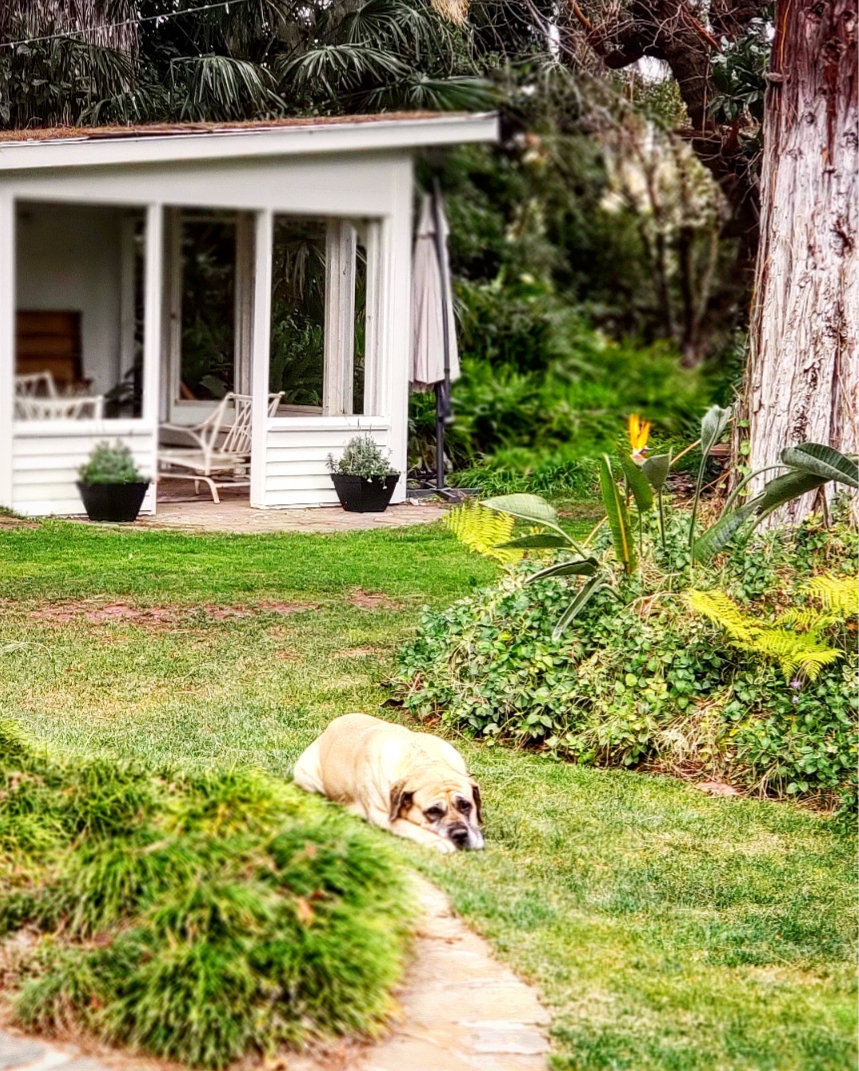
This outbuilding on the property started off as an outdoor covered patio area that’s attached to a shed. Basically it has evolved. It’s original state was a bunk house for the old ranch hands on this 1912 Farmhouse and farm. We moved here ( The Story of Our Farmhouse ) in 2oo4 and at that time it was a screened in room but before that I was told it was a huge cage/coop for pigeons.
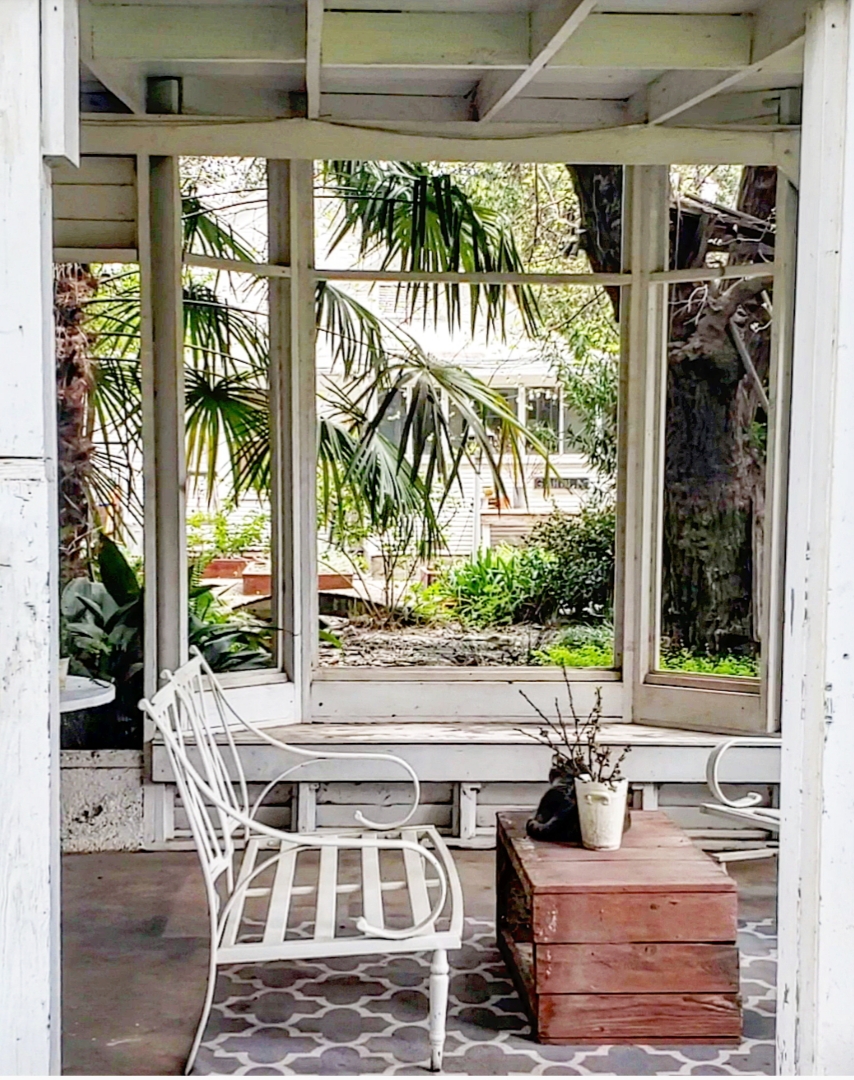
When we moved here I removed all of the old worn and dirty screens to just leave it as an open air place where we usually put a table to set food on when we ate outside. However, it never really felt quite right. It was always an awkward room and I was ready to give some purpose.
GRANNY’S GARDEN SPACE
That’s when I enlisted you my friends for some help on Instagram in my stories for suggestions of what I should call it. I felt, if I had a name it would help with it’s design. I got some great suggestions like the pavilion, portico, porch, green house, but my sweet friend Doni @Ballypatrick.flower.farm suggested the Garden Room and I was sold, especially when she went further and said, “even better, Granny’s Garden Room!”
She new we were expecting a grandchild soon and boy that hit the nail on the head. This little space would make the perfect place of rest, a tranquil peaceful oasis amid the hot summer sun to escape to. A place where me, a new Granny, could sit, rest, and read maybe. Or how about snuggle up a sweet grandchild and have a magical story time? Yes! That’s it!
THE REFURBISH
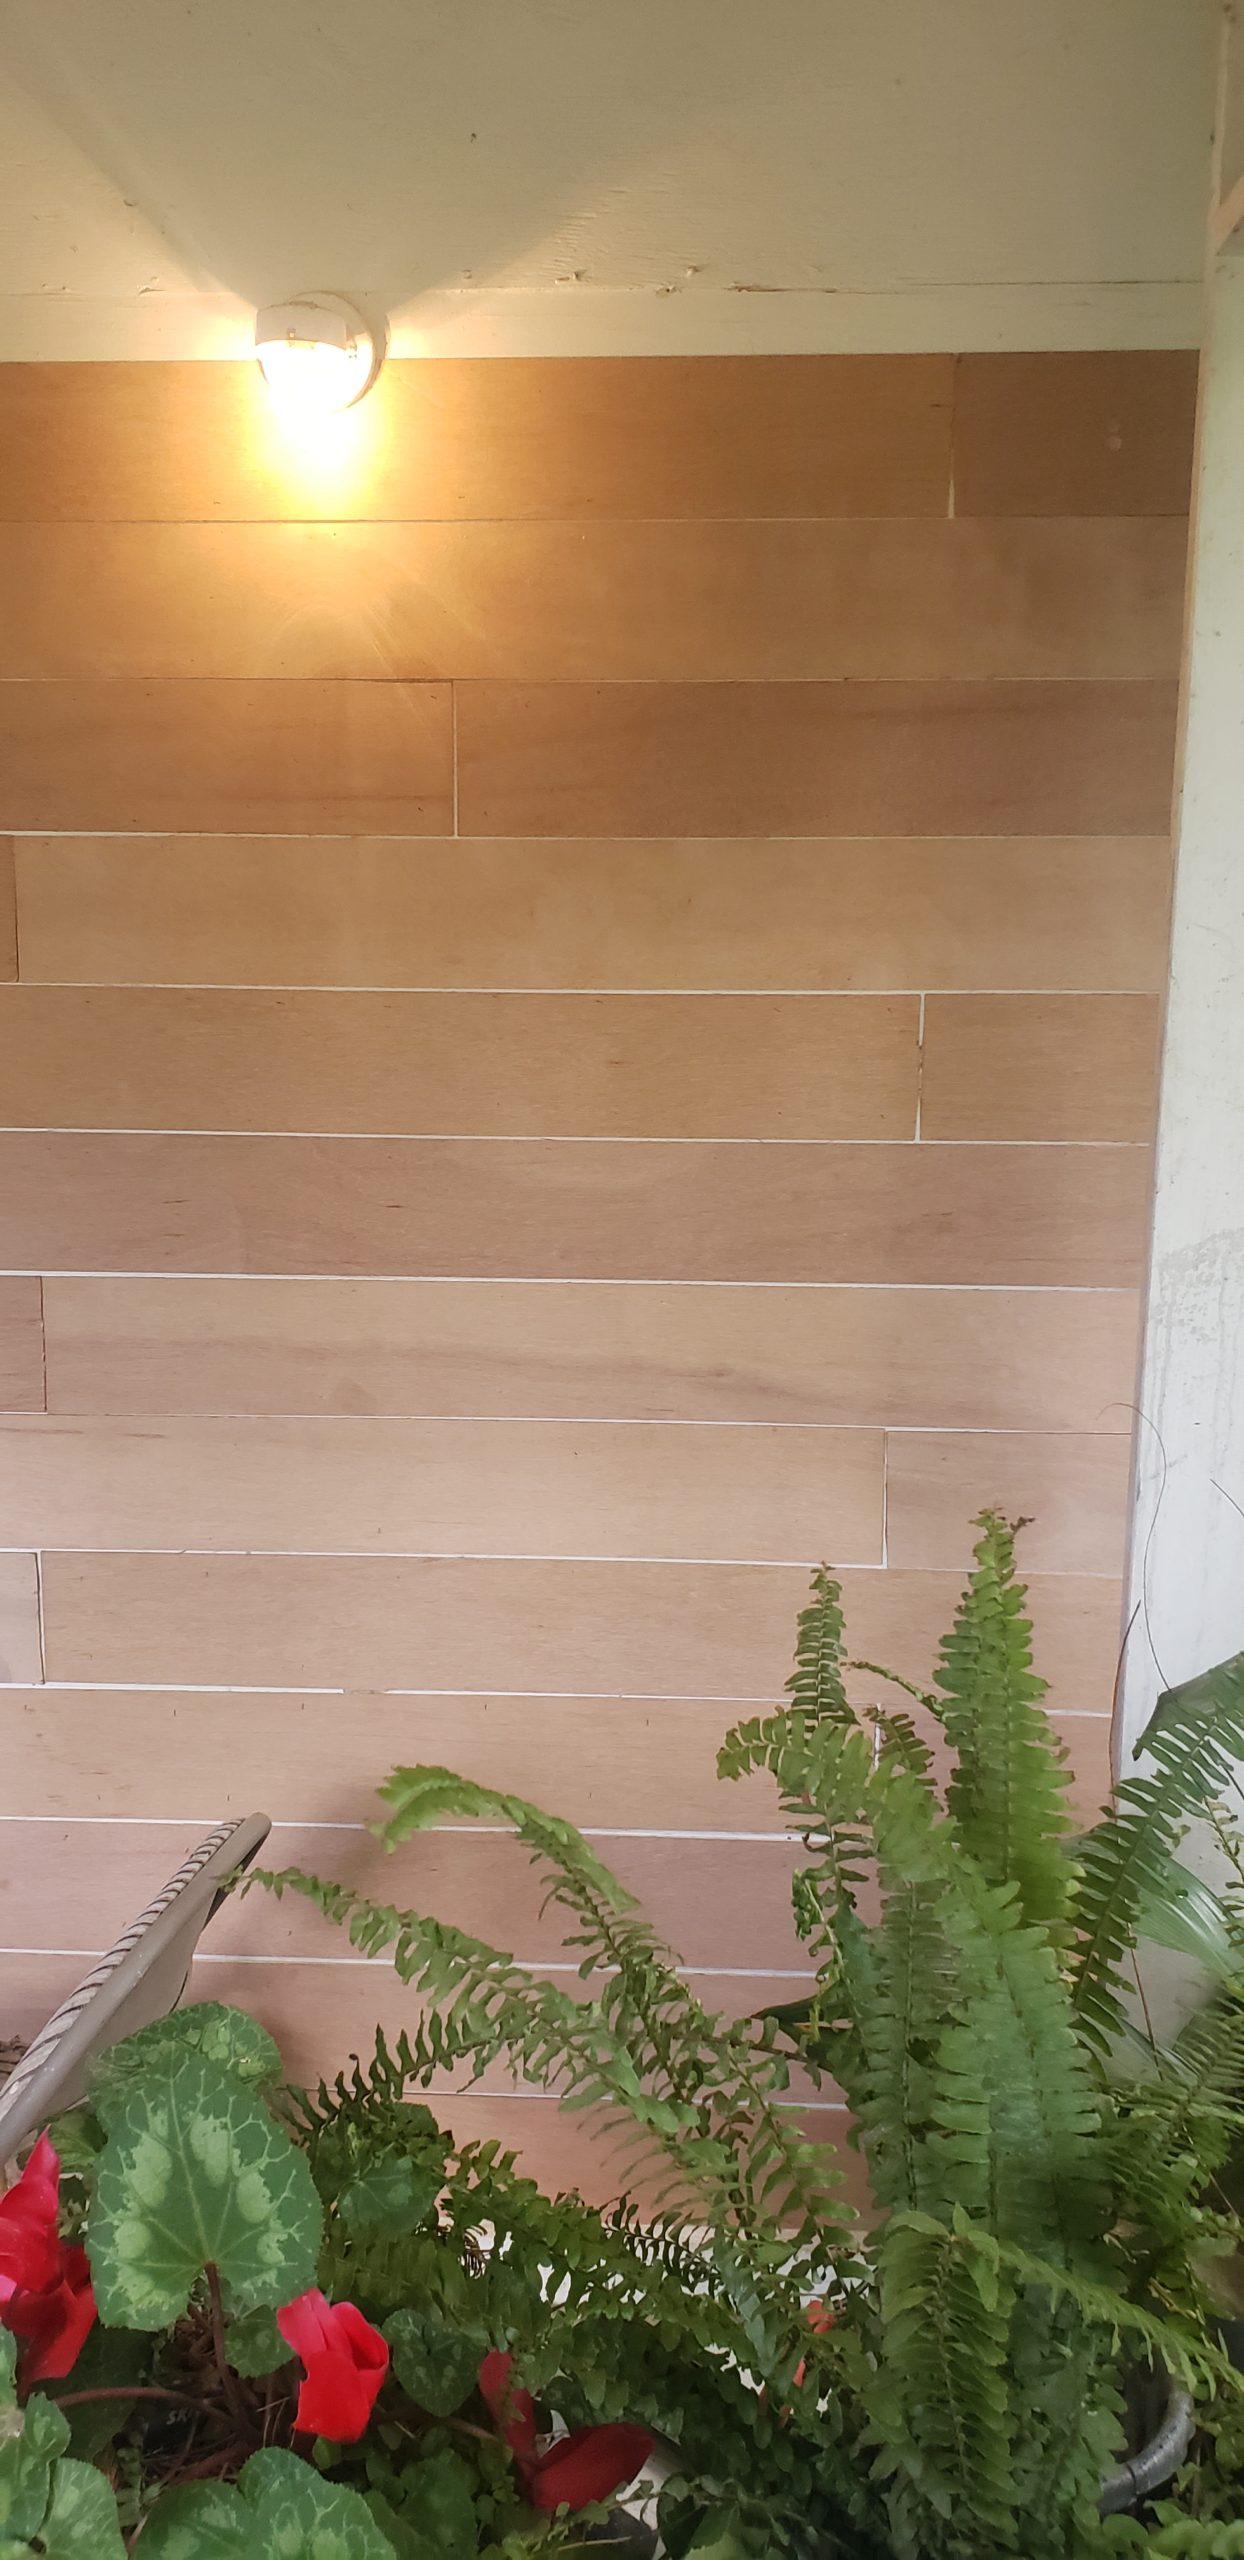
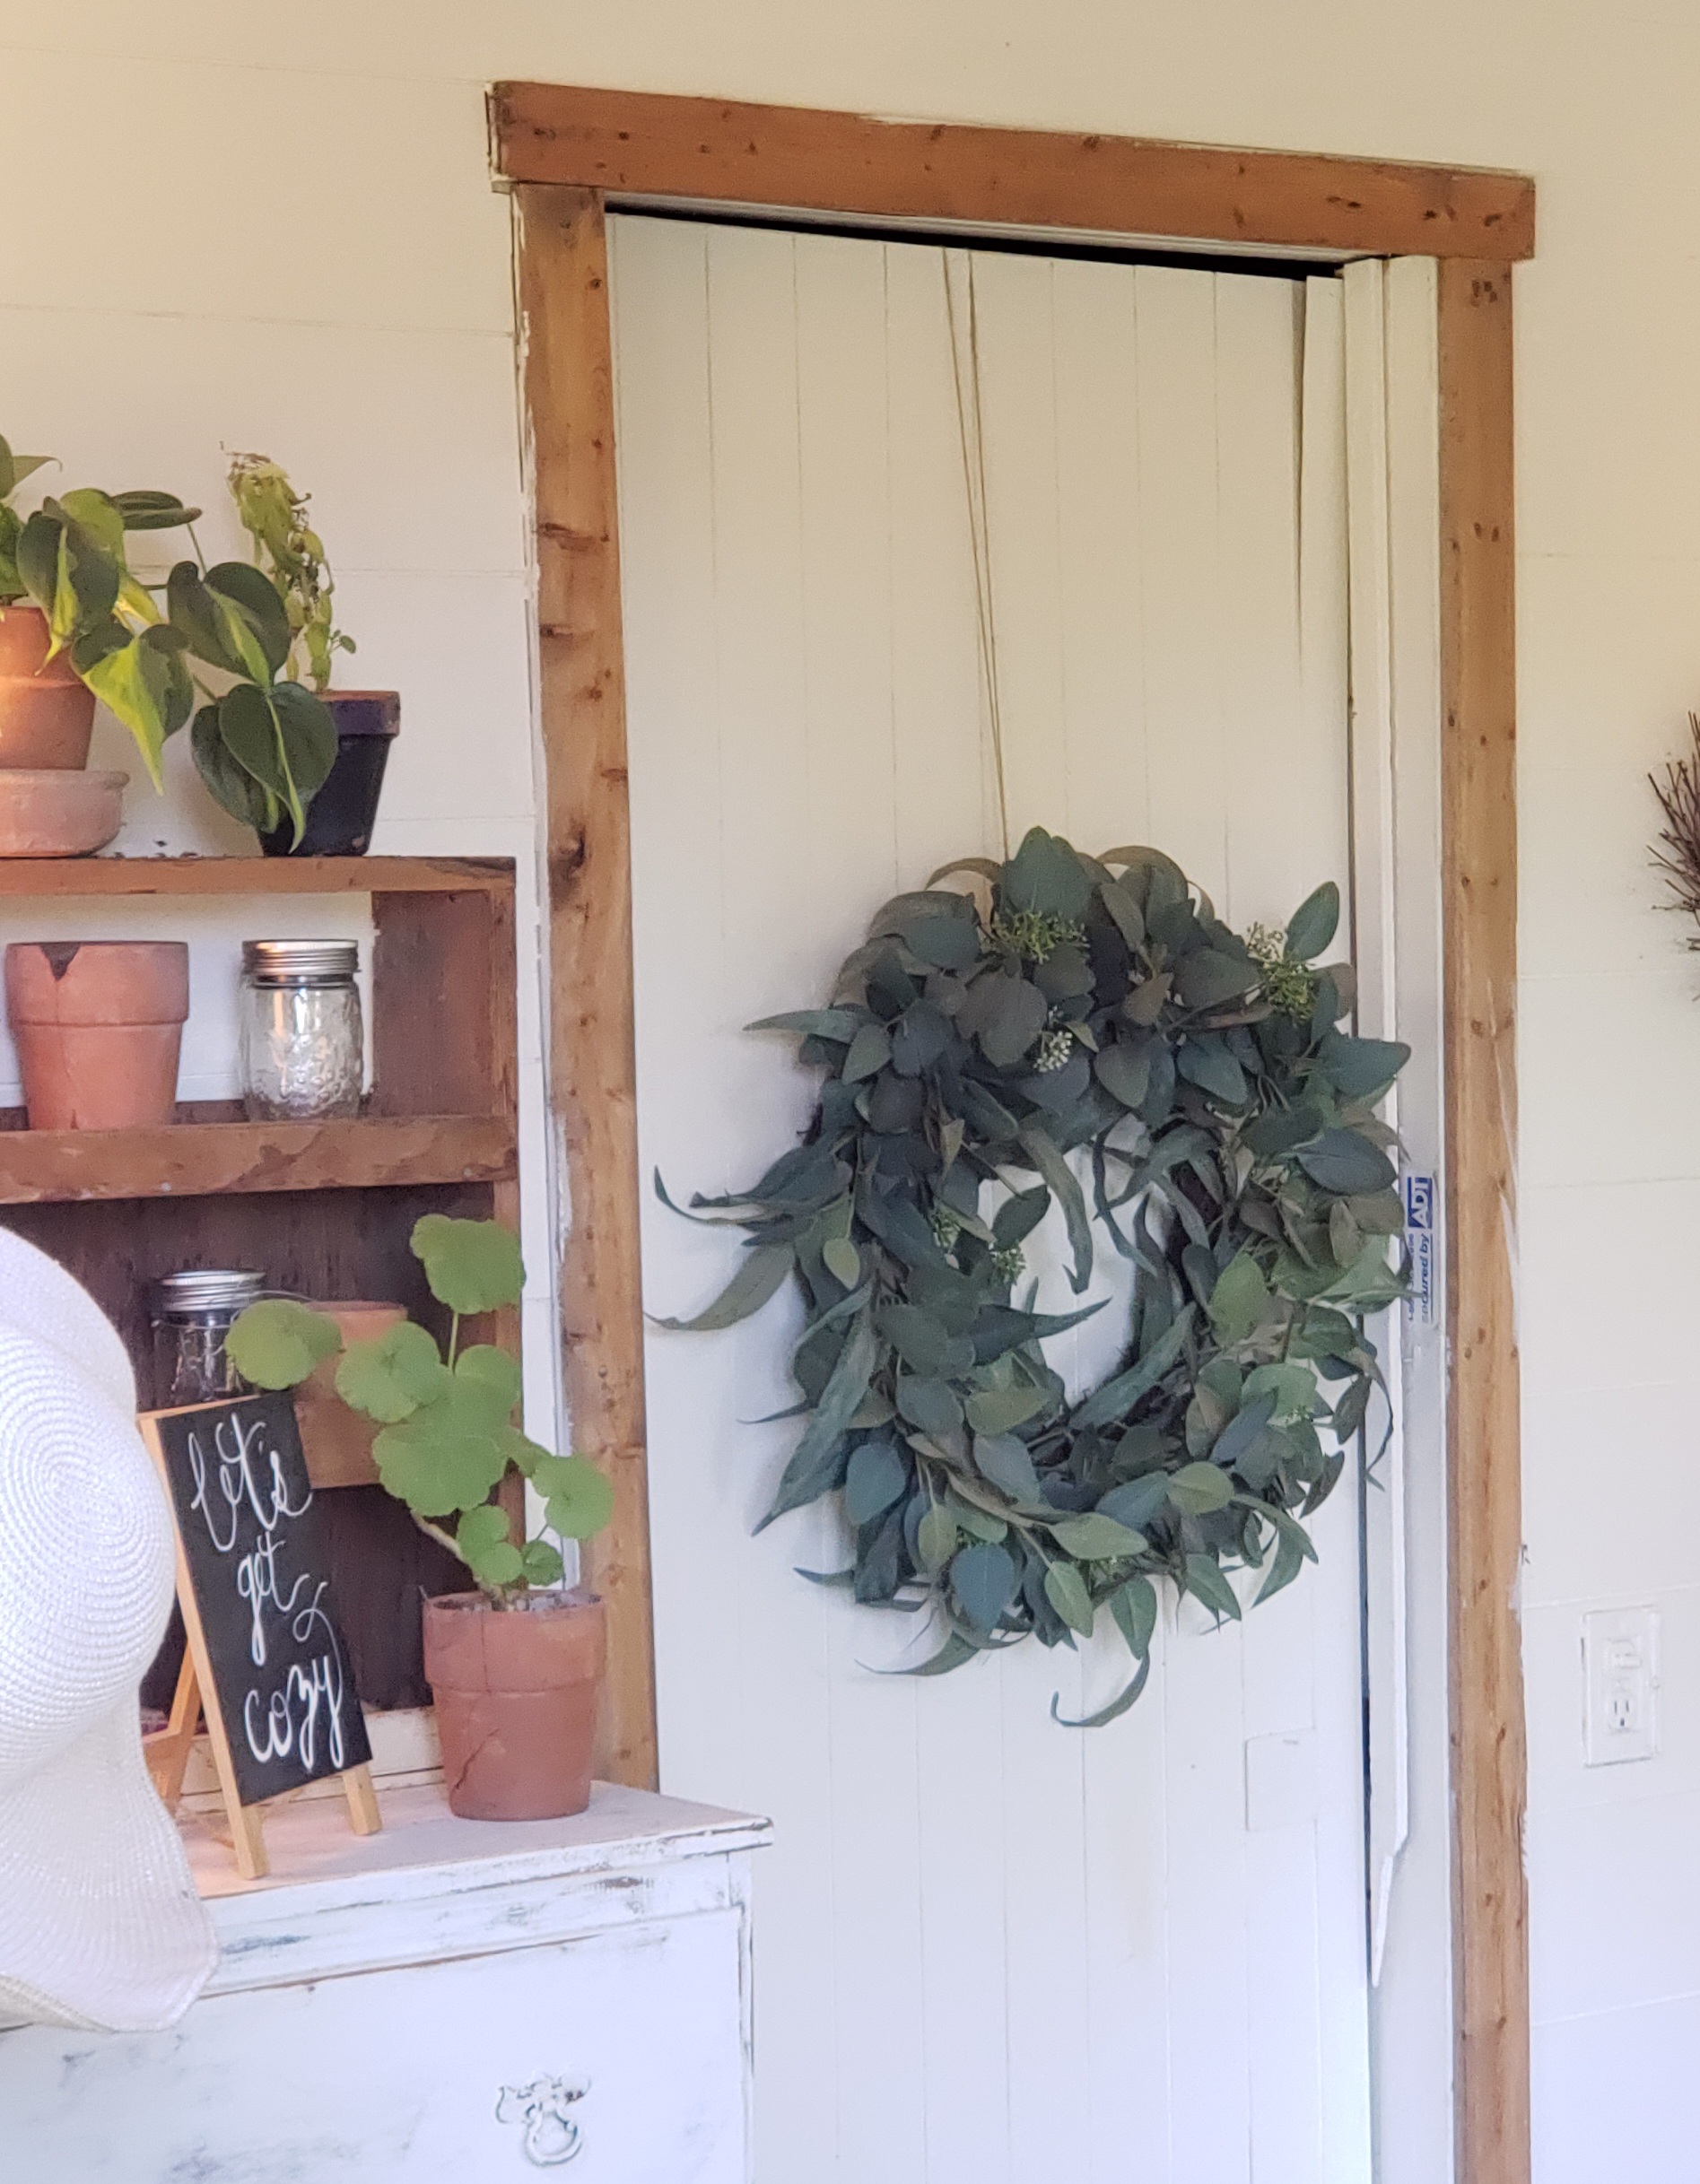
So first I ship lapped the back wall that was shared by the shed (old bunkhouse.) Which is so easy to do if you haven’t done that in your home yet. It’s just a thin piece of ply wood that you get at Home Depot and you have them cut it horizontally every 6 inches. Then you take it home, put a little adhesive on the back and nail it up with a nail gun. Super easy!
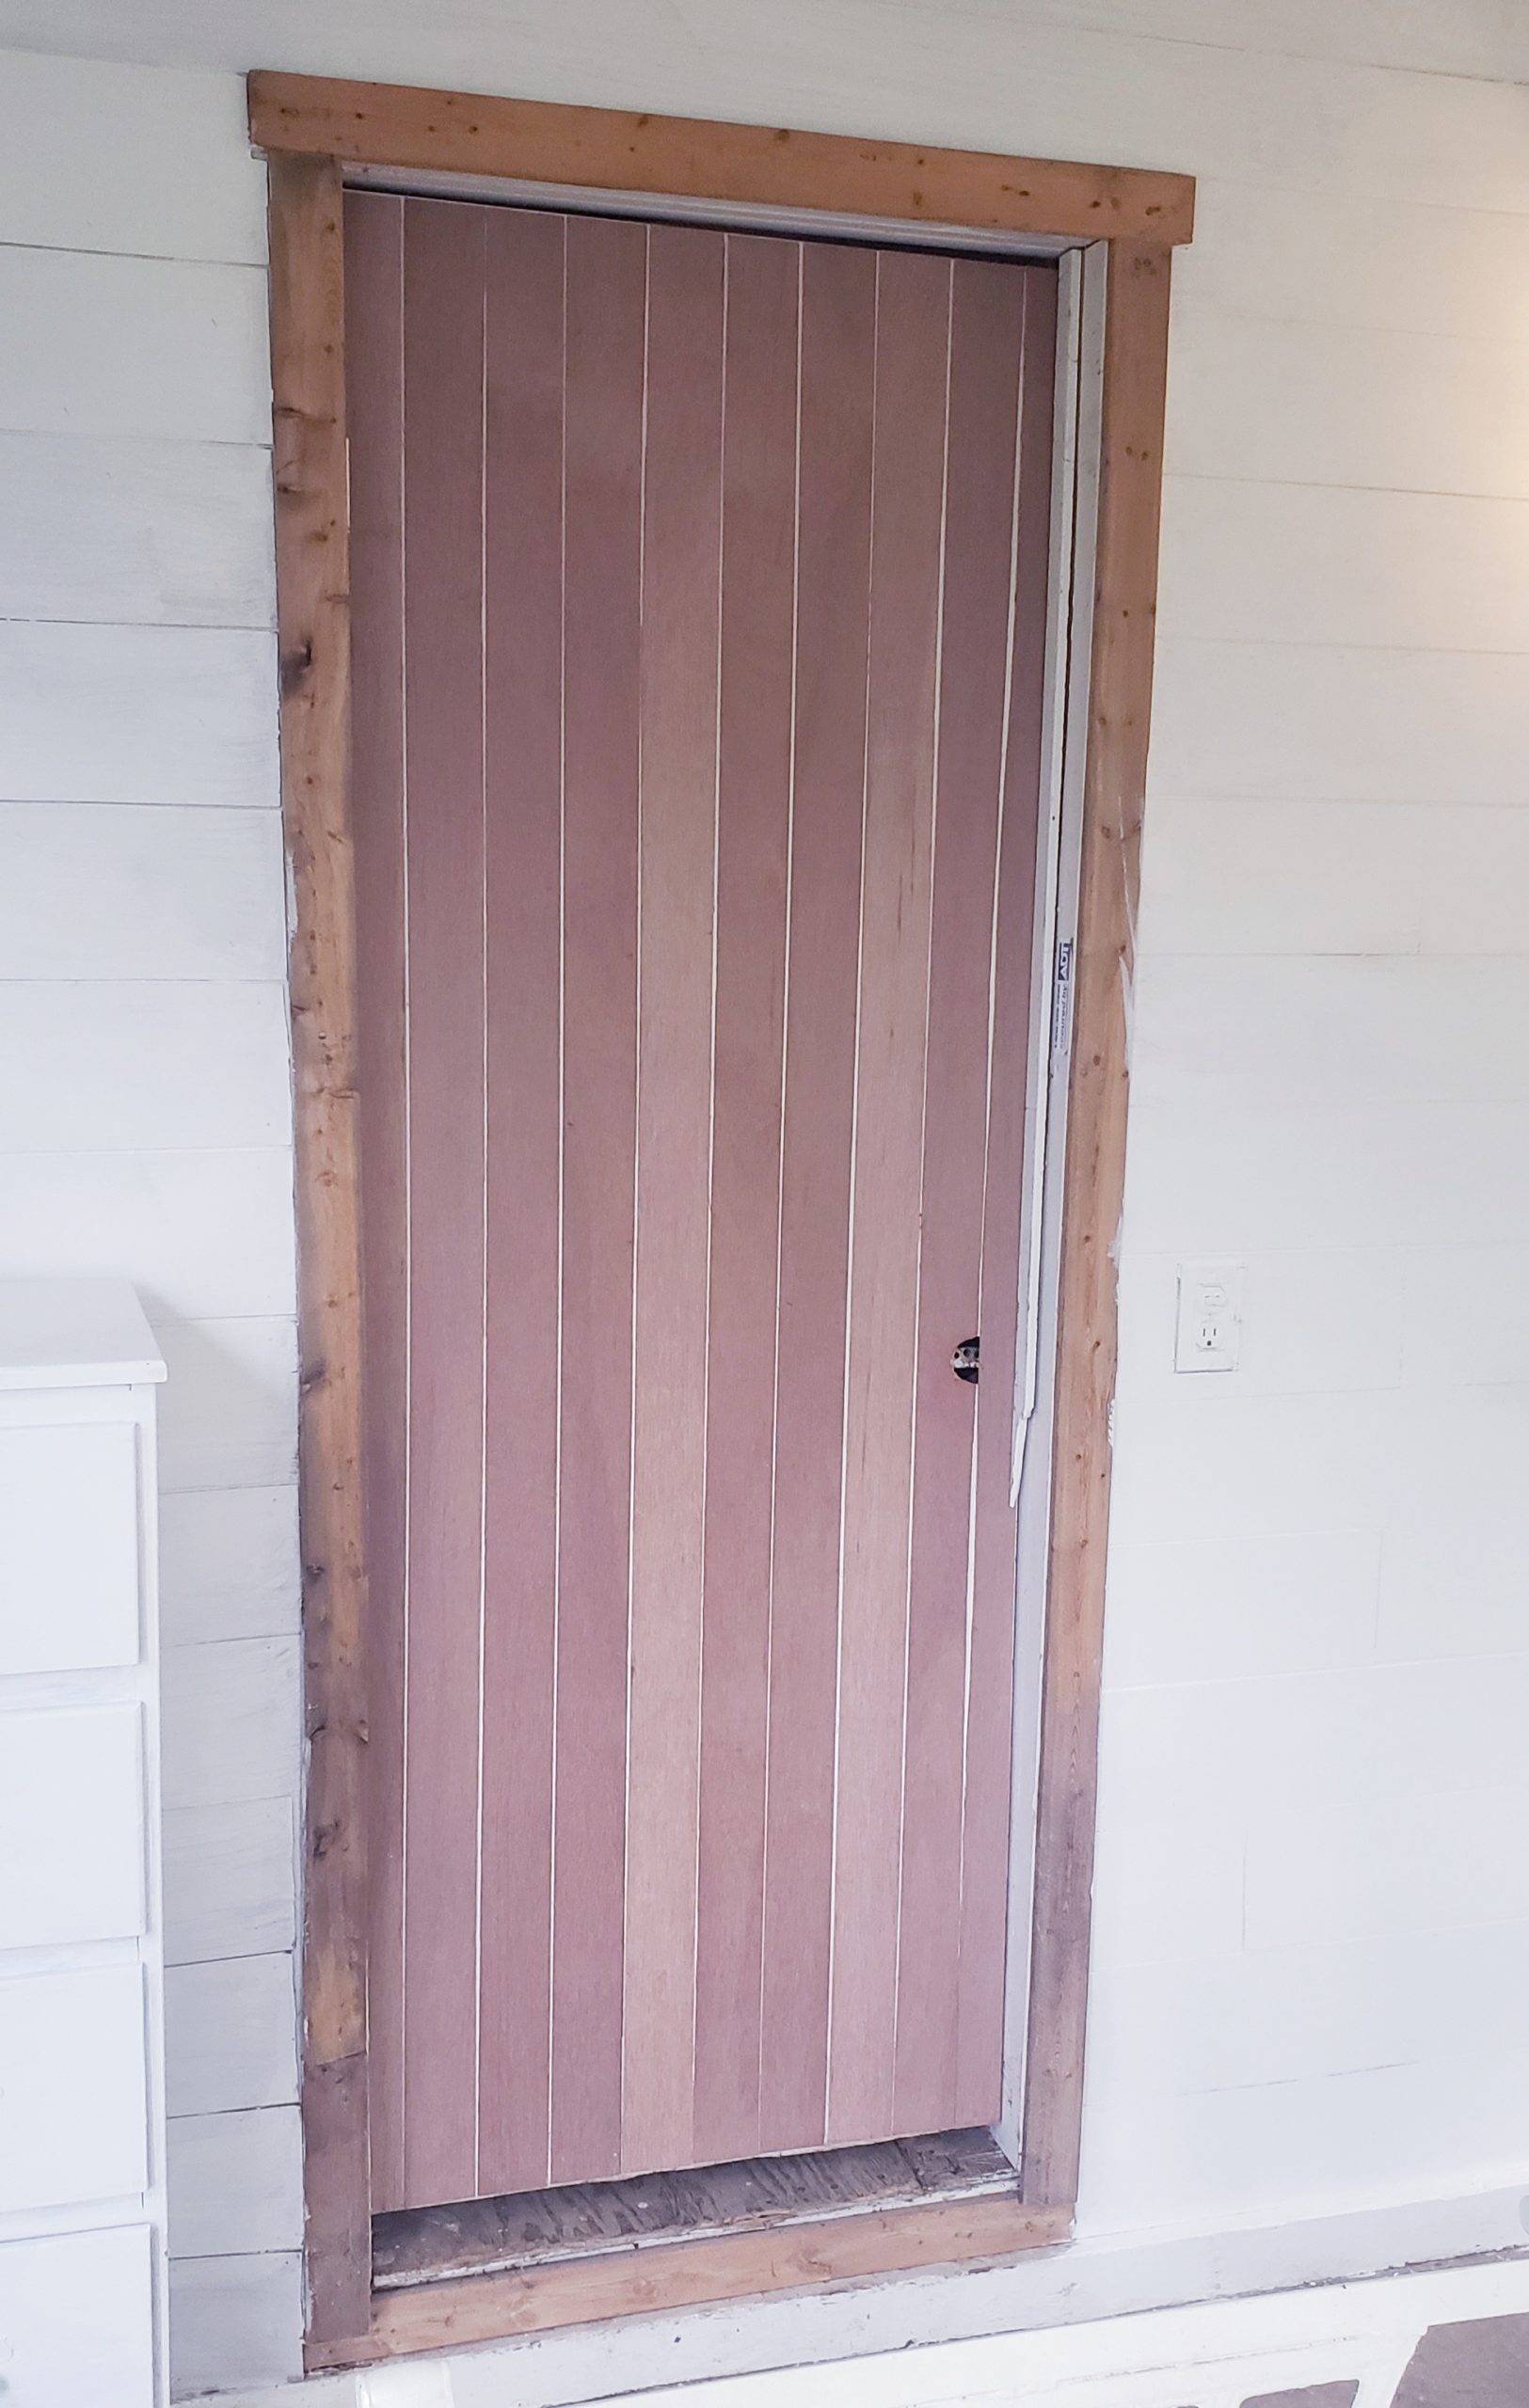
I even ship lapped the ugly door! You might have to cut to fit a few pieces, but otherwise so simple and fast. You can read more about it here when I first did it in my bathroom. Next just painting it all white gave it that fun farmhouse look.
BRINGING THE INDOORS OUT
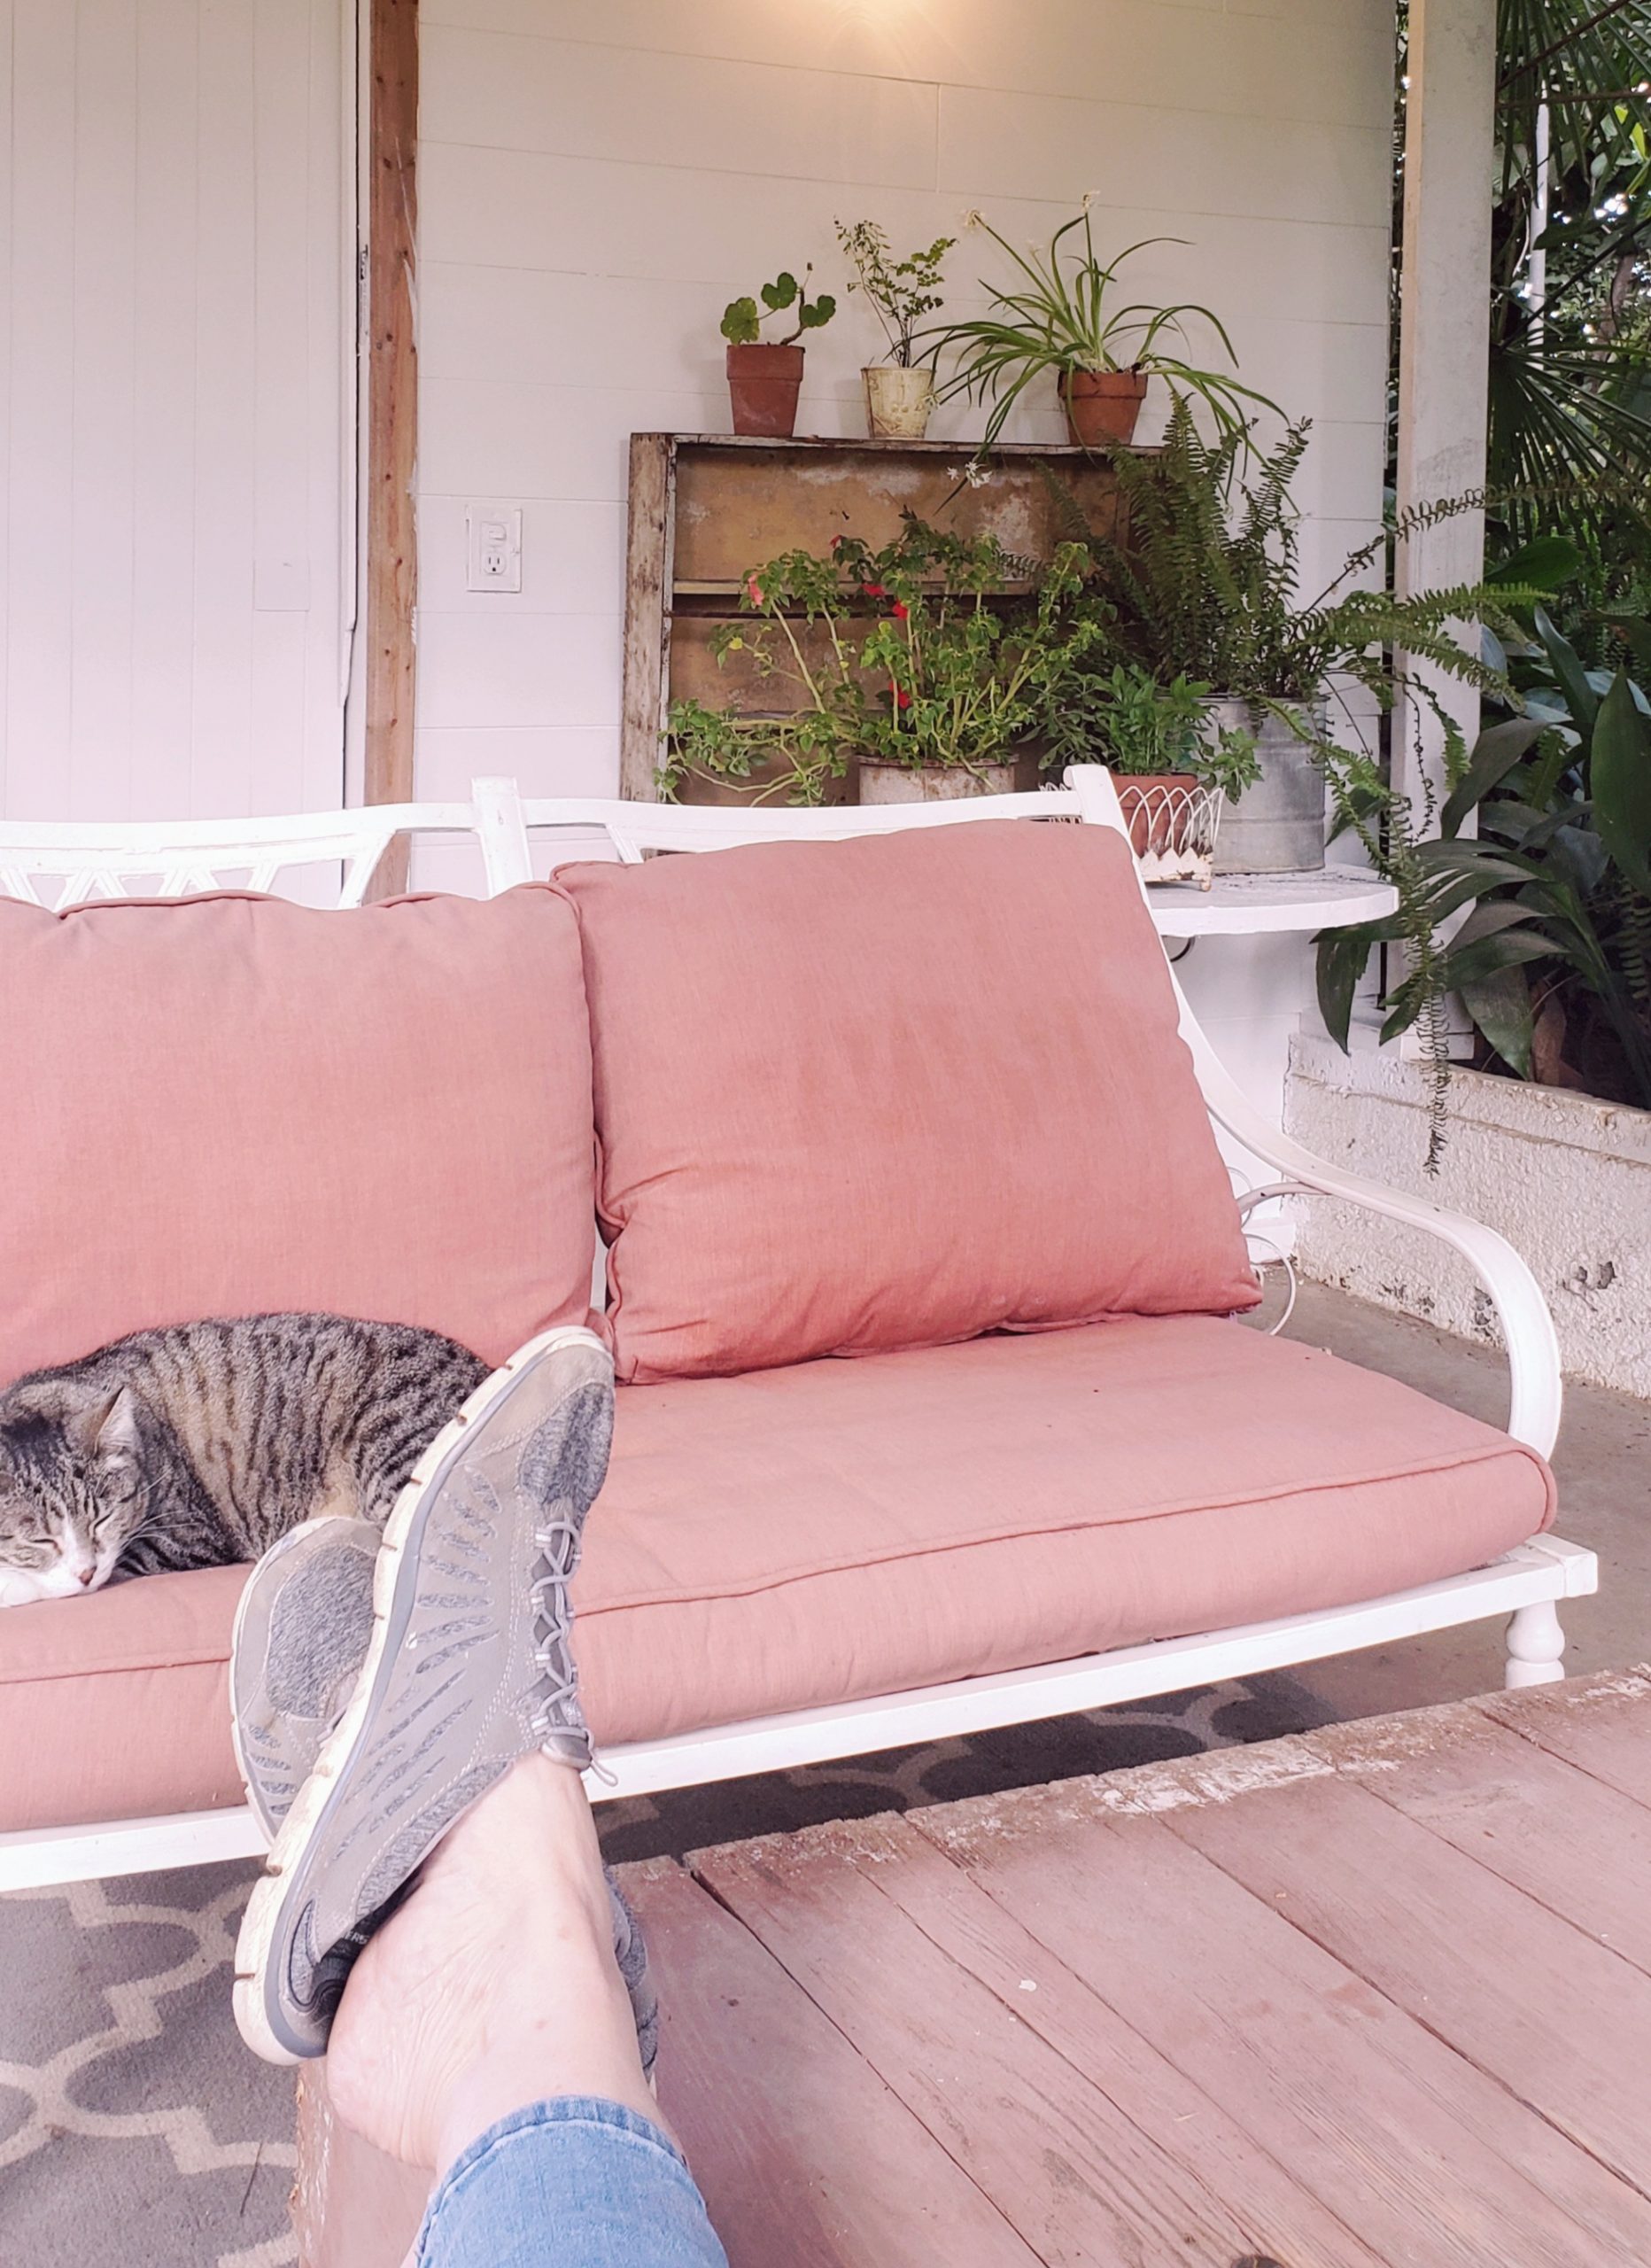
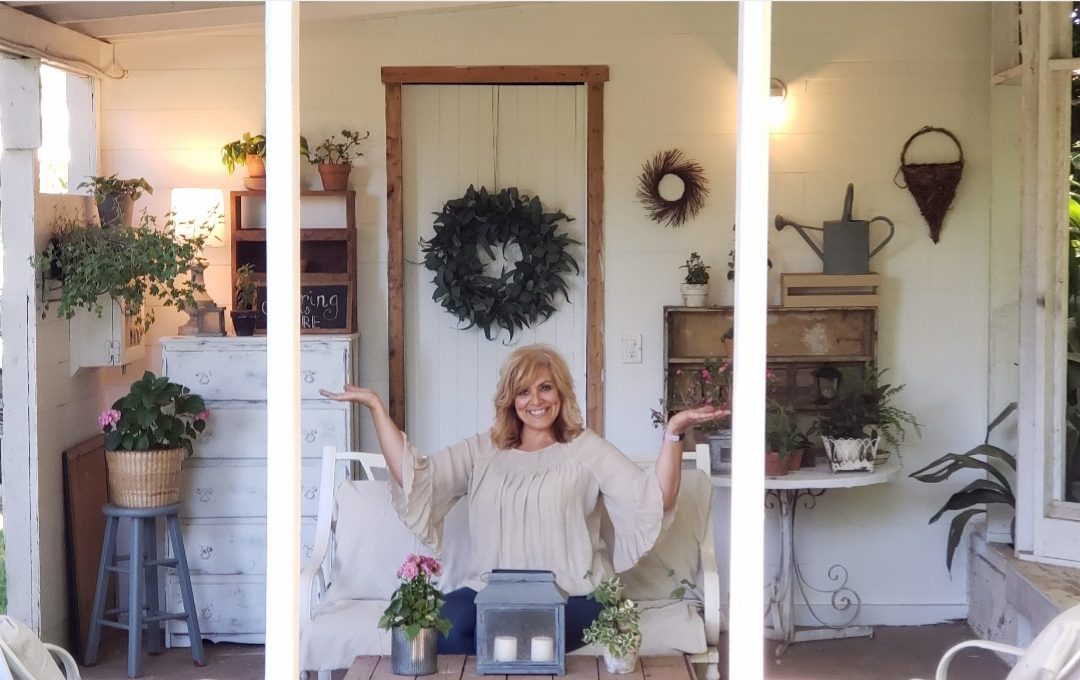
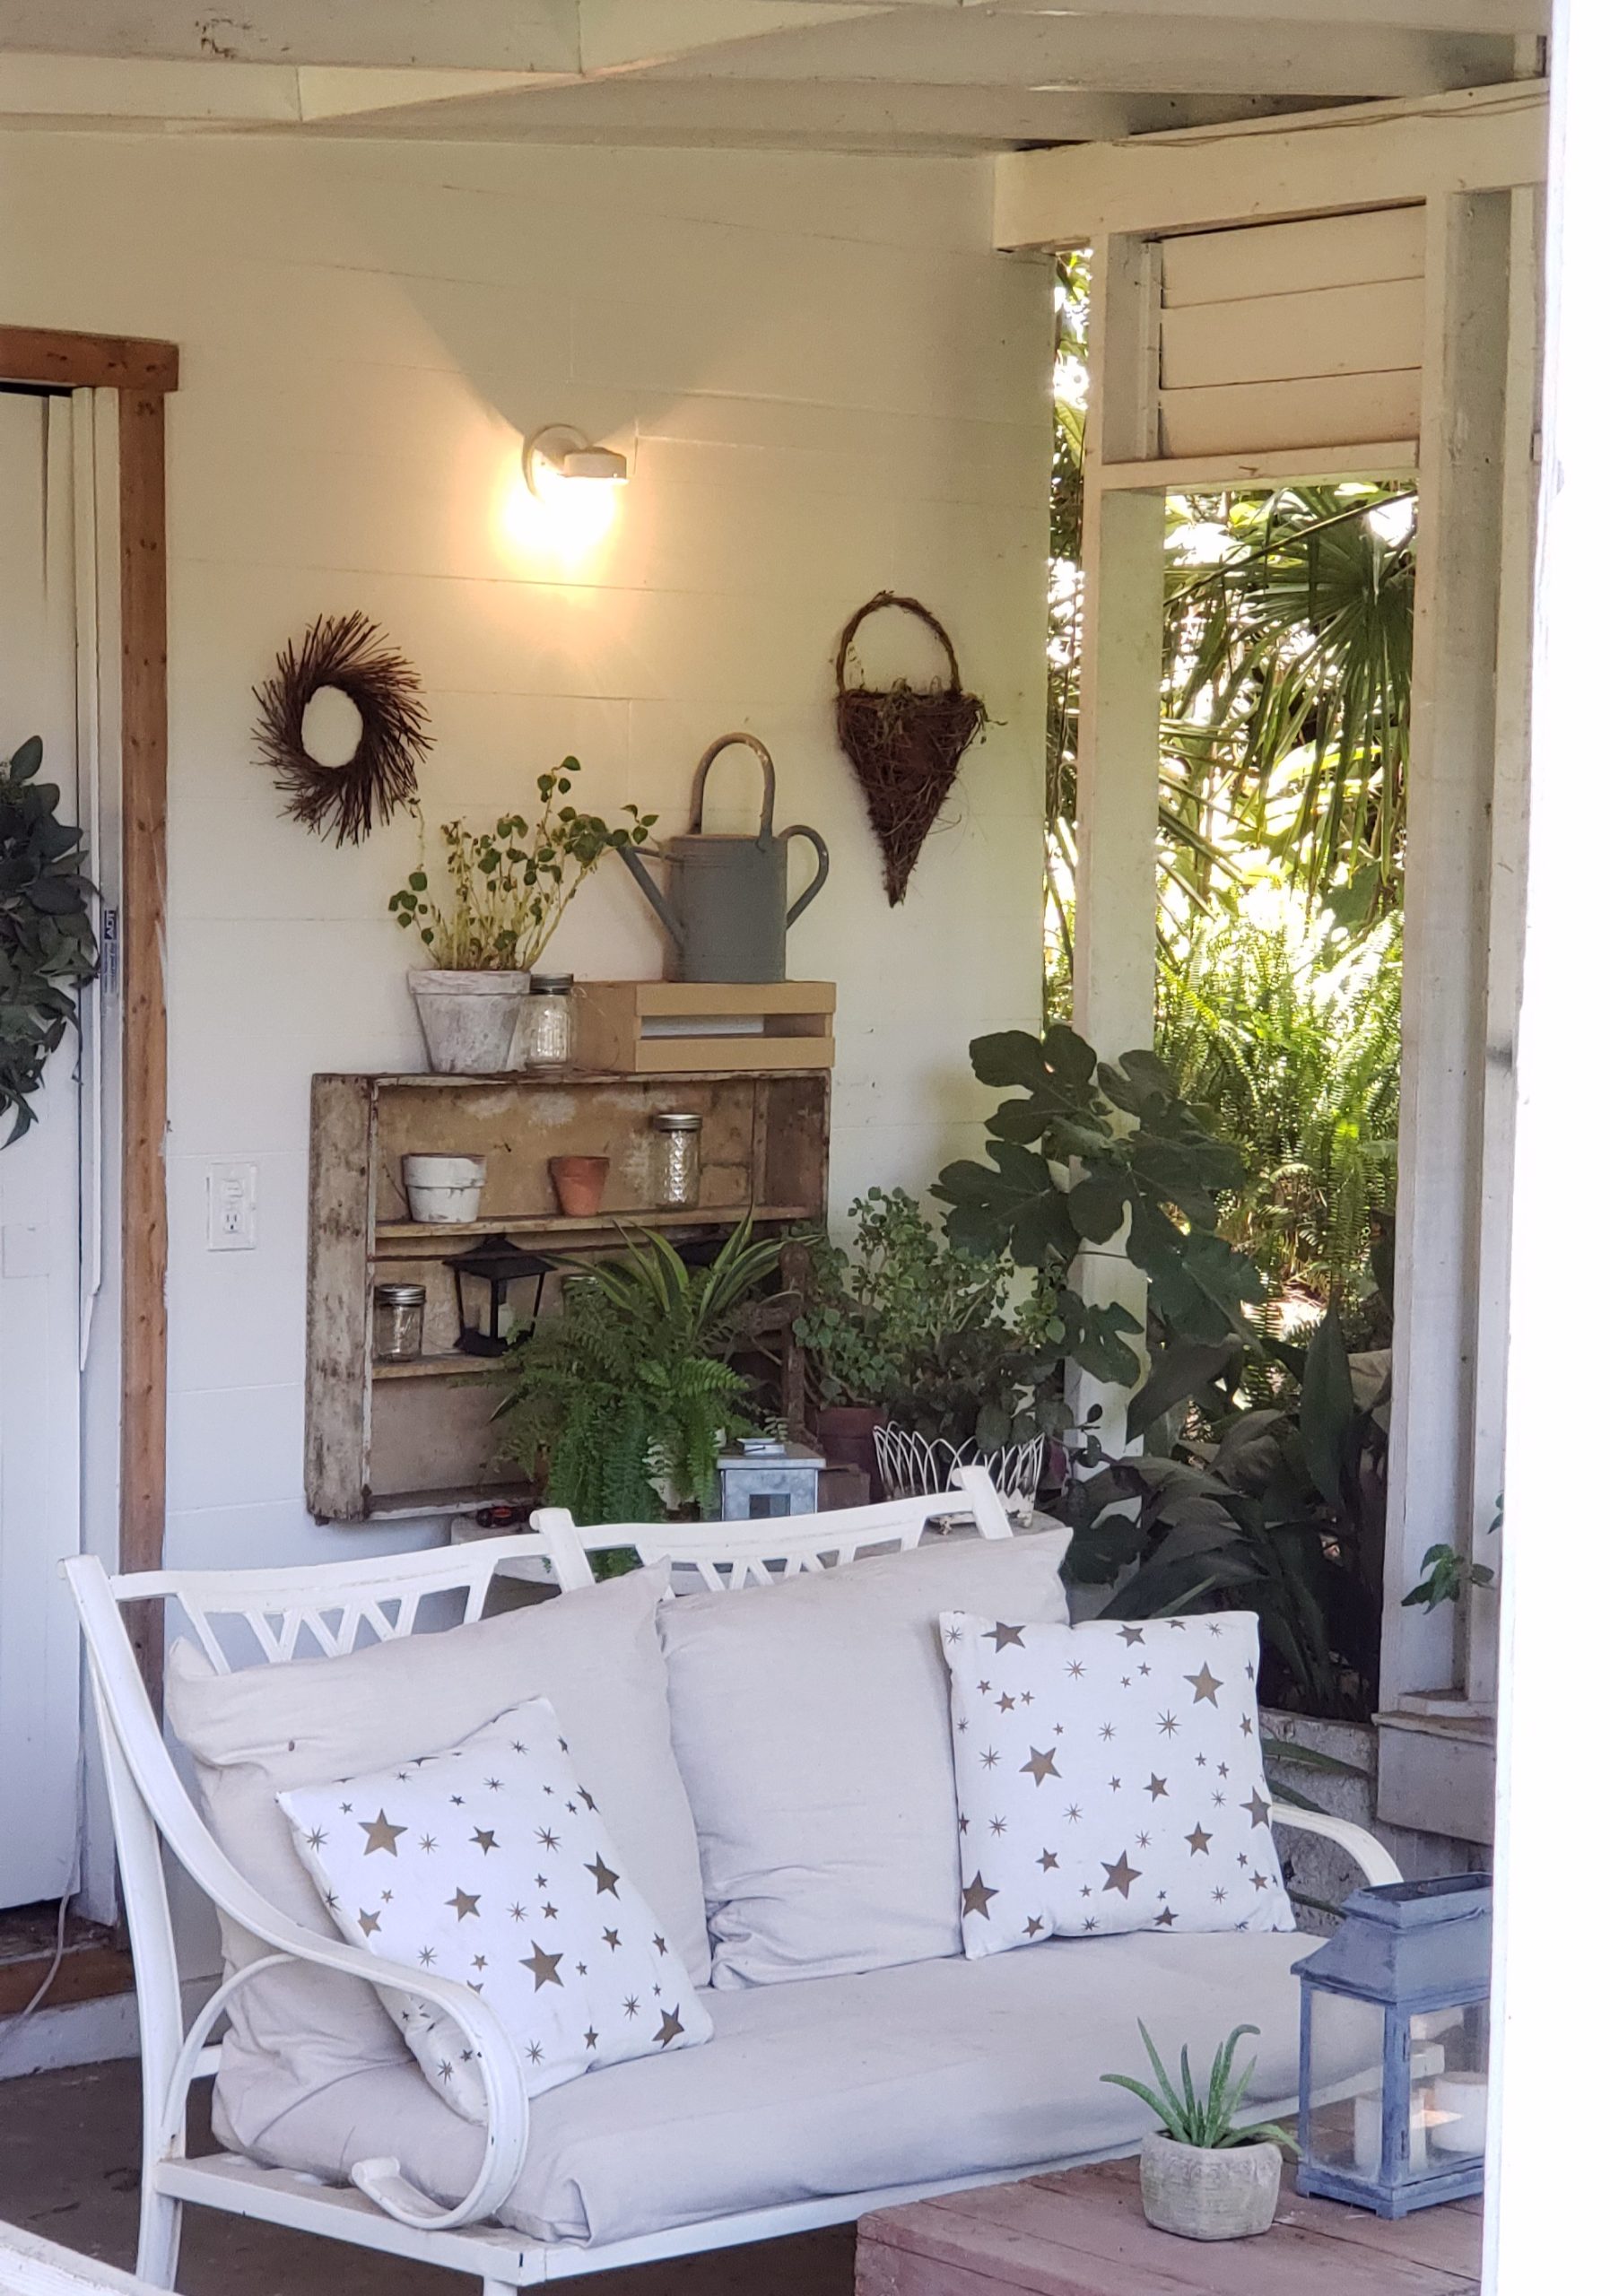
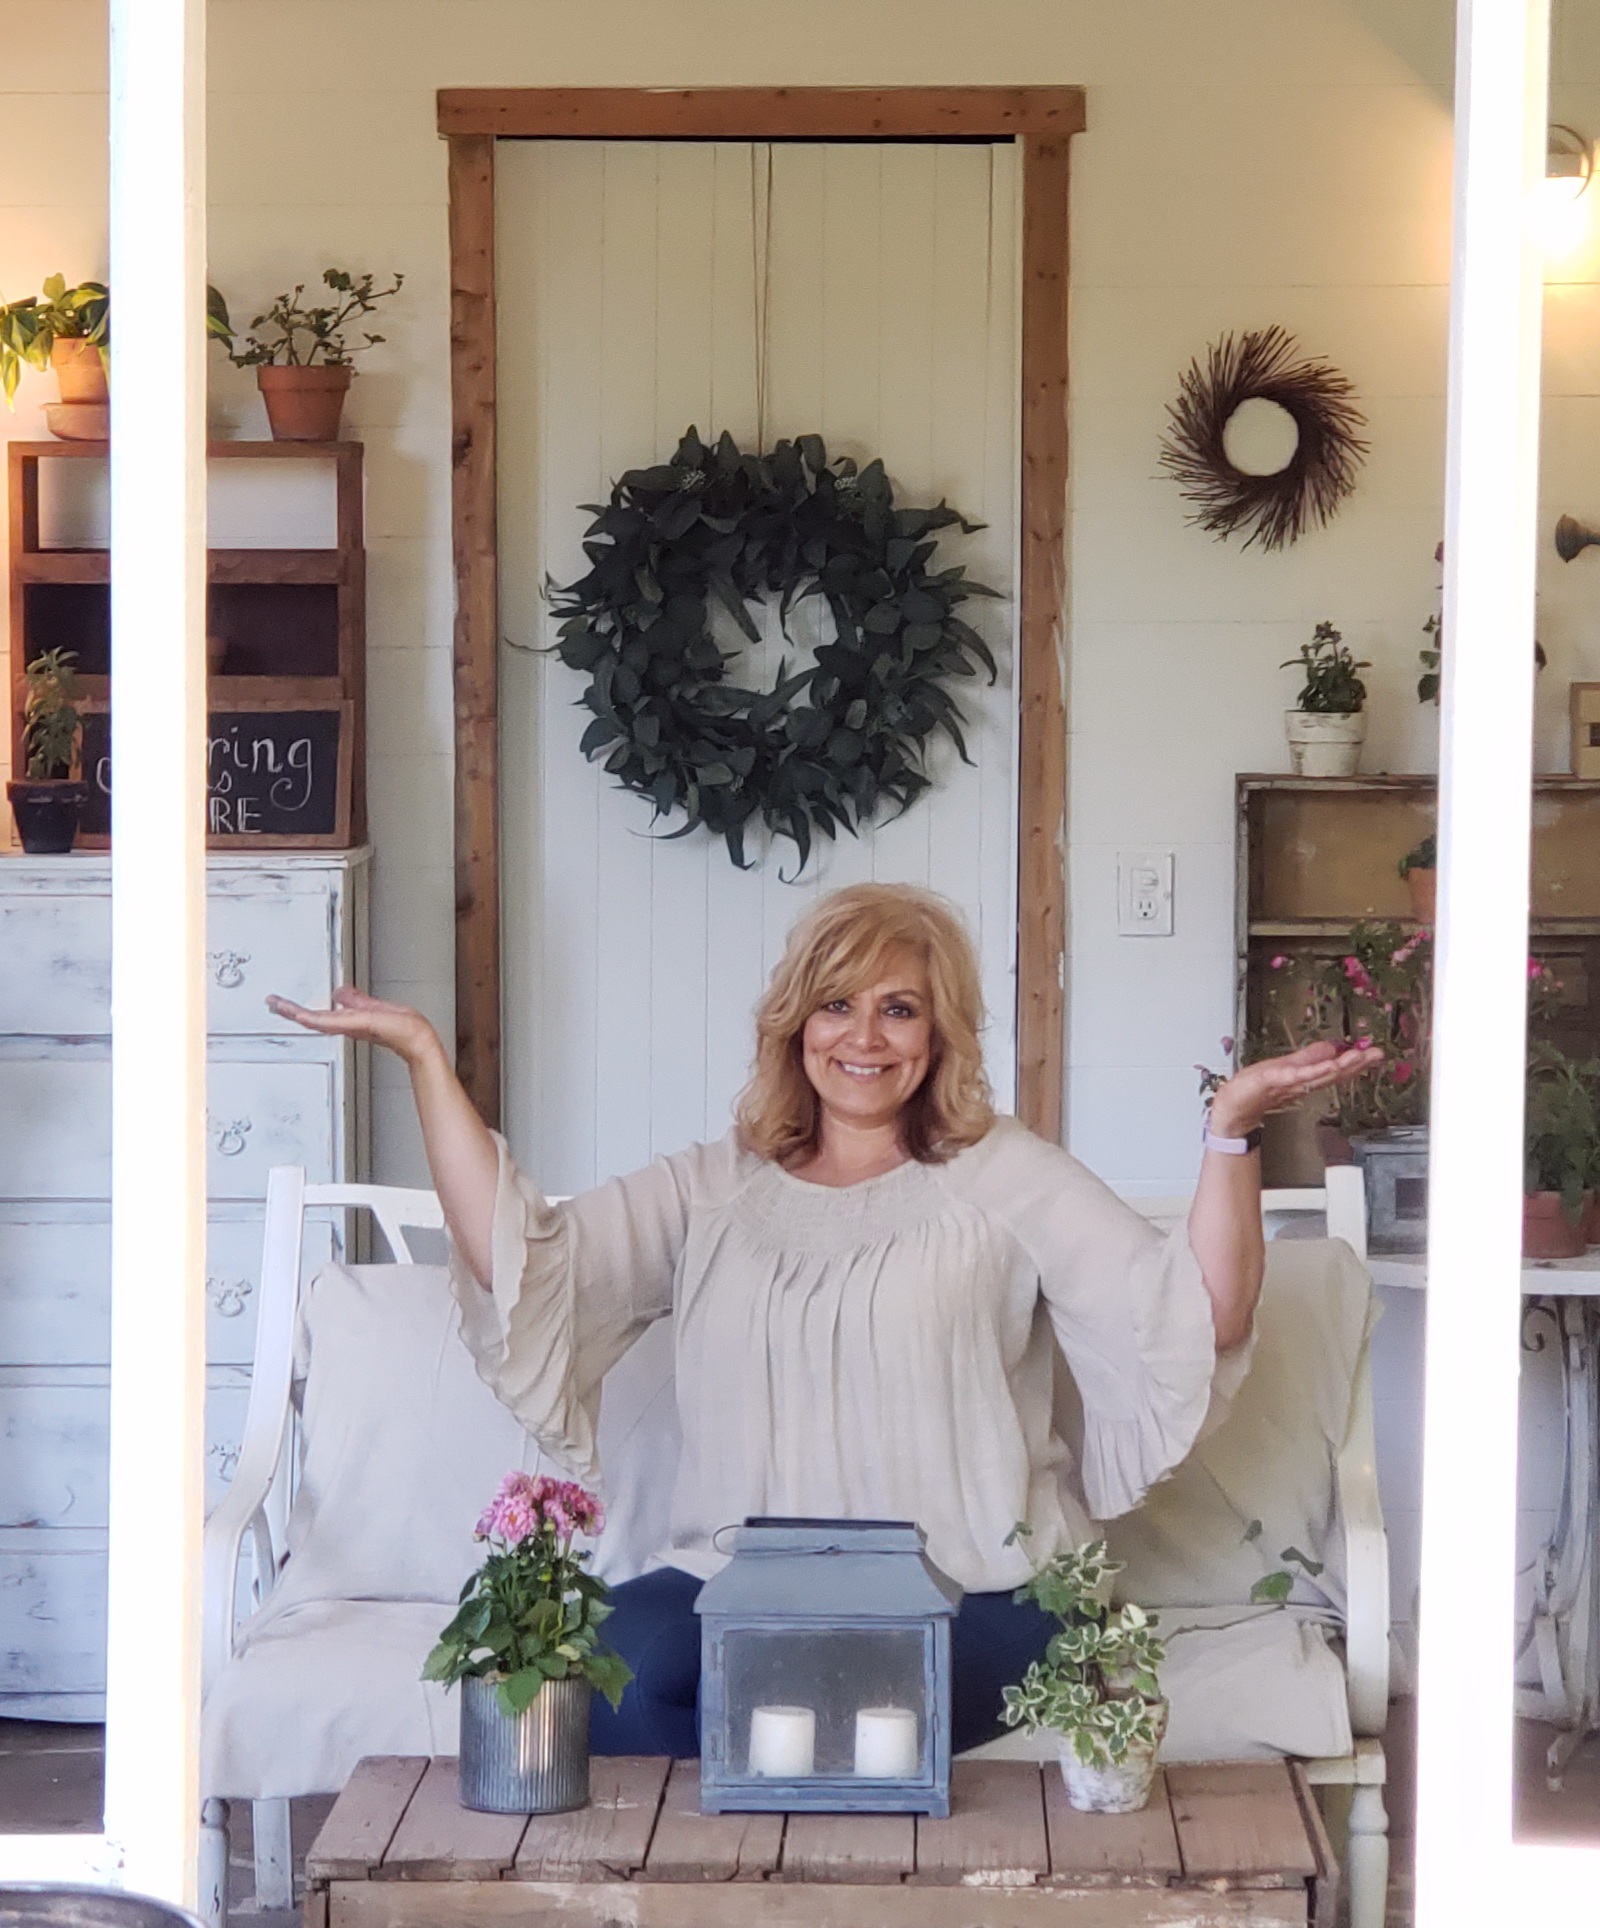
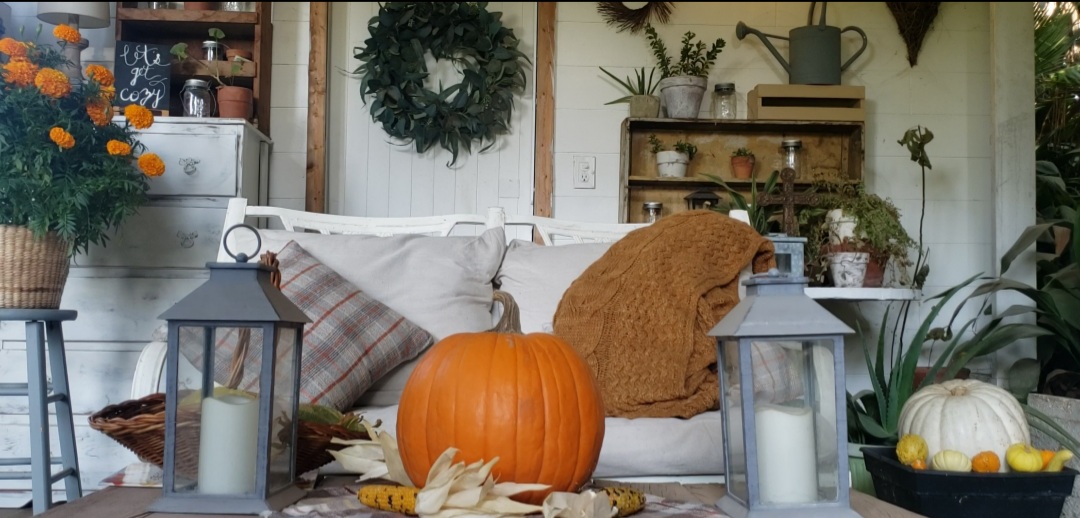
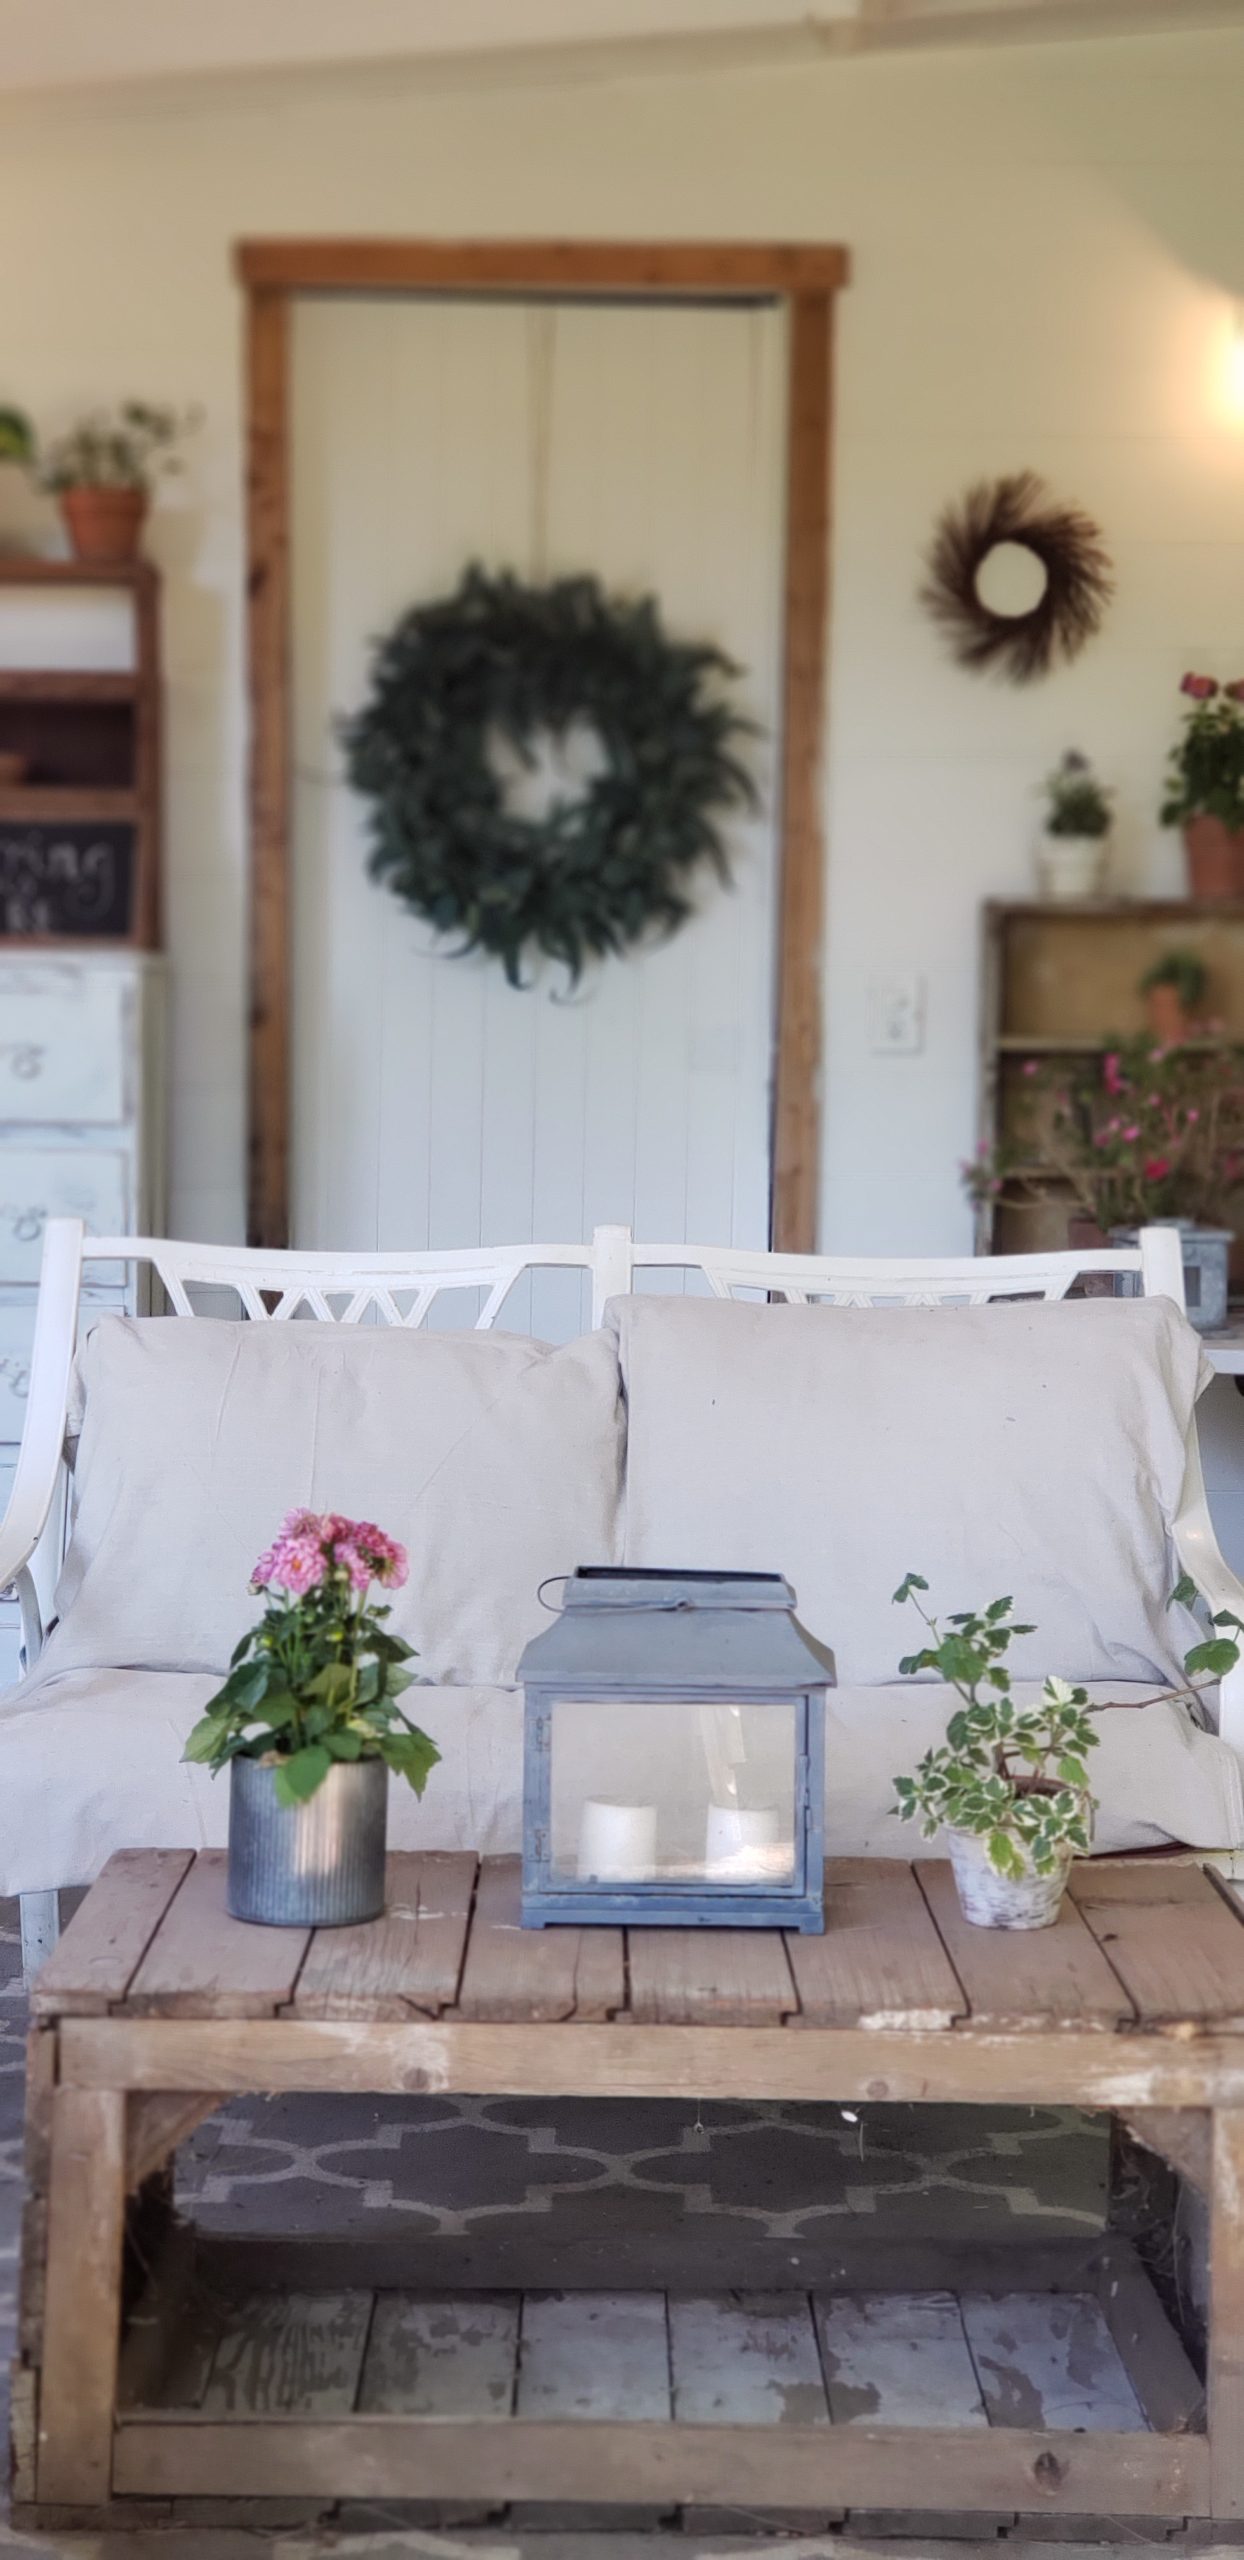
I freshened up the rest of the inside with the same paint and then I was ready to bring some coziness in. This metal outdoor furniture: a love seat and two chairs were pieces I already had. A splash of white paint covered up the old bronze color and new cushion covers are always fun and easy to sew when the old ones wear out. I just use paint tarps.
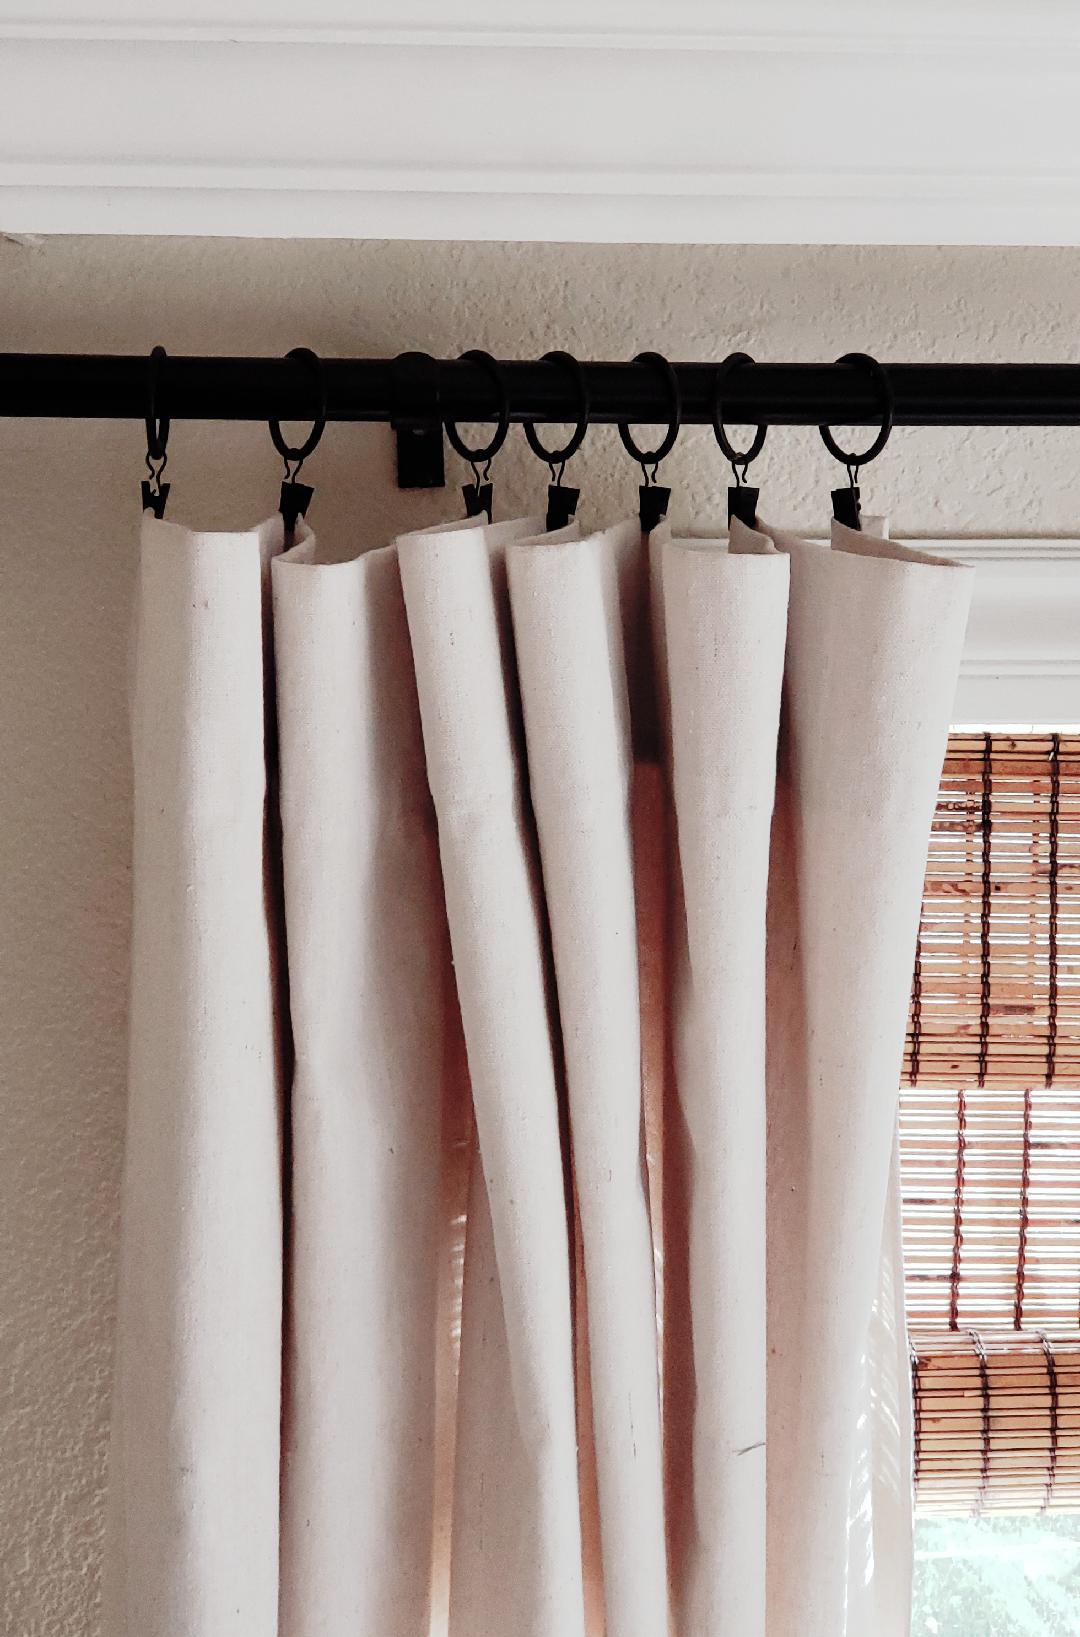
The canvas material is so cheap that you can literally use paint tarps for so many things in your home décor like drop cloth curtains! Sewing slip covers for cushions really is so easy to do. Here’s a few sewing tutorials for making slip covers here or any pillow covers here and for how to make drop cloth curtains here!
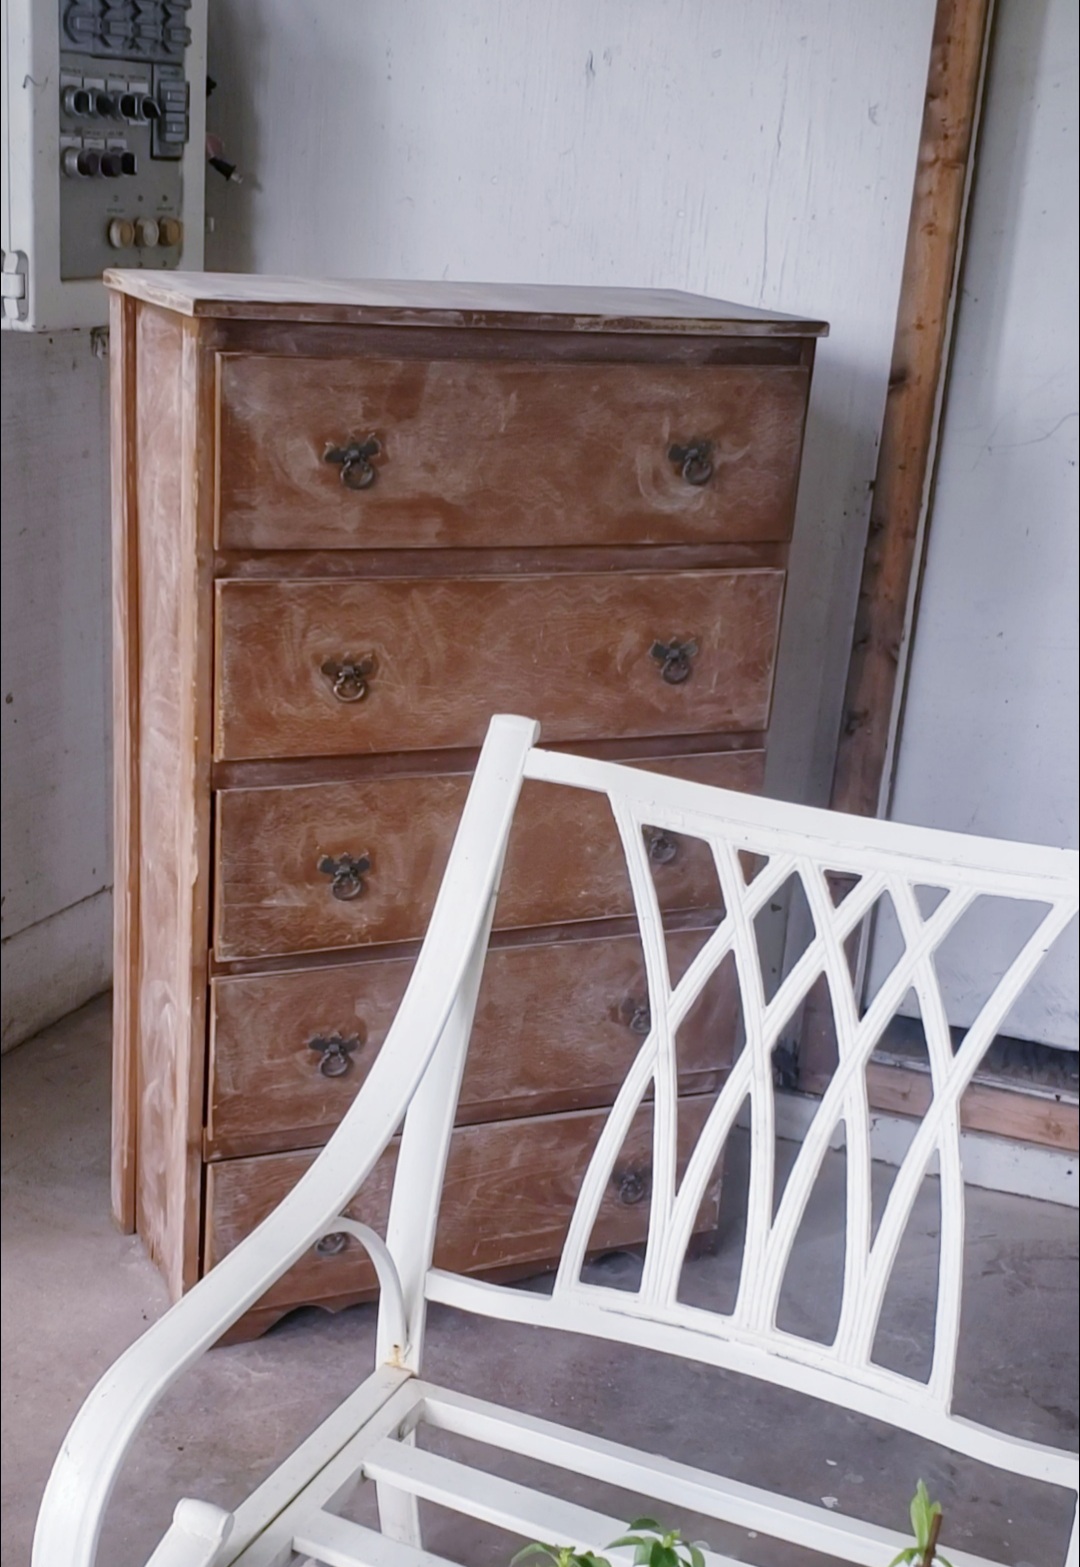
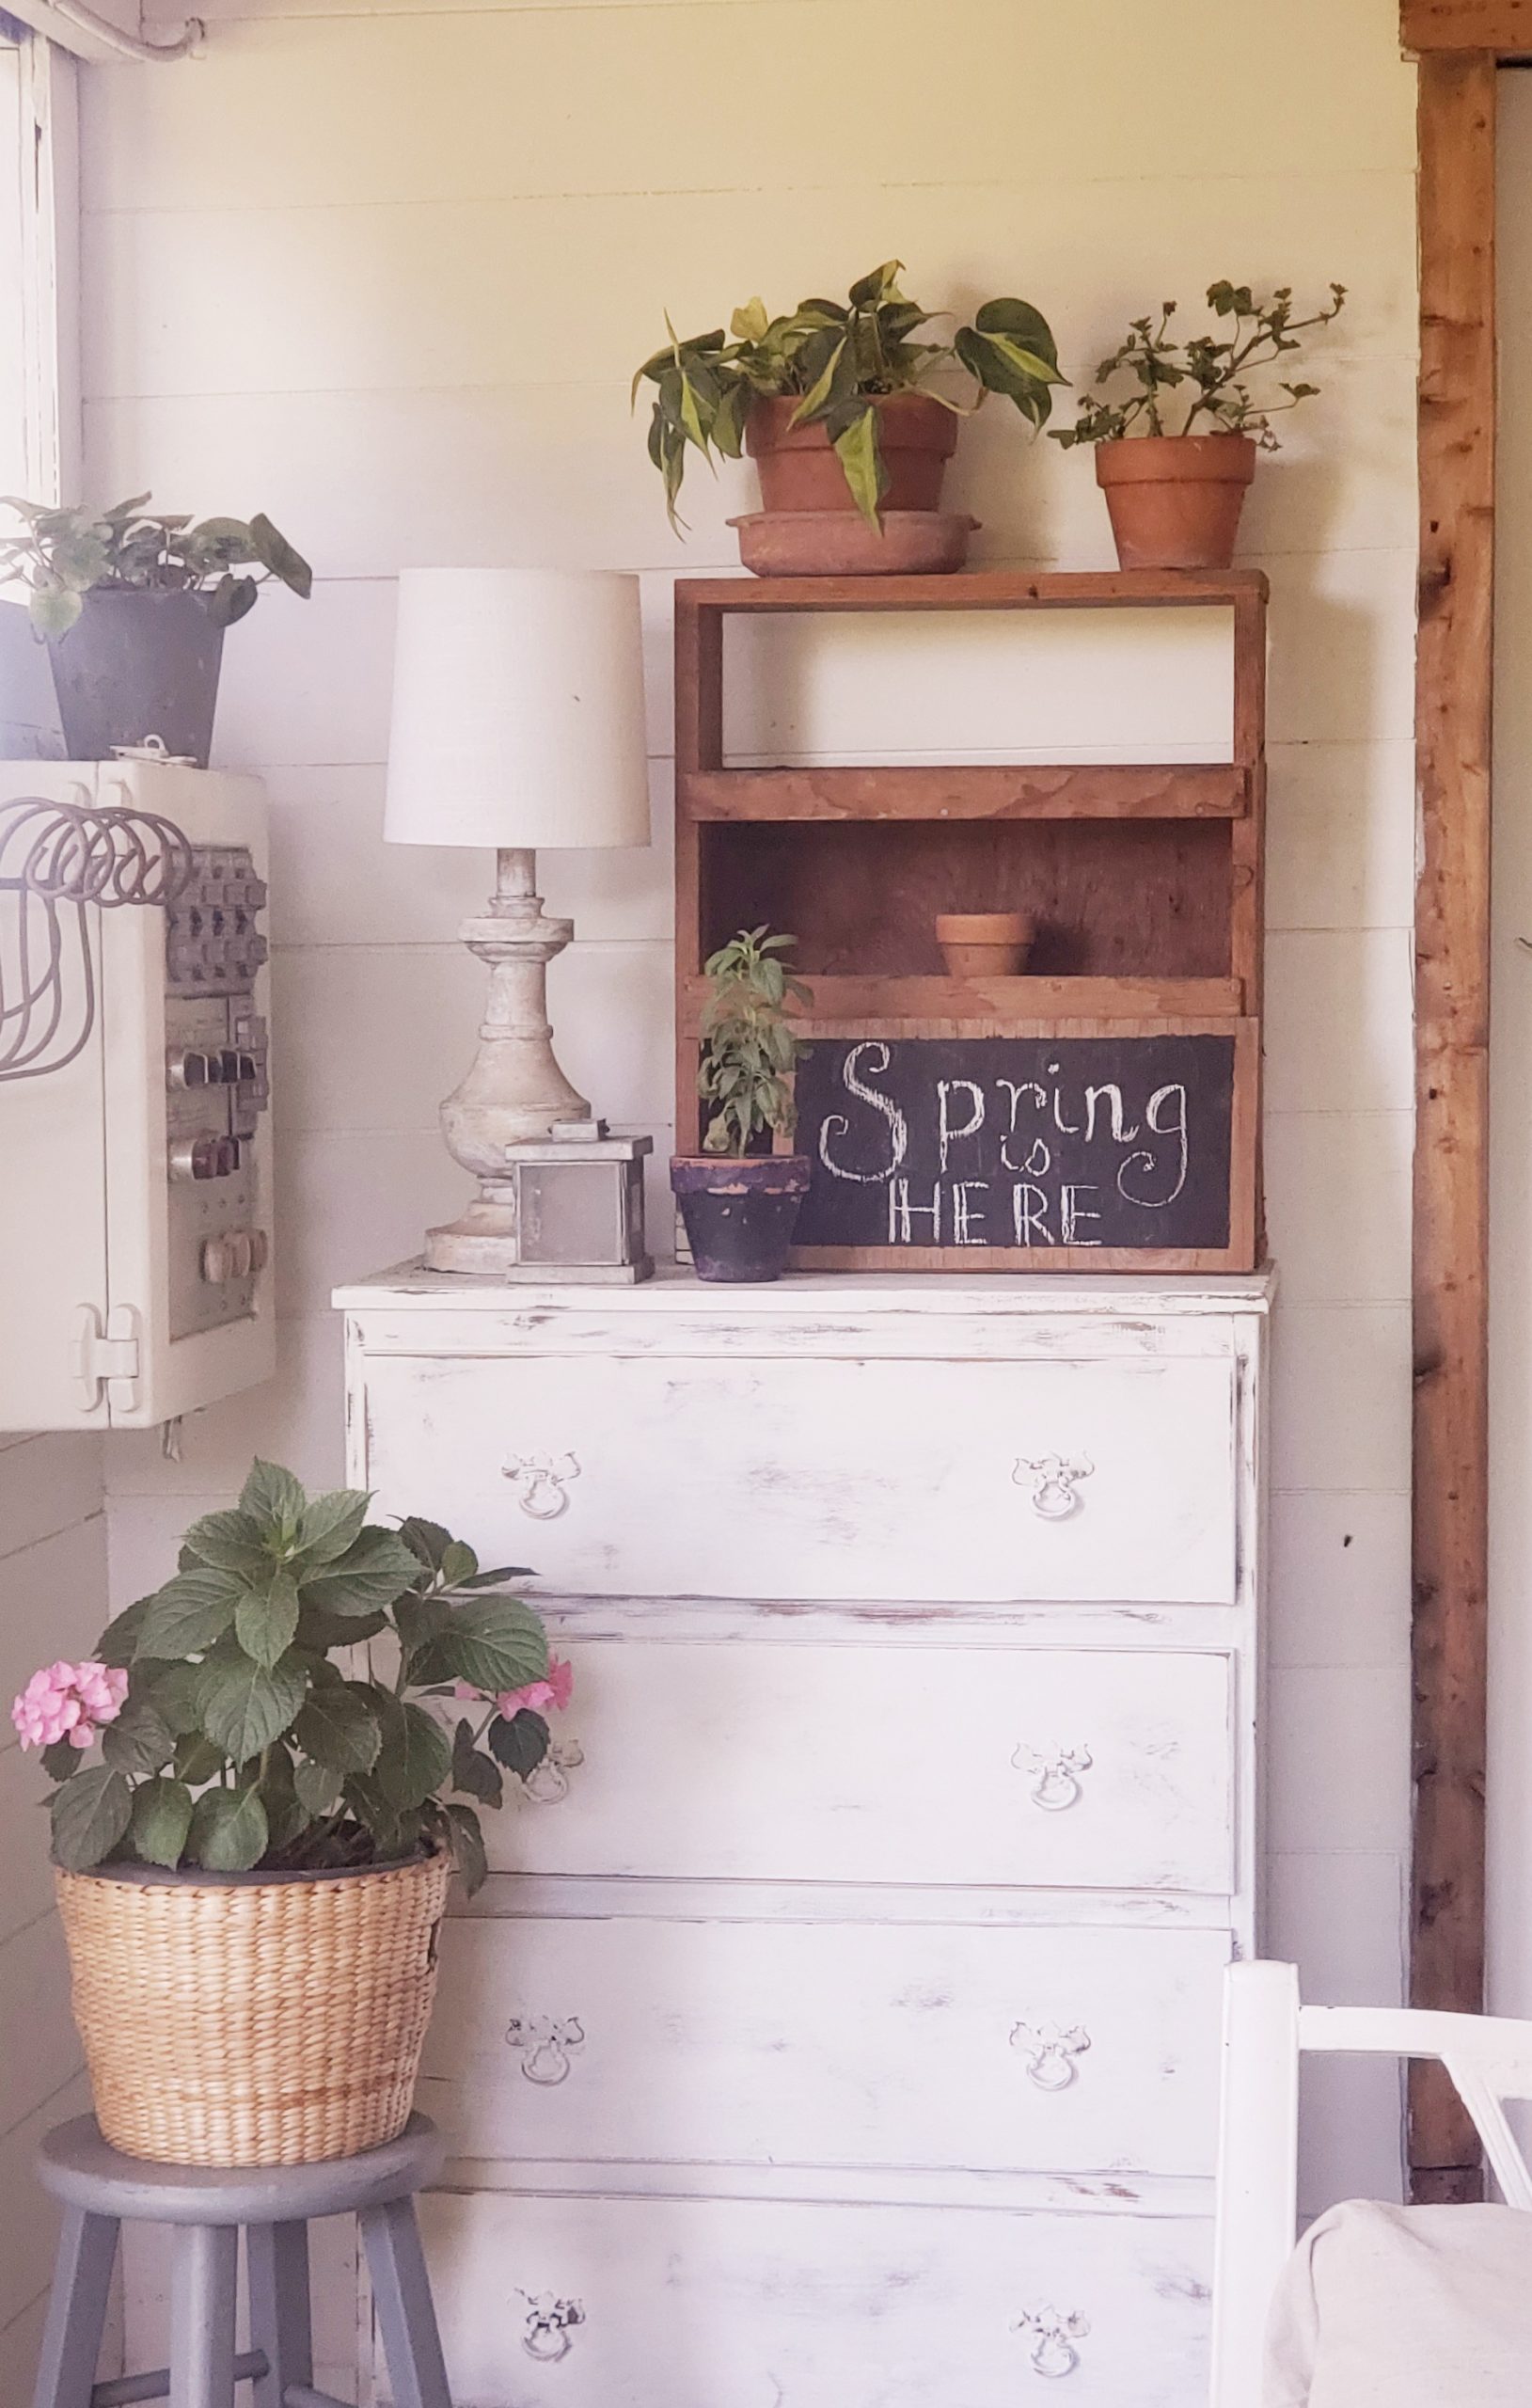
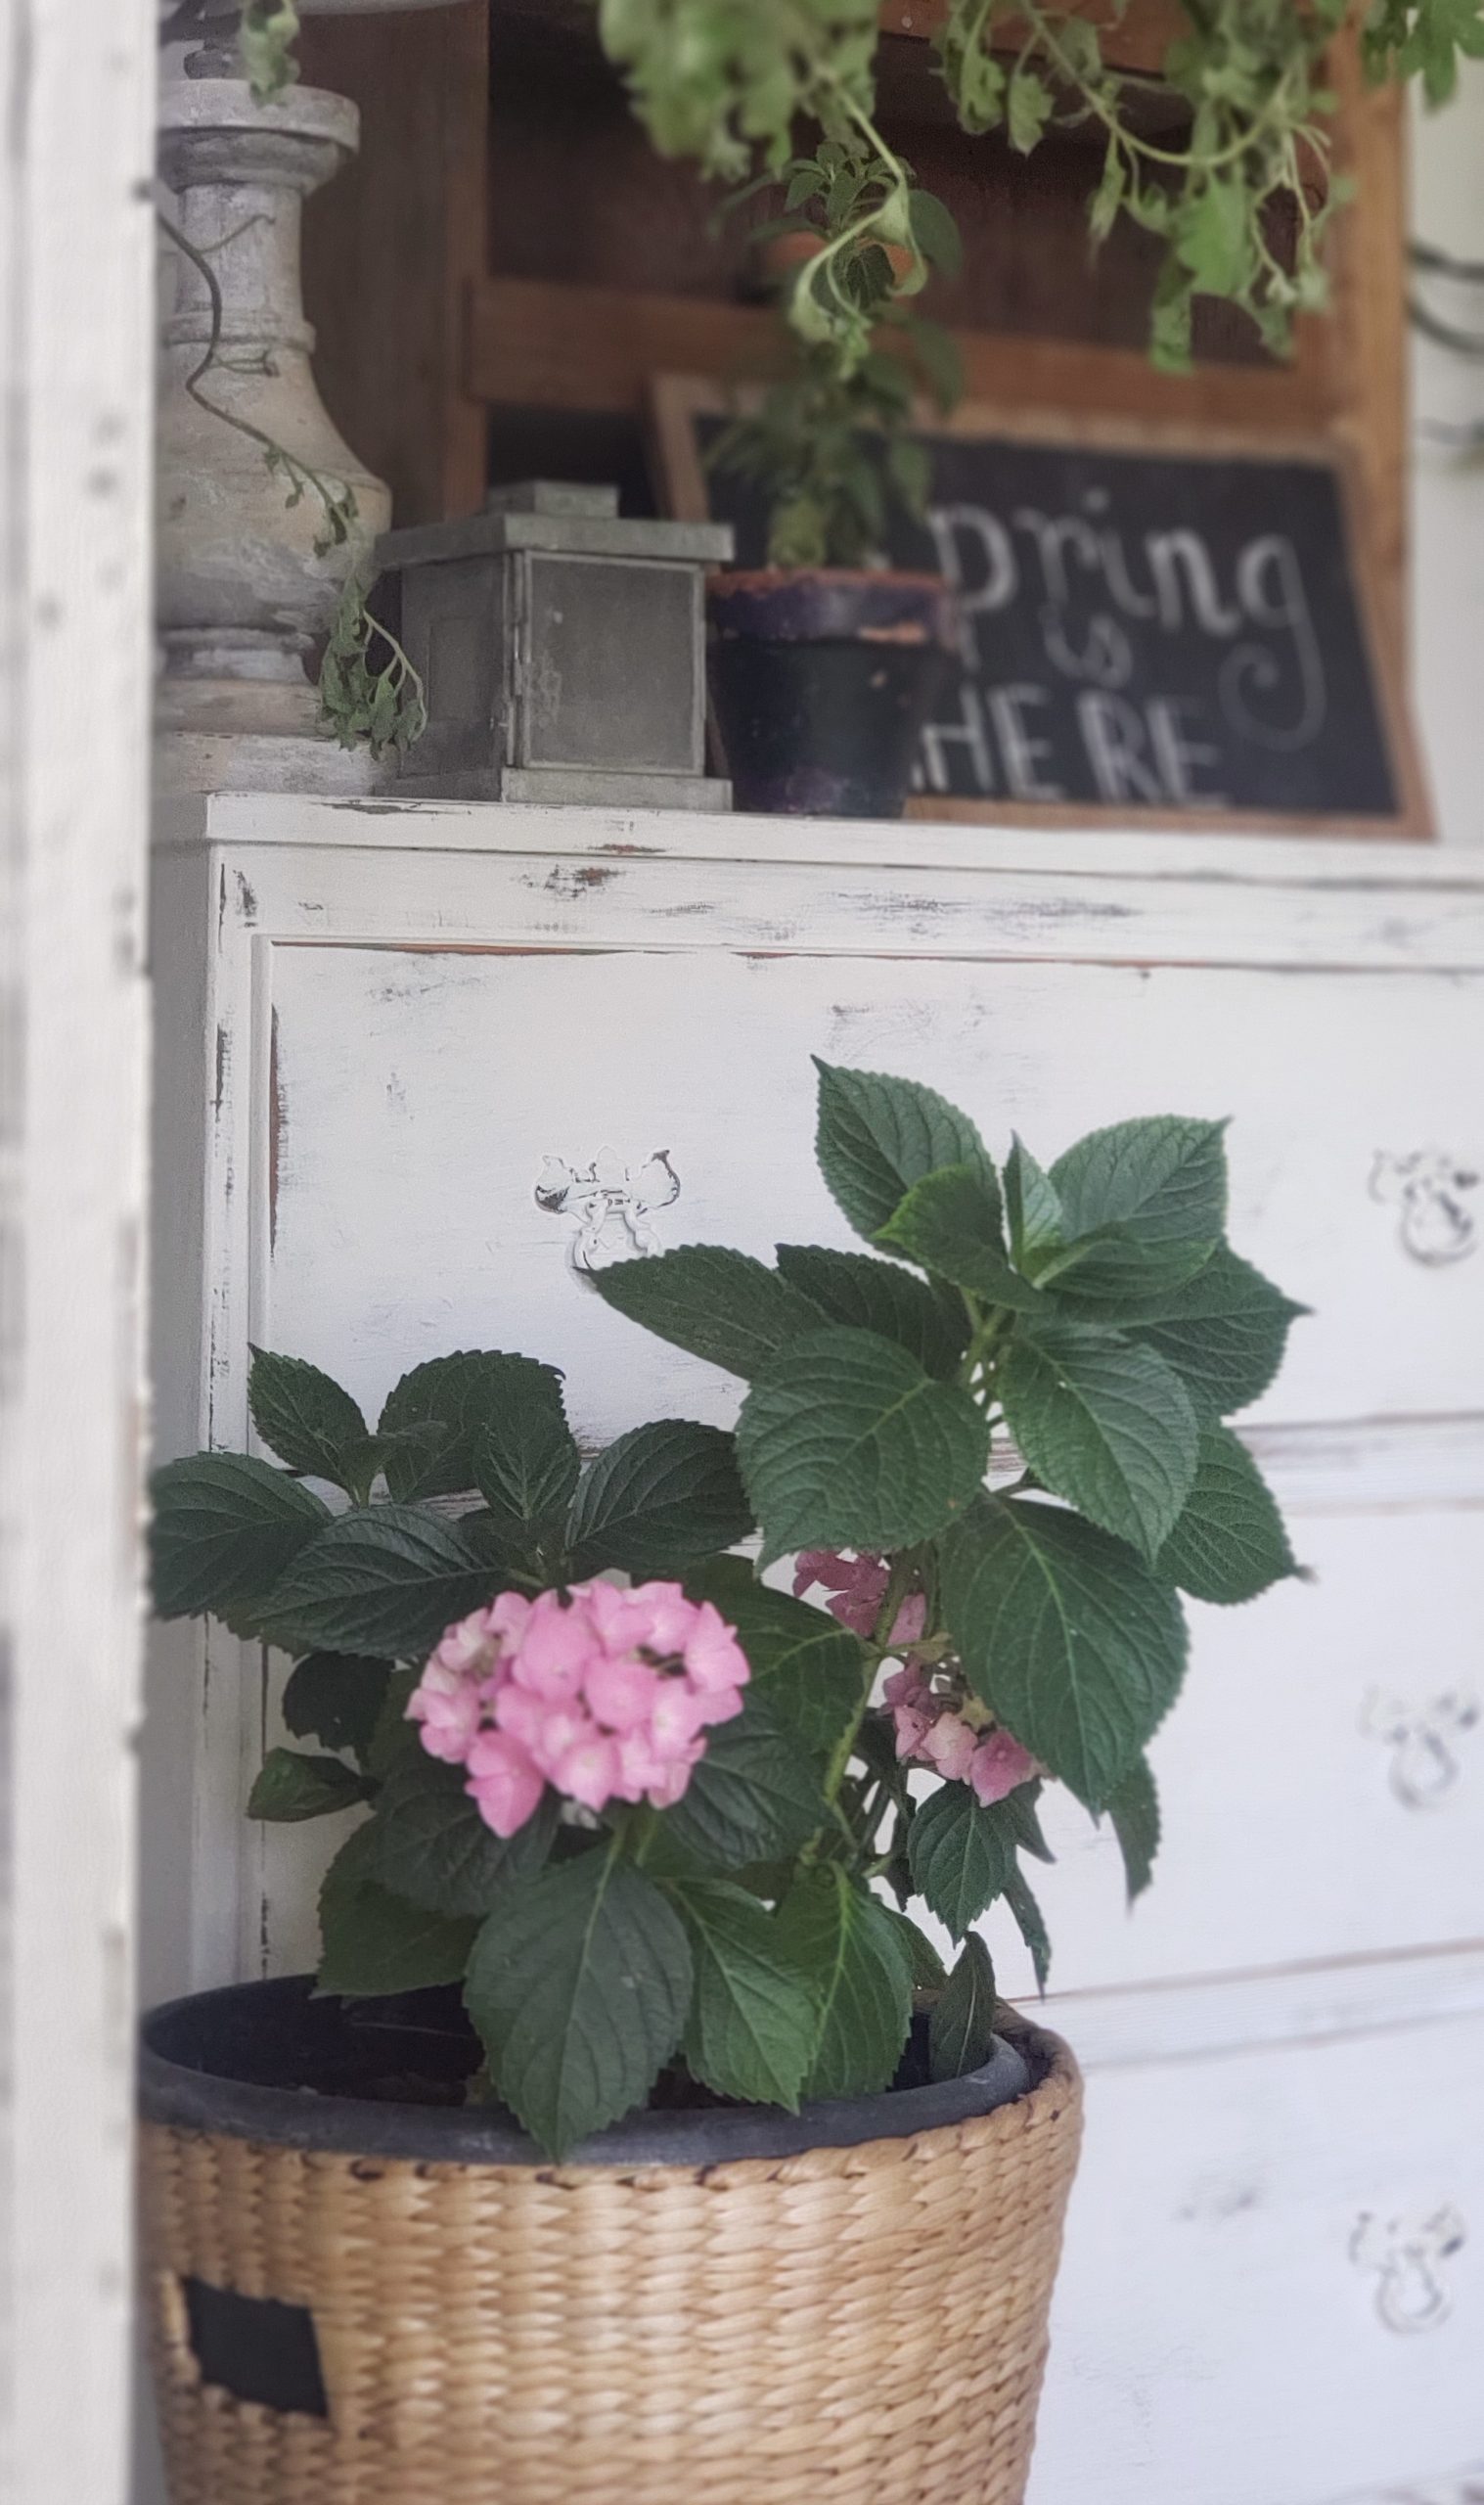
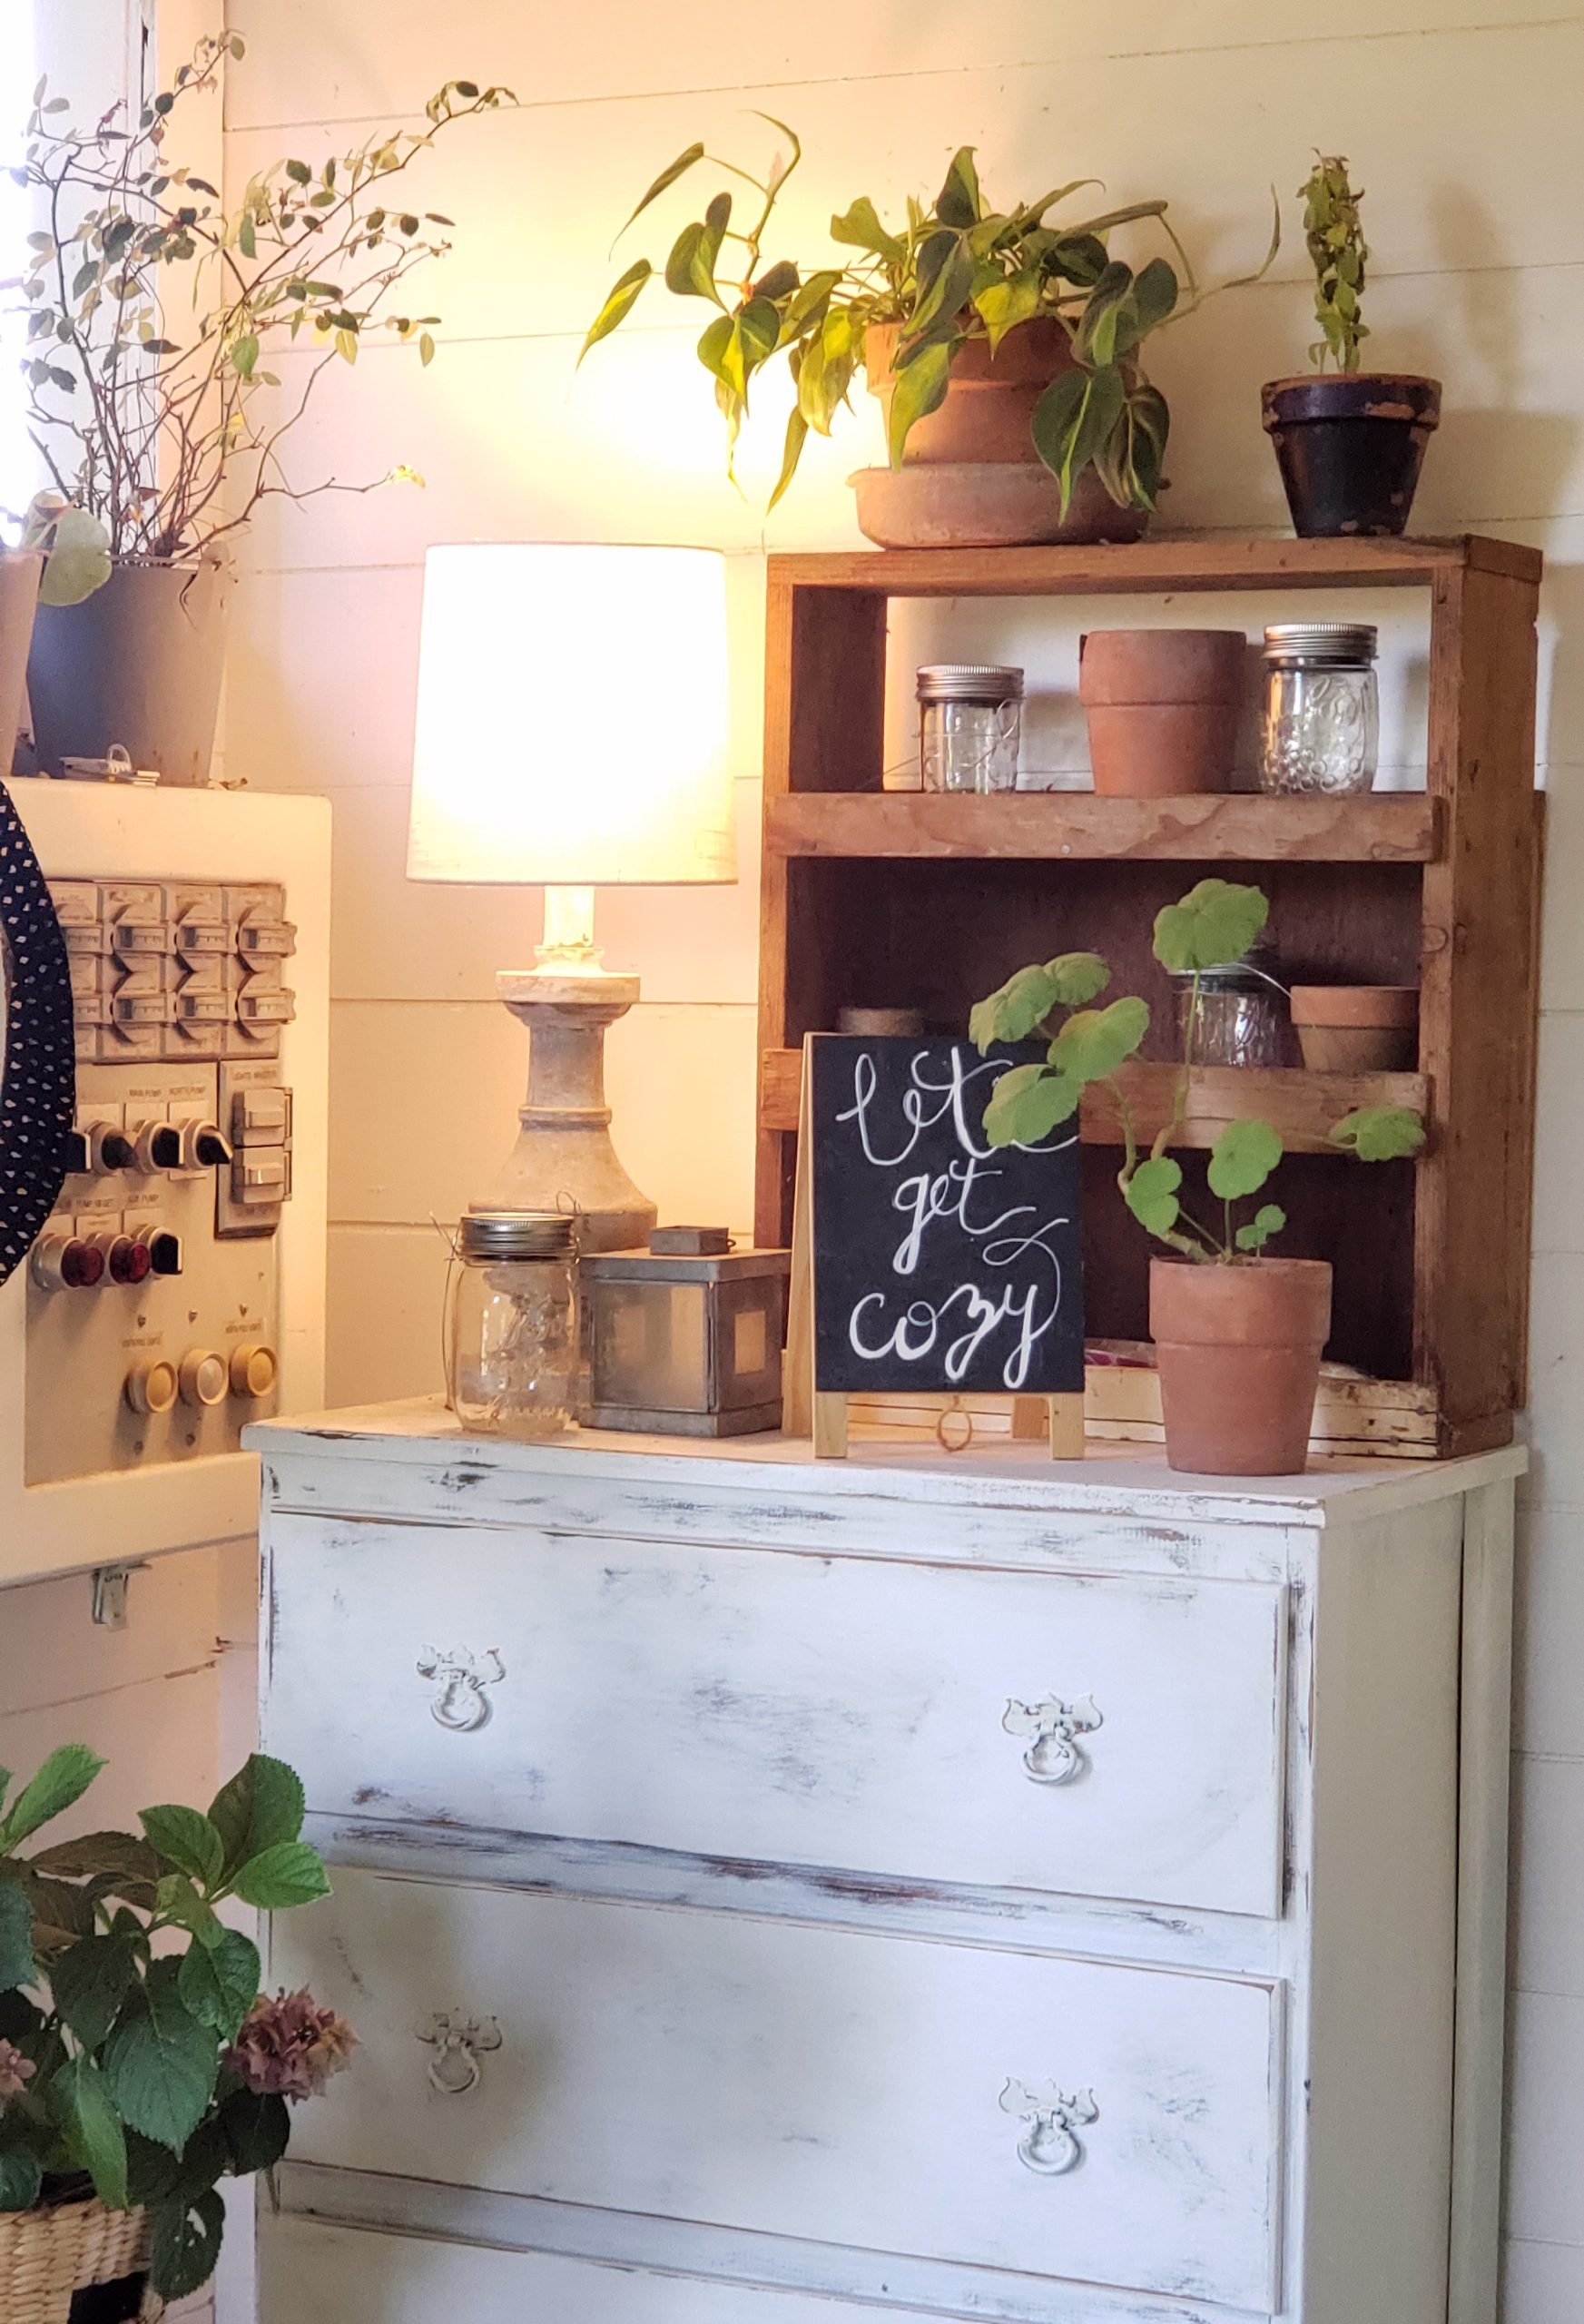
Ok, to really achieve this outdoor living room feel I needed more furniture like this cute old dresser. It was found at a thrift store for $20 so I just used my handy dandy sander to rough it up a bit. Giving it a coat of white paint and sanding a way some of it here and there for a fun distressed look was easy-peasy.
Here it is finished with a $10 thrift store lamp that I just slapped on a bit of cream colored paint I had lying around. Then with a few rustic old things I found rummaging around it kind of came together.
I also used an old hand me down table in this room that I’ve had for years. By painting everything white, it tied it all in together. Next I just needed plants!
PLANTS, PLANTS, PLANTS
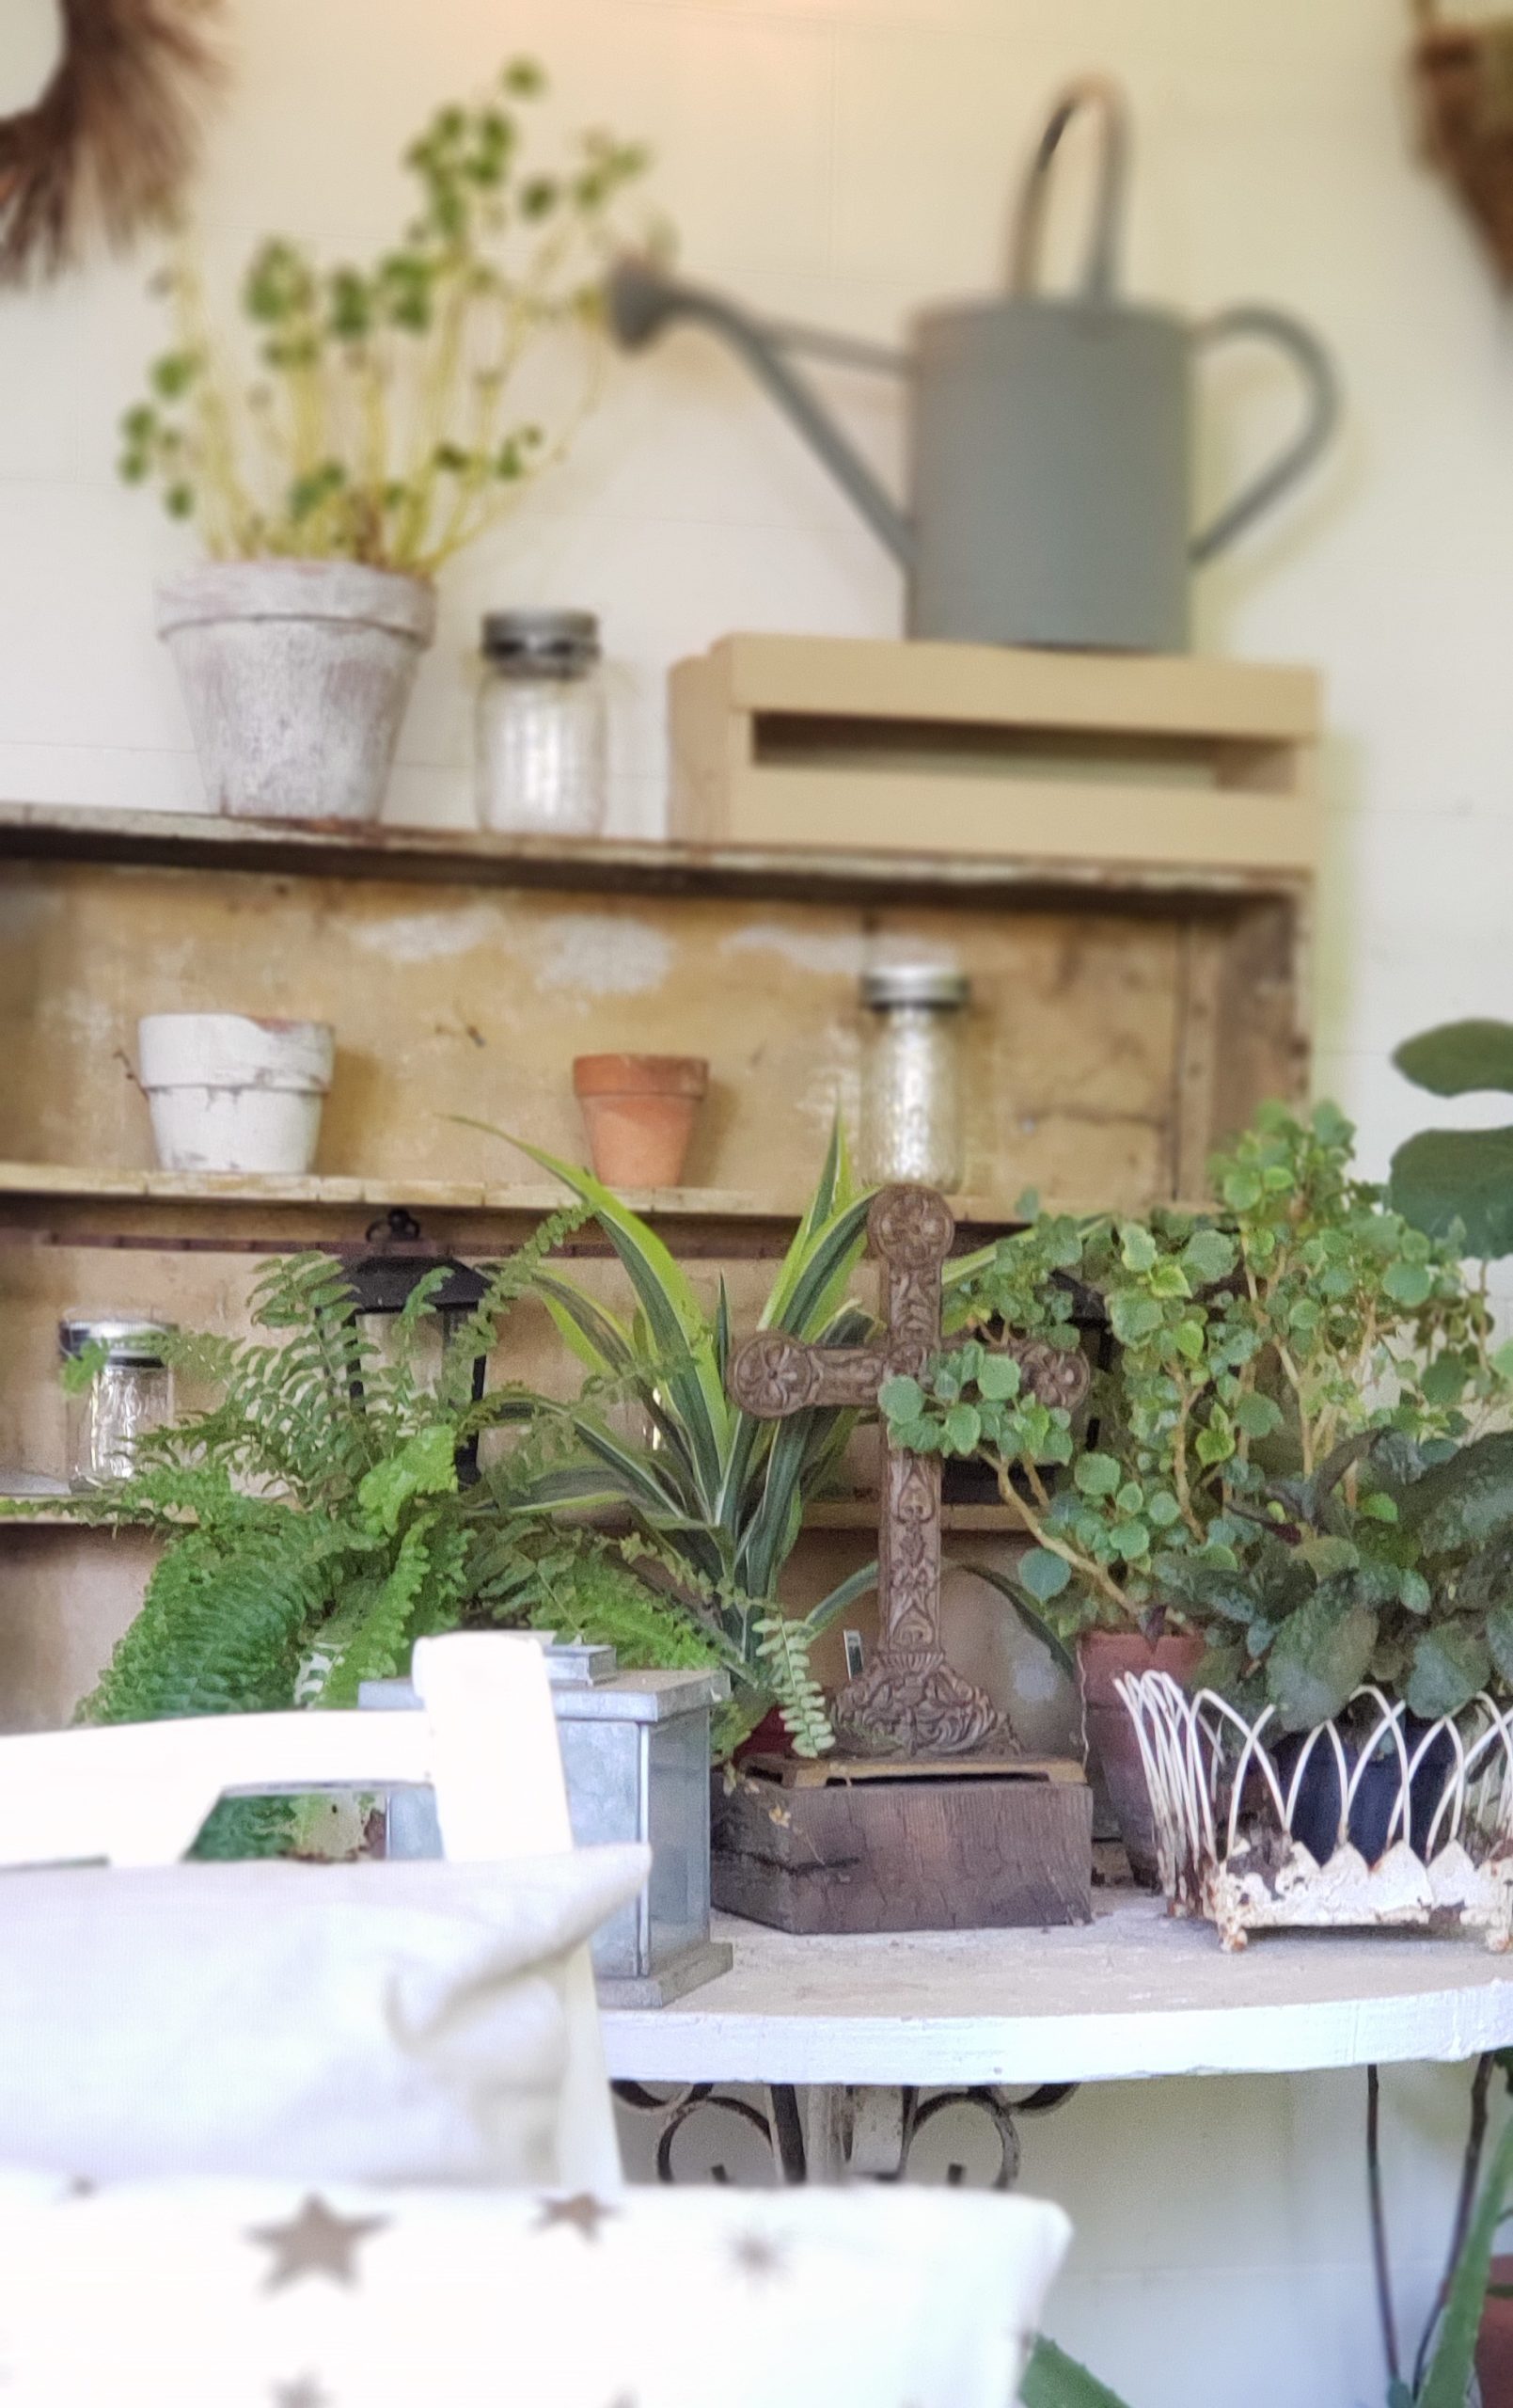
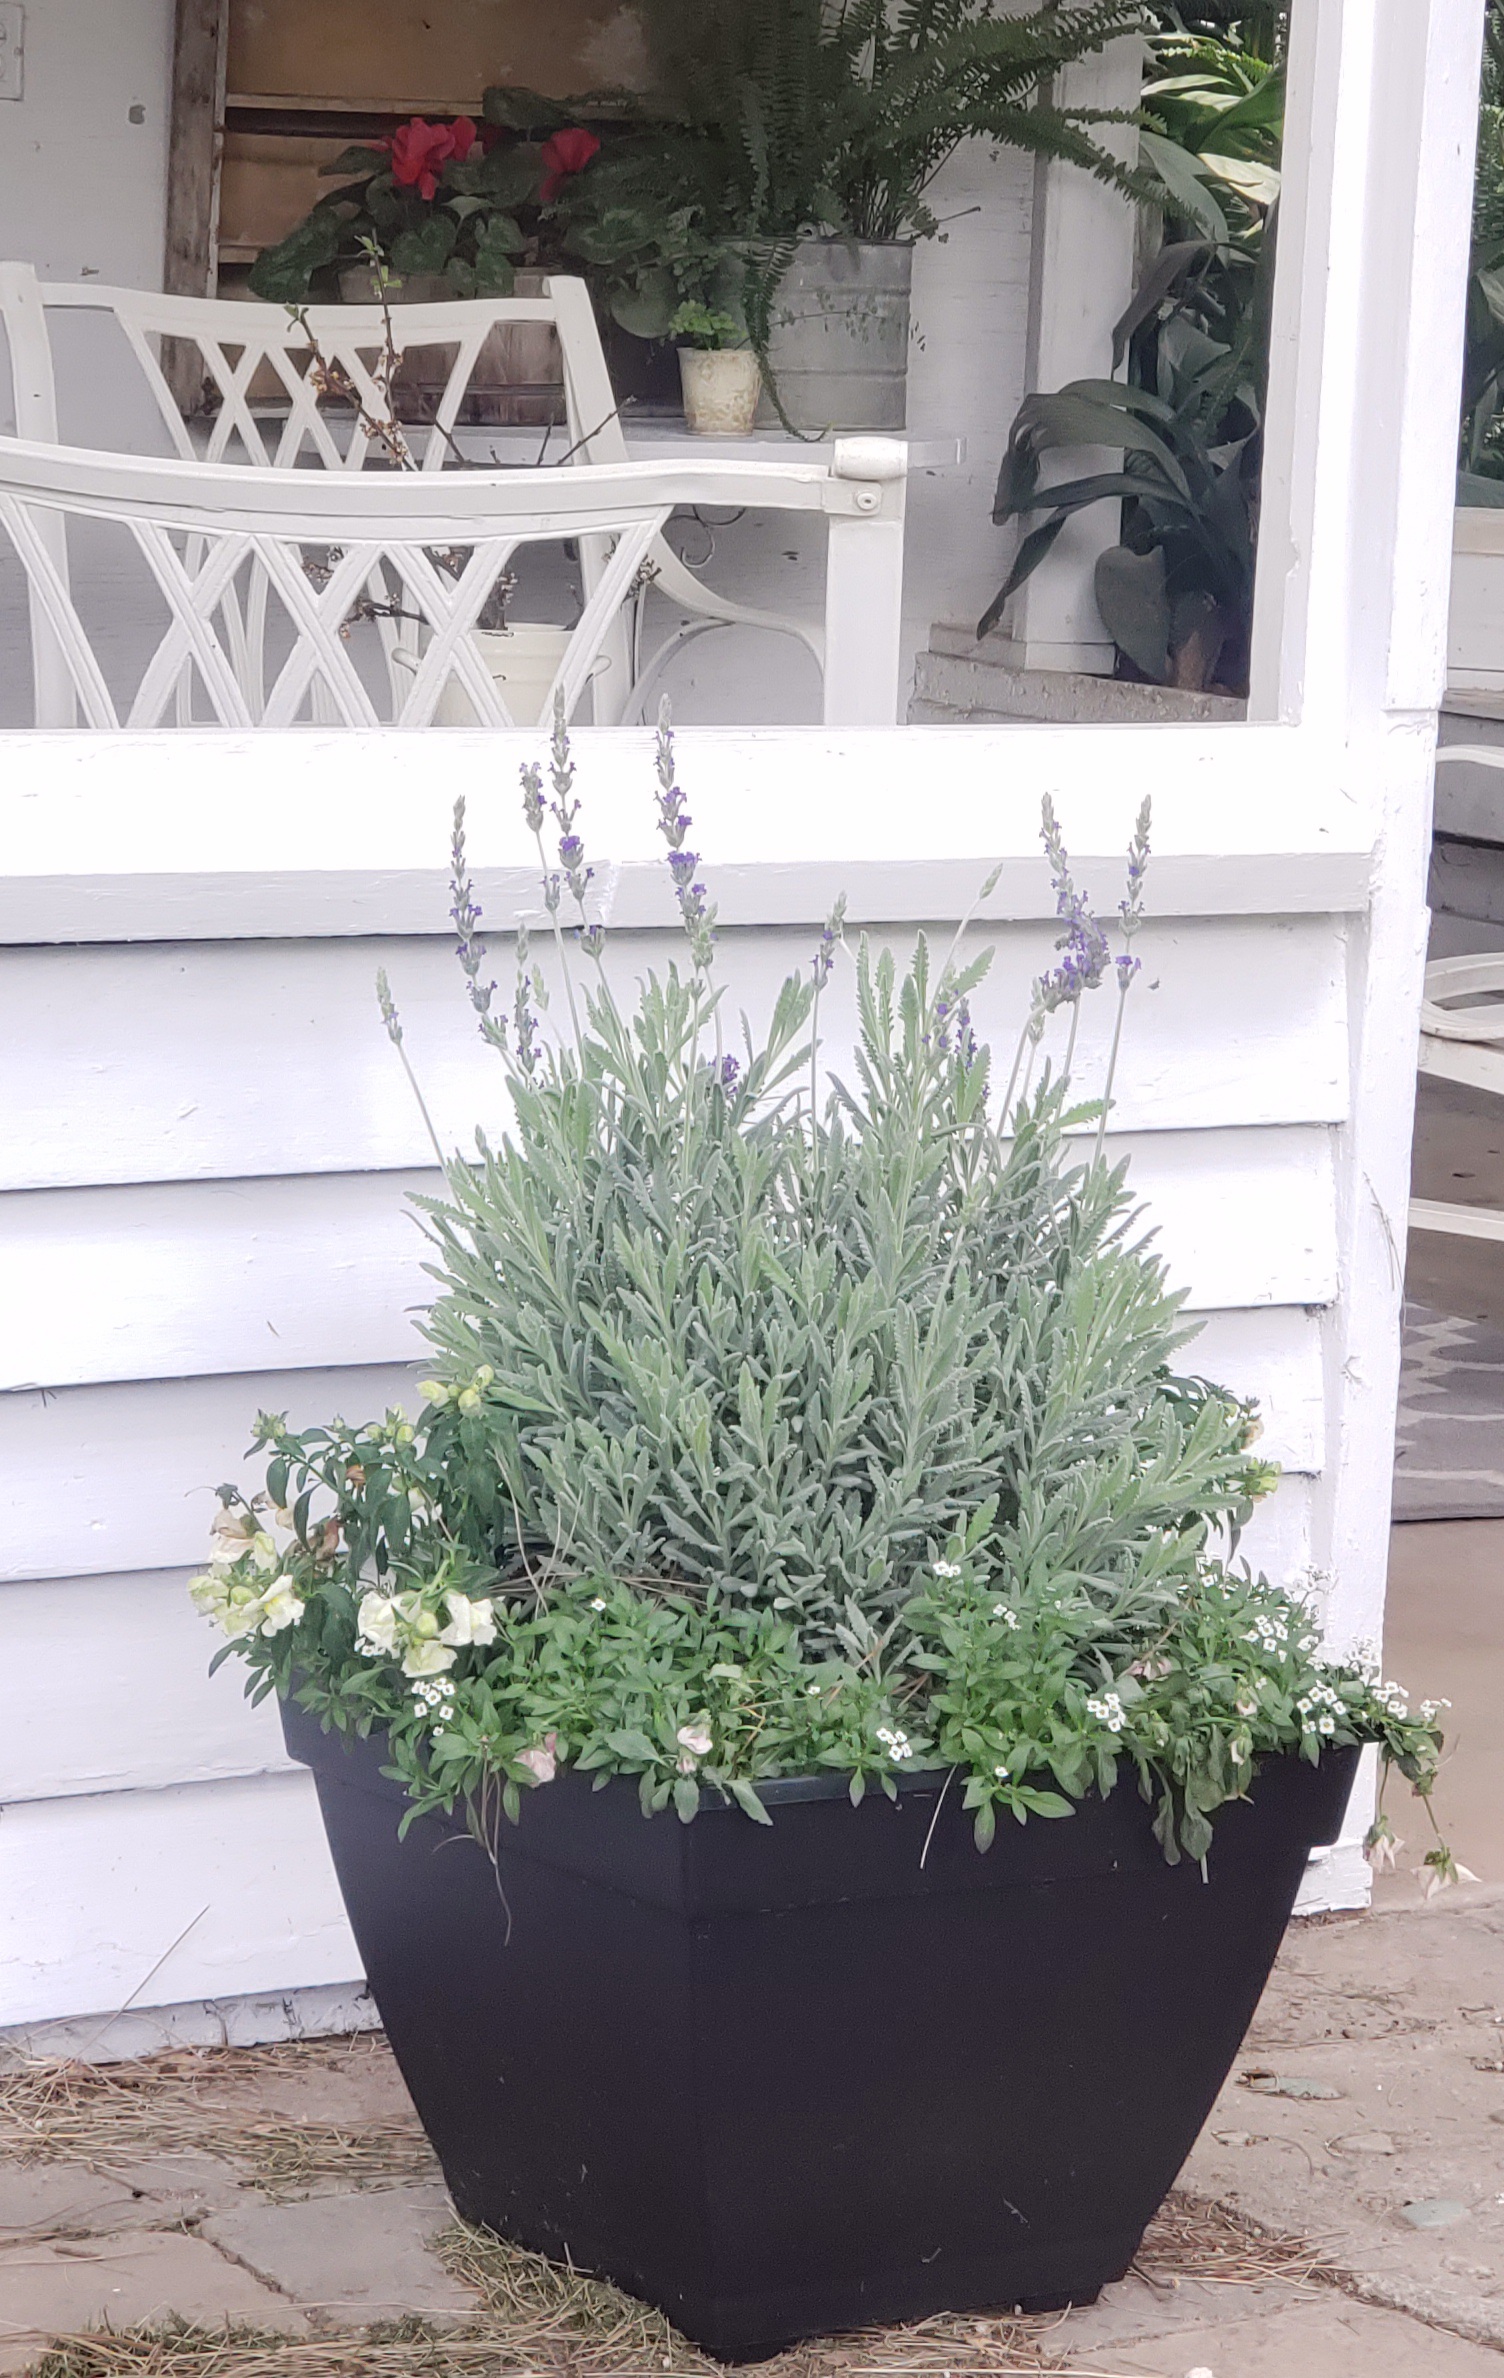
I used house plants mostly including ferns and then for just a few pops of color I found some pretty annuals in the garden center. It’s easy for me to water because I just grab the hose that stretches to give them all a refreshing drink whenever they need it which is often in sunny and hot California.
Hopefully the California heat waves are over and the fire filled ash skies will subside now that fall is finally here.
Another fun thing I found was an old wooden box cover that went over some pipes for a sprinkler system, we had stored away. It wasn’t much trouble to drag it in and tip it over to make a perfect rustic treasure of a coffee table, or should I say lemonade and iced tea table? Yes, I think I should.
THE GARDEN ROOM REVEAL
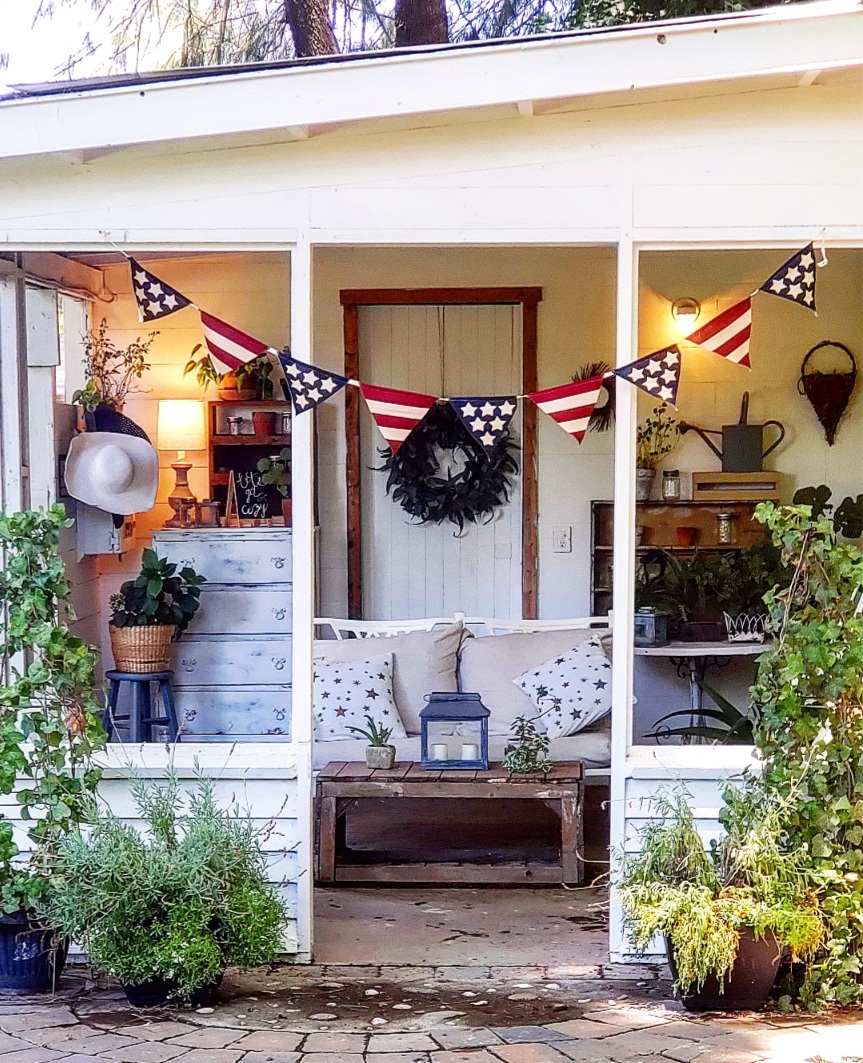
So whatcha think? Pretty cute right? I just love when I can refurbish something and breathe new life into it without spending a lot of money or time. It’s truly so fun for me to do! How about you? Are you a refurbisher like me? If so, what’s your current project? If not, I say why not? What have you been dreaming about? Is it a freshened up porch, entry way, or area in your yard?
This is how I choose. I ask myself what area in my home needs the most help or is so yucky that I can’t put it off anymore. That usually helps me decide and then I just pinpoint my vision for it and next plan on how and what I can accomplish on as cheap as I can do it. You get more creative by the way, when you budget yourself.
YOU CAN DO IT
And if you need more confidence, I am here to encourage you that YOU CAN DO IT! Don’t wait until you have more money to do it “right.” What’s right? Do you mean perfect? Nothing is ever perfect and things can always go in stages. So do what you can now, with what you have, then you move on to another project. Otherwise, you could stay at a standstill and never get anything done. At least that’s my motto and it works for me and I hope it’ll work for you too!
HOPE IS ALWAYS THERE
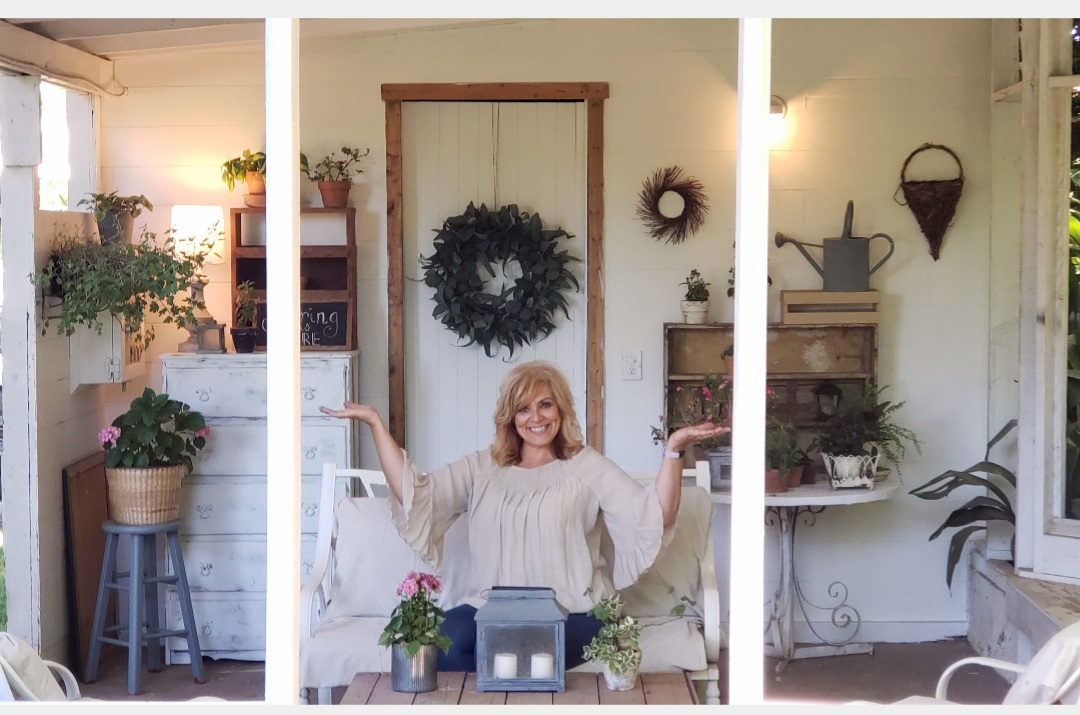
So here’s to refurbishing, refreshing, and to this new Granny’s Garden Room! Aw, you know I think about how our precious new grandson, sweet lil’ Teddy, was born on Easter Sunday. Wow, so amazing! We have so much to be thankful for. I know all of us do. Through all of these crazy times, a precious new life entered into the world despite it all.
God is so good, and it just goes to show you that hope is always alive and well if you look for it no matter how dark things can seem.
Well, I am so glad I created this cute cozy little space and I’ll look forward to spending time with this sweet boy here and his future siblings and cousin too which is coming soon!
That is truly something!
Praying sweet blessings for you my friends,
XO Jerri
