DIY APRON USING TICKING
When I was a little girl, I remember my mama having me stand on a stool and hold still while she pinned the hem of dresses that she was making for me.
Oh , I was little, and it was hard to hold still but then I had these beautiful little dresses and jumpers to wear to kindergarten and I thought they were so pretty! Even though I thought of sewing as a magical craft that seemed so complicated, I still wanted to learn how to create my own magic.
But I didn’t end up learning to sew myself until I was ten years old when I signed up for some fun summer classes. But alas, I never picked it up again until I had my own home and a very sweet friend of mine Jean, gave me a little brush up review and I was off and running.
Then I was creating unique things that fit perfectly well in our cozy cottage. (Like these easy pillow slip covers – click here ) You know, sewing can do that for you. You can make anything you want as long as you find the perfect fabric for your vision and you have the tenacity and patience, you really can do it! Then the more you sew, the more your expertise improves. It really is an amazing and fun hobby!
A few years back, I decided to make more and more handmade things for Christmas presents for mine and my husband siblings, parents and other friends and family. As the family grows it gets quite expensive and really a huge task to buy gifts for literally “everyone!” Then the draw a name strategy became a new thing for us all to do.
While that ended up being fun, I still didn’t really love it because it didn’t feel as personal to me and truth be told, I am a horrible shopper. I just really abhor it actually. Funny huh? So that’s when I came up with the handmade-homemade Christmas line (ha ha) by “Aunty Jerri.” Now each November, I literally can’t wait to get started.
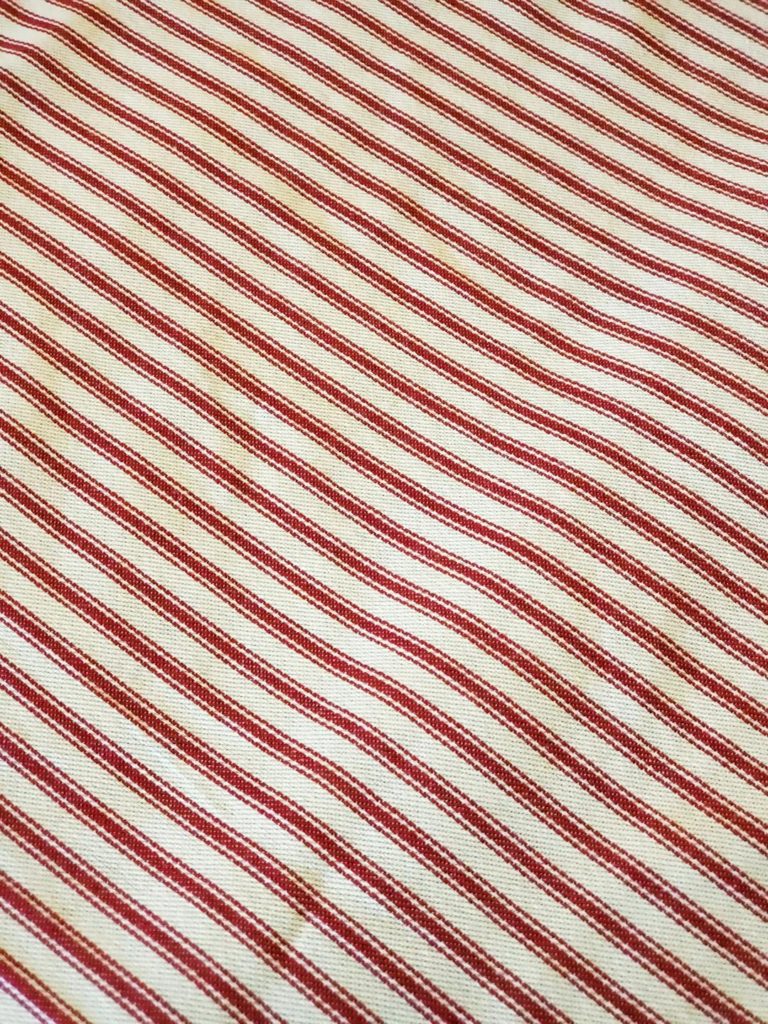
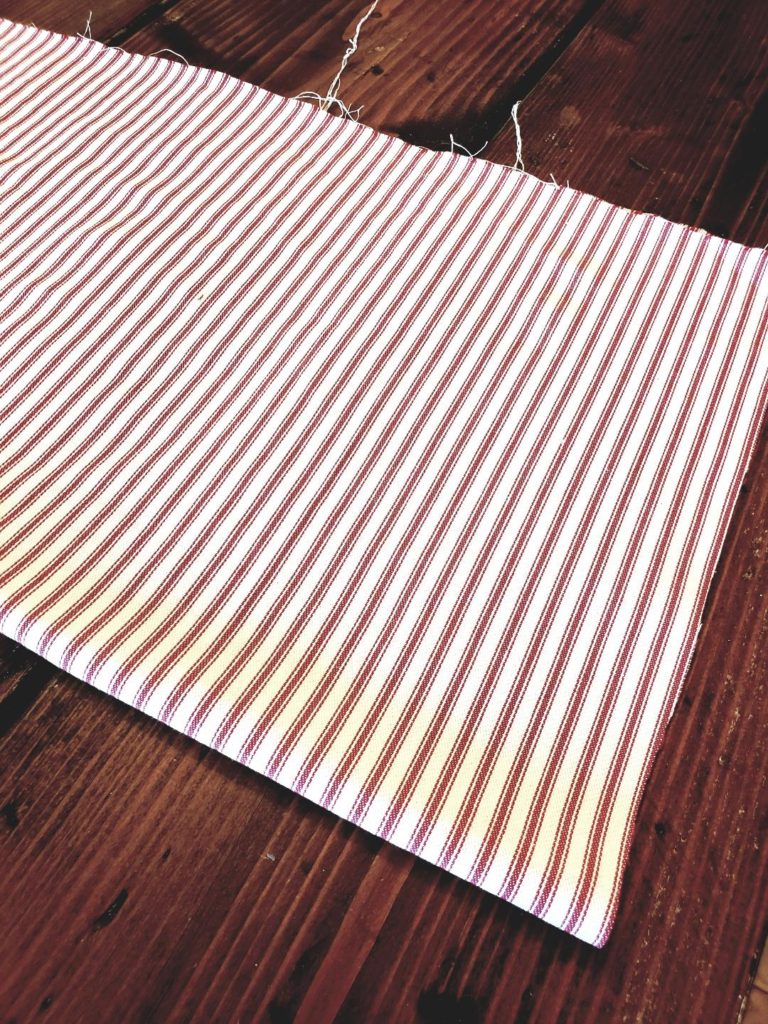
For this year’s “collection” it’s all about things for the home and kitchen (duh, what else would I do) and I just knew I wanted to use a striped ticking fabric. I just love ticking, don’t you? I mean I love all colors of ticking fabric (red striped, navy blue, and black striped also) and I love that it has the same print on both sides so it’s totally reversible.
Yes, there’s just something so vintage about it and yet I don’t feel like it’s out of style either. It has a classic timeless look that I really love. In fact I love it so much, I not only want to create so many things around our home with it but I want to give it away too.
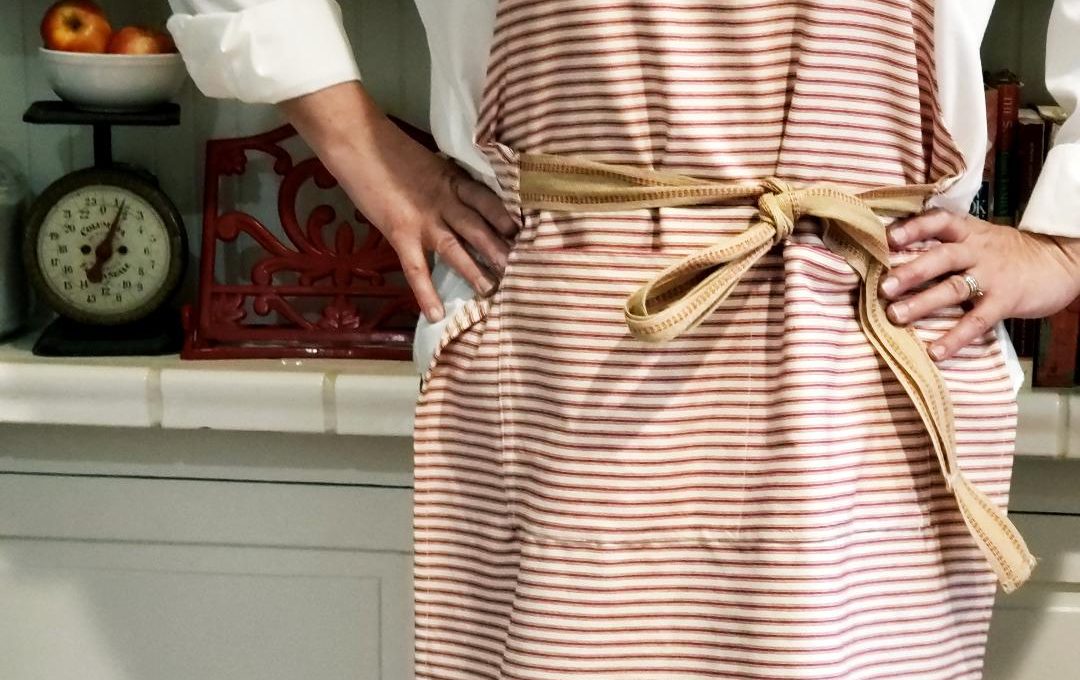
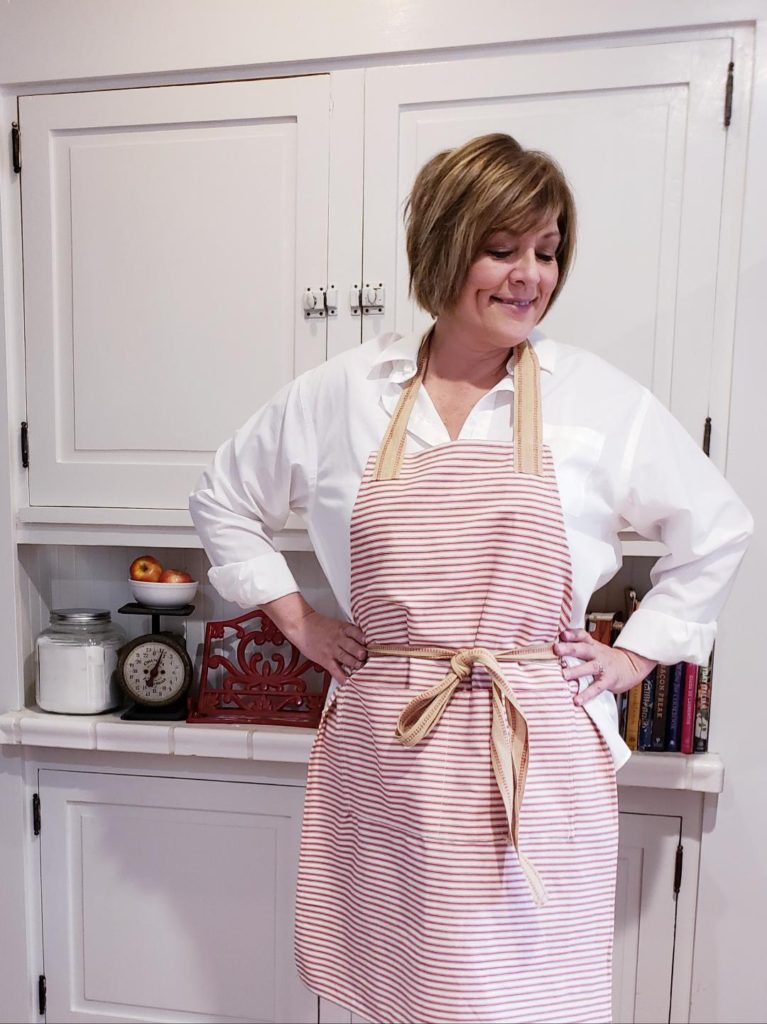
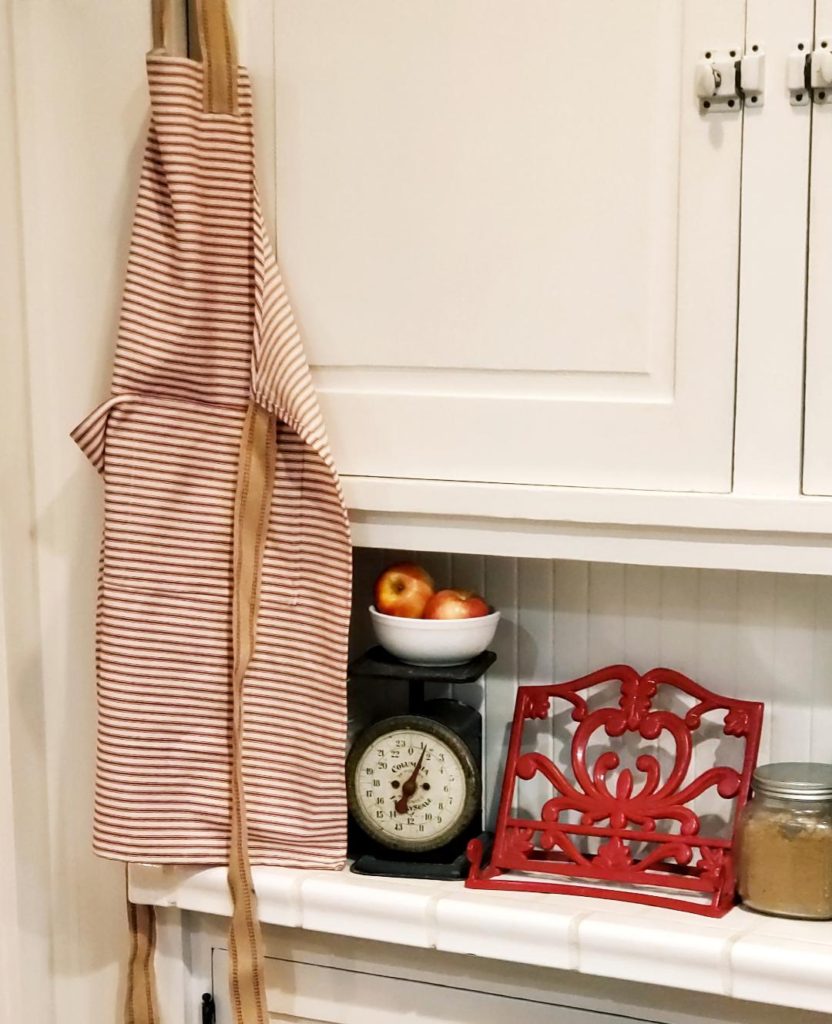
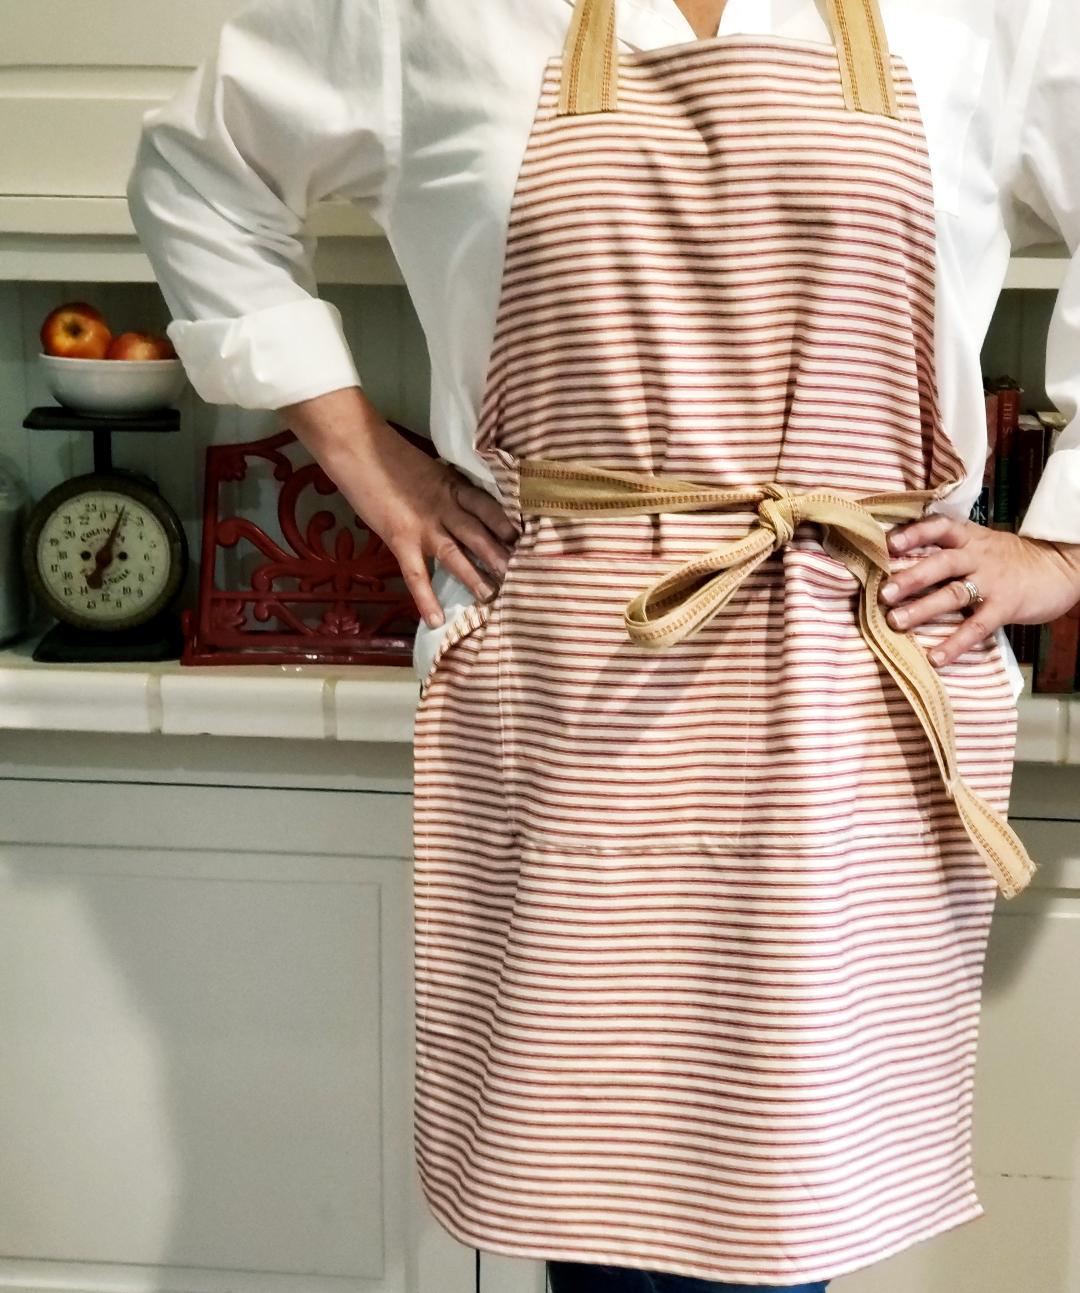
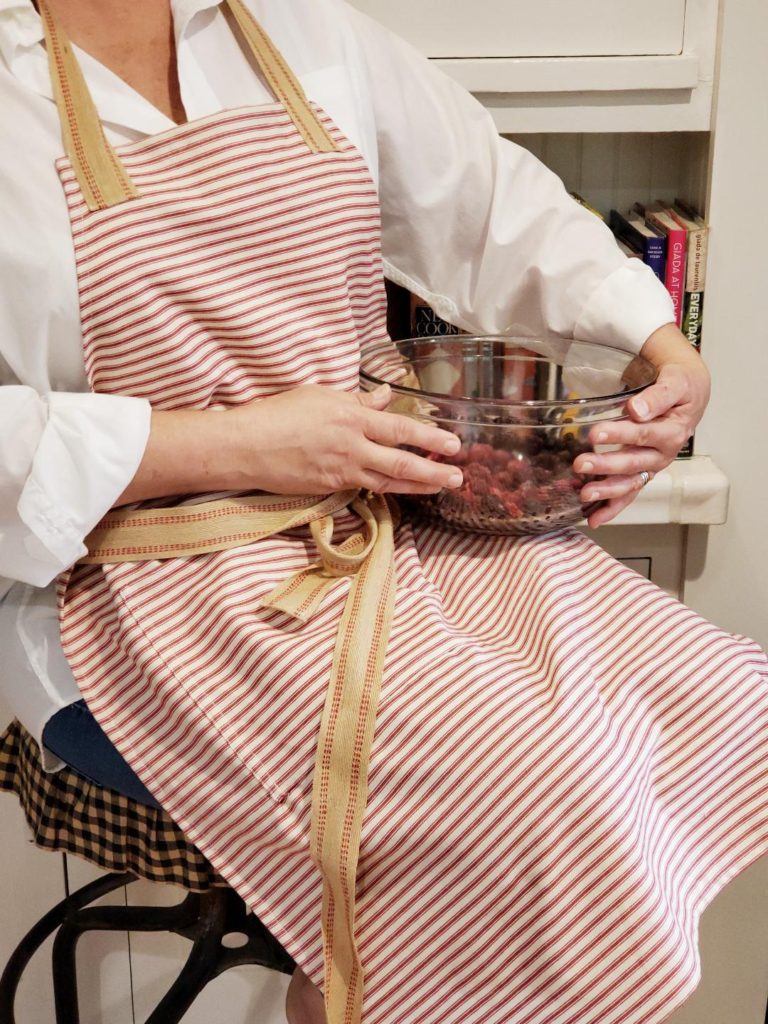
Like this apron here. I really am on a mission to have all of my Christmas Gifts wrapped and under the tree as soon as possible and my favorite part of the season of giving is making homemade things that I know everyone will love.
So I thought it would be cute if I made all of my loved ones on my list his and her matching aprons, well at least coordinated aprons. So first up is the womens’. I’m really into the look of the basic bib chef’s apron. I think it looks great on both men and women and since I want them to coordinate, this will be perfect.
Now I didn’t use a pattern for this and I don’t think you need to either. As long as we keep it simple, it’s pretty easy to do. First of all you’ll need a yard of material, I used red and white striped ticking fabric but you could use anything you like!
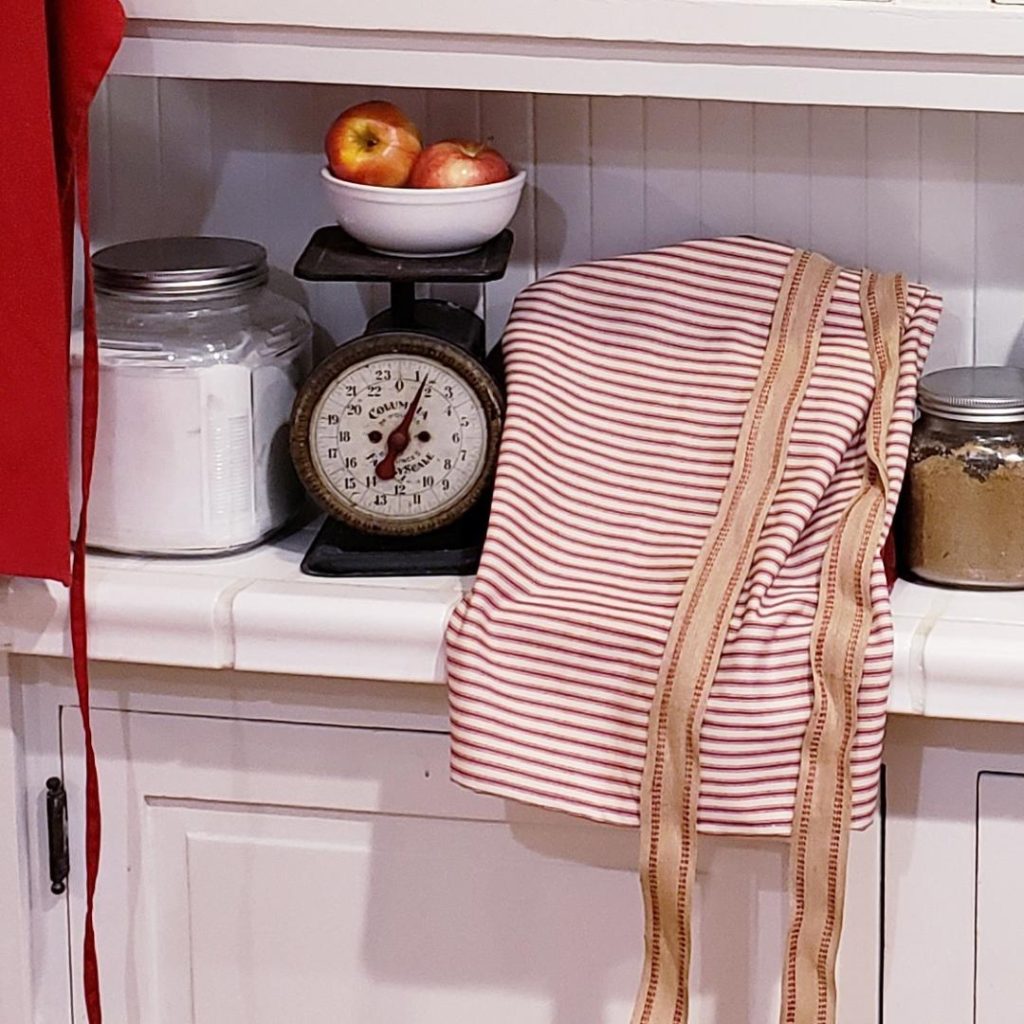
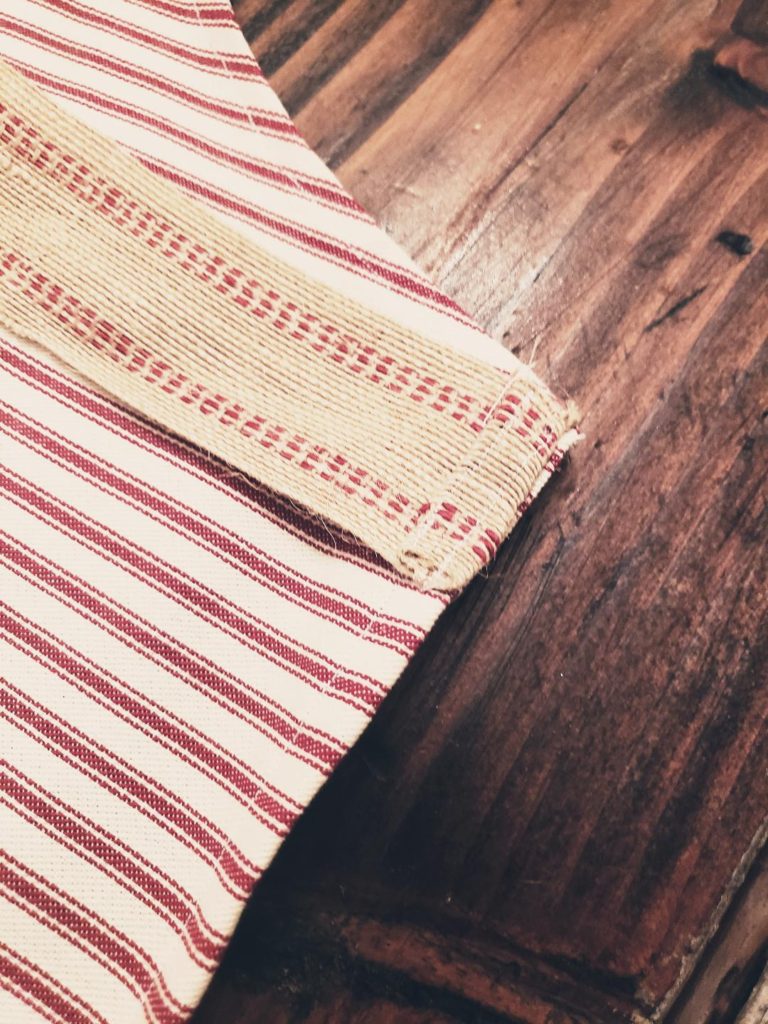
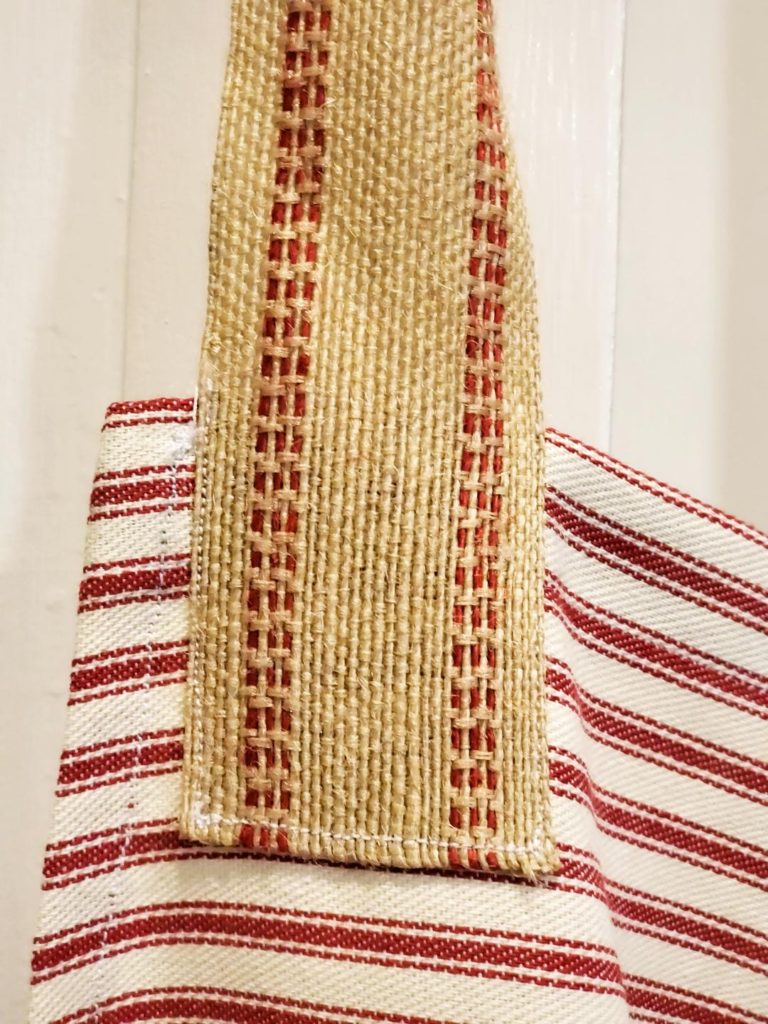
Then for the ties I used what’s called Upholstry Jute Webbing and it has it’s own red ticking like pattern that is so vintage and cool looking. It was used for commercial furniture upholstry for seat support but is so durable and adorable really when it comes to crafts.
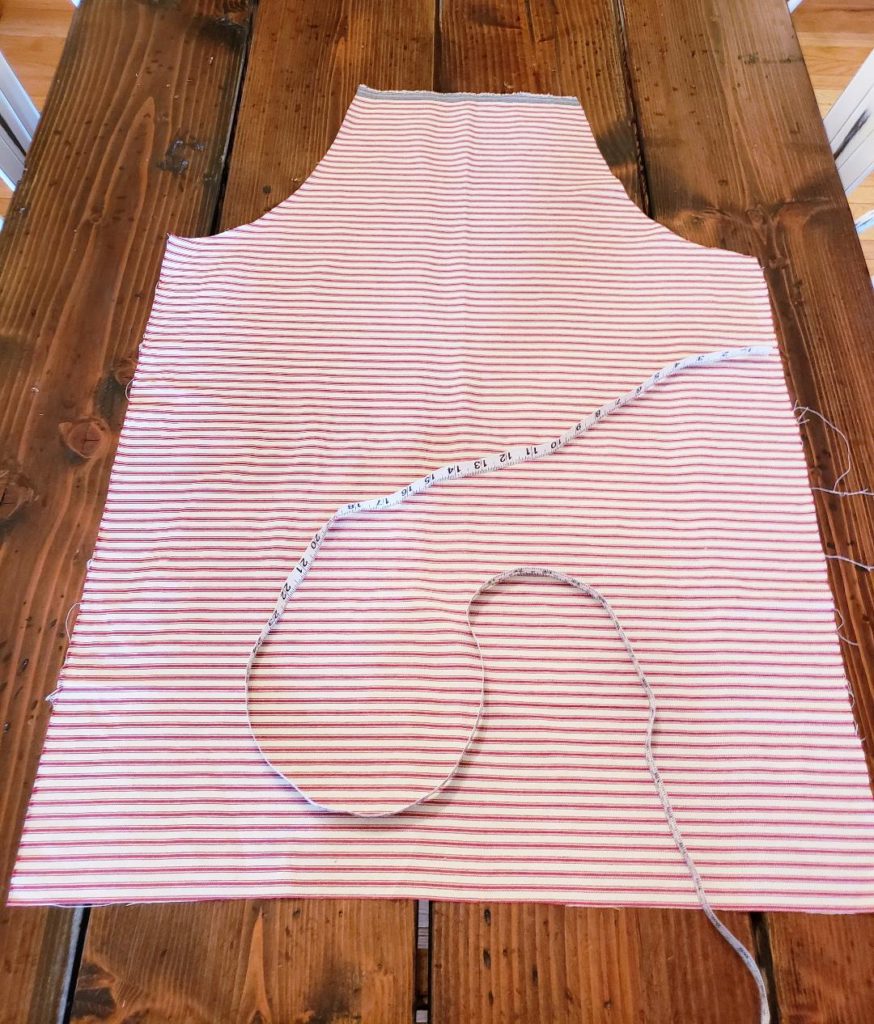
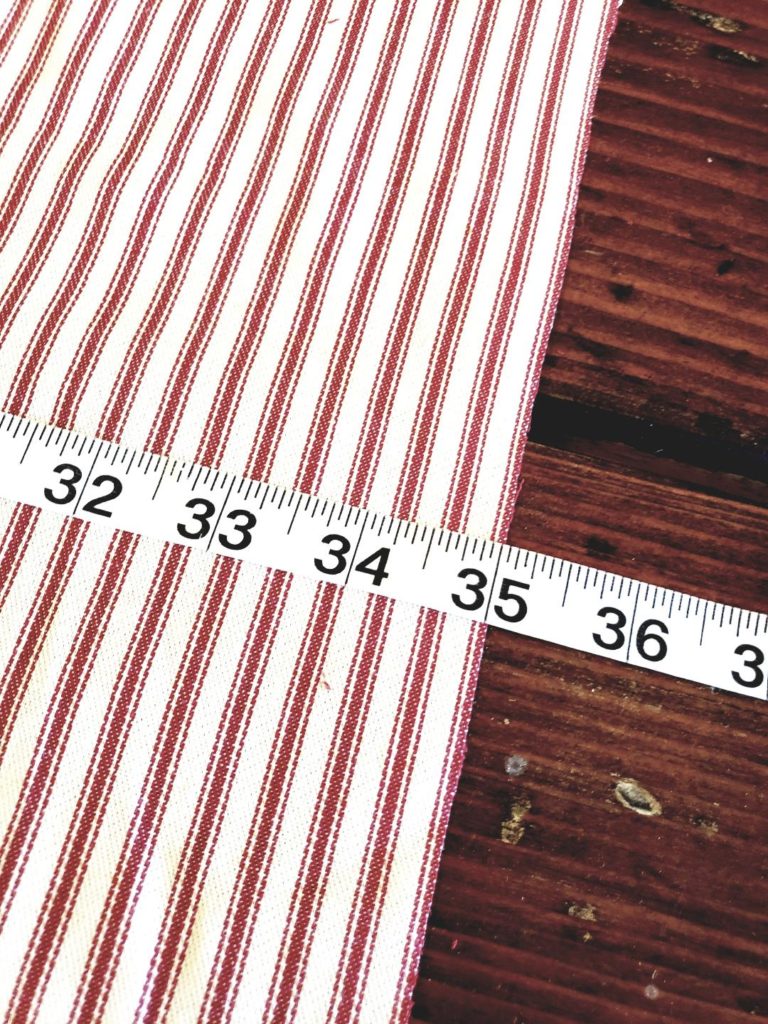
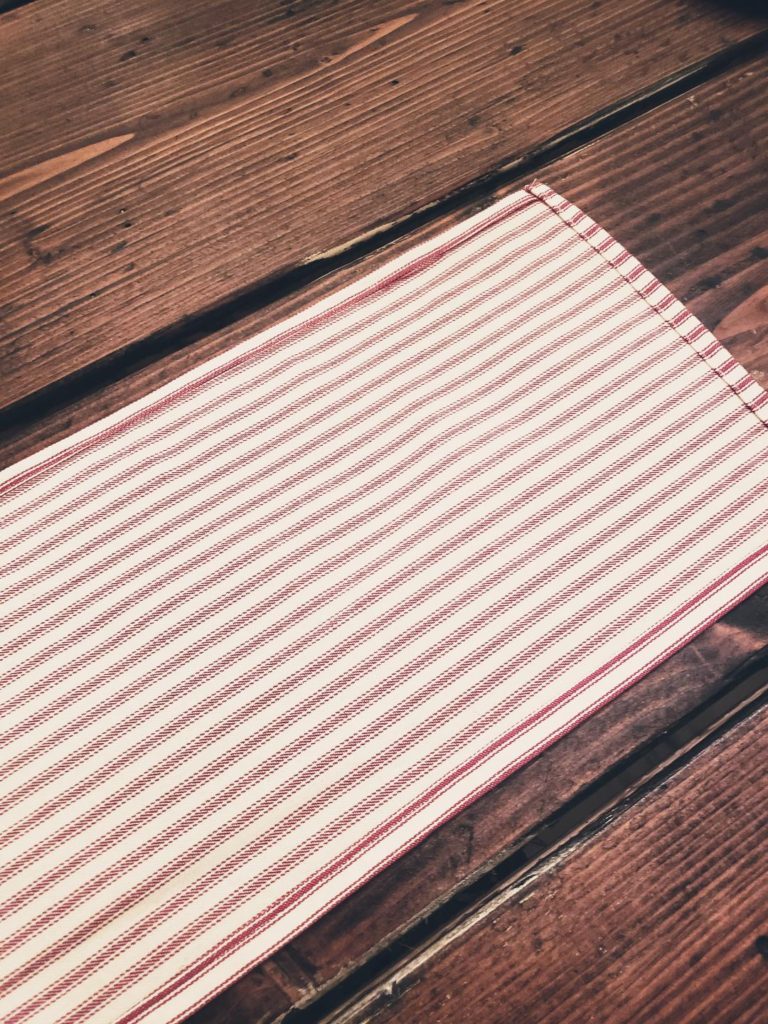
Next take that fabric and lay it out on a table and to keep it simple because it’s a yard (36 inches) I left that as the length because when you hem, it will end up being 35 inches. Then I cut the width to be 26 inches across.
I proceeded to fold the fabric in half lengthwise and cut the scoop out of the arm area. First I measured 5 1/2 inches across the top and 10 inches down and I started to cut both of the pieces of the folded fabric in a scoop fashion at the same time. I knew that they would be perfectly identical because I had folded it.
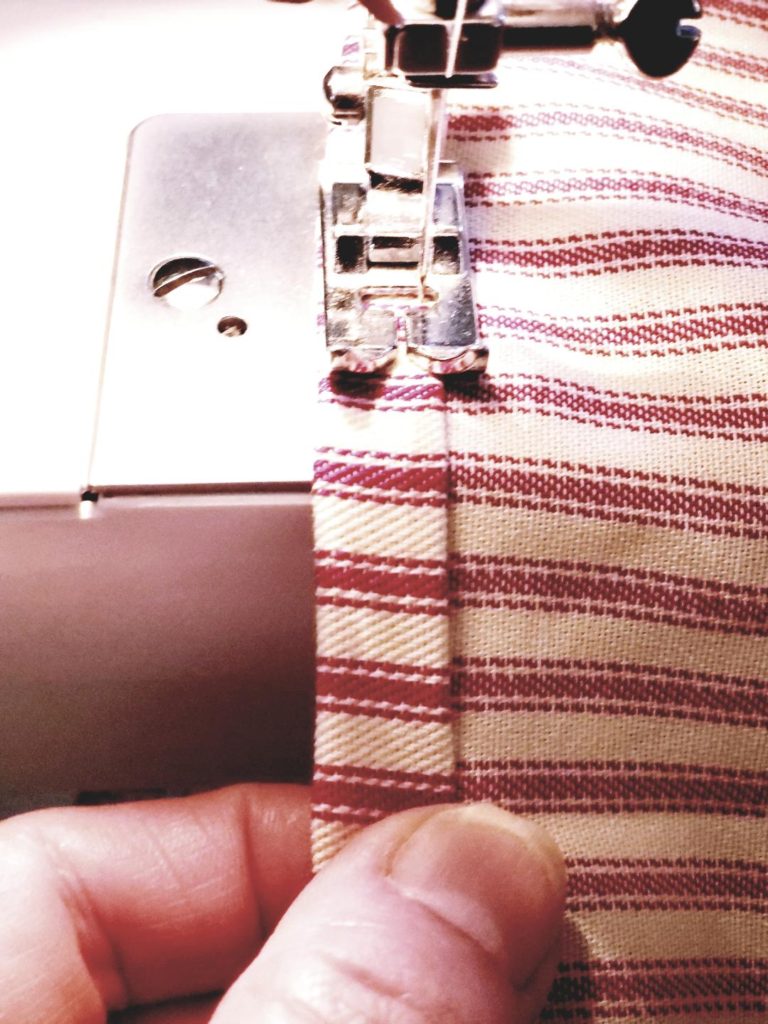
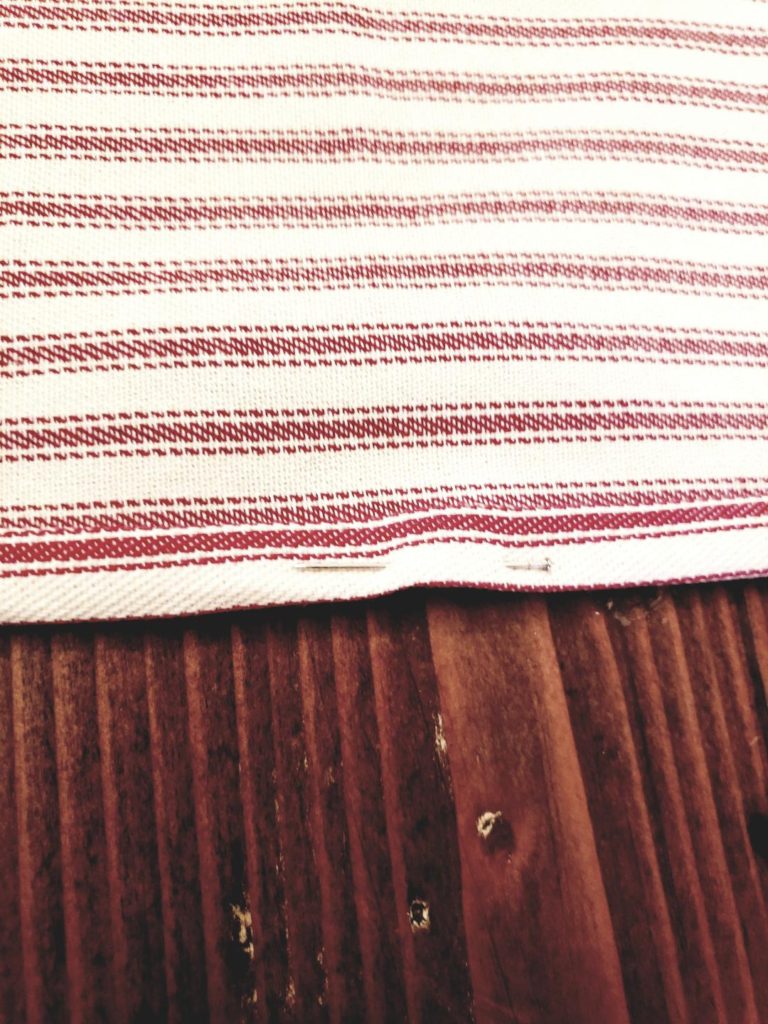
After it was cut, I hemmed all of the edges by folding it over once, then twice and pinned it in place, then sewed it. Next I cut the Webbing Ribbon in 3 pieces, one for the loop around the neck, 28 inches, and the other two pieces for the ties around the waist, at 40 inches a piece.
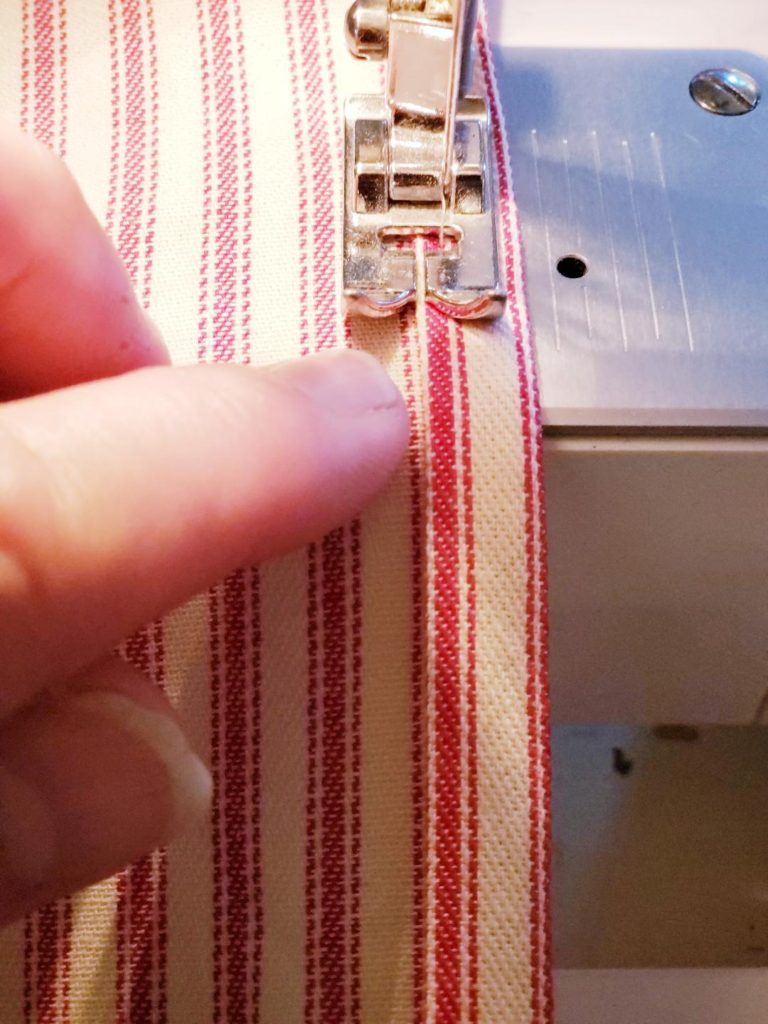
I hemmed the ends of all three pieces then I set the top loop two inches down from the top edge on top of the front of the apron and pinned into place. I then sewed around the edges in a rectangle to secure it.
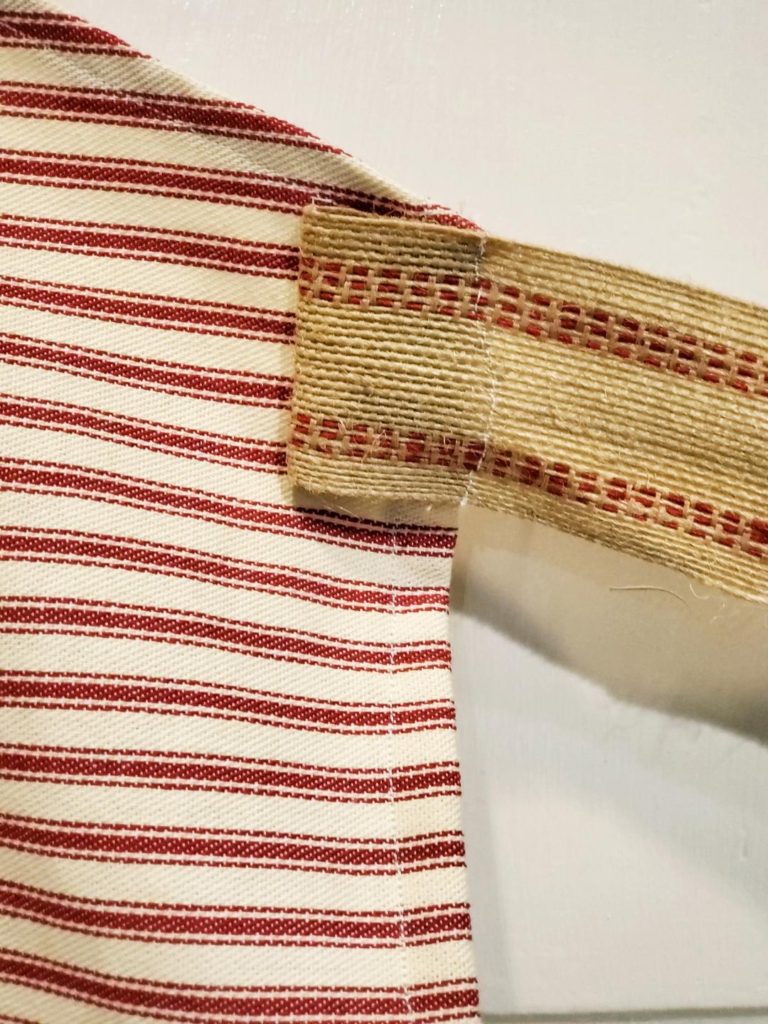
I took the tie pieces and laid it on the edge of the apron and sewed just the end down, then looped it over an inch and sewed it down again.
I made a simple front rectangular pocket by cutting then hemming the material 8 1/2 by 16 1/2 inches. With the folding and hemming the pocket ends up to be 8 by 16.
After it’s hemmed I placed it on the apron and sewed it down on the three sides leaving the top open. Then I sewed down the middle so it ends up being two pockets in a sense.
Ta Da! Done! Yay!
Now to create the “his” version, I think I’ll make it the same way but just use a solid red canvas material. How cute will that be? Both “His & “Hers” aprons for all of the couples in our family.
Happy Holiday Prepping!
XO Jerri
