There’s just something about buntings that I love.
They’re cute, homey, and add a touch of whimsy that I sometimes feel I need in my home to, I don’t know, bring out a little joy and coziness that I seem to long for.
I especially love to put a new bunting up for a holiday or special occasion like a wedding where the happy couple’s names are etched on a stretched out bunting declaring their love forever.
How sweet!
Then there’s the holiday themed bunting like a Fourth of July flag style that is always a hit.
Or for Christmas, I love a burlap bunting I made with red felt letters spelling out Merry Christmas.
All of these different themes actually kinda makes sense if you know the history of buntings.
Do you?
No?
Well let me fill you in then.
You see, their history takes us back to 1600 ish where raising ships’ flags were referred to as a bunt.
Then over time, these triangular flags strung together were used in decorating for celebrations at special public events and weddings.
So I say yay for the bunting and let’s use it more often and think of it as another way to commemorate the arrival of a holiday or season.
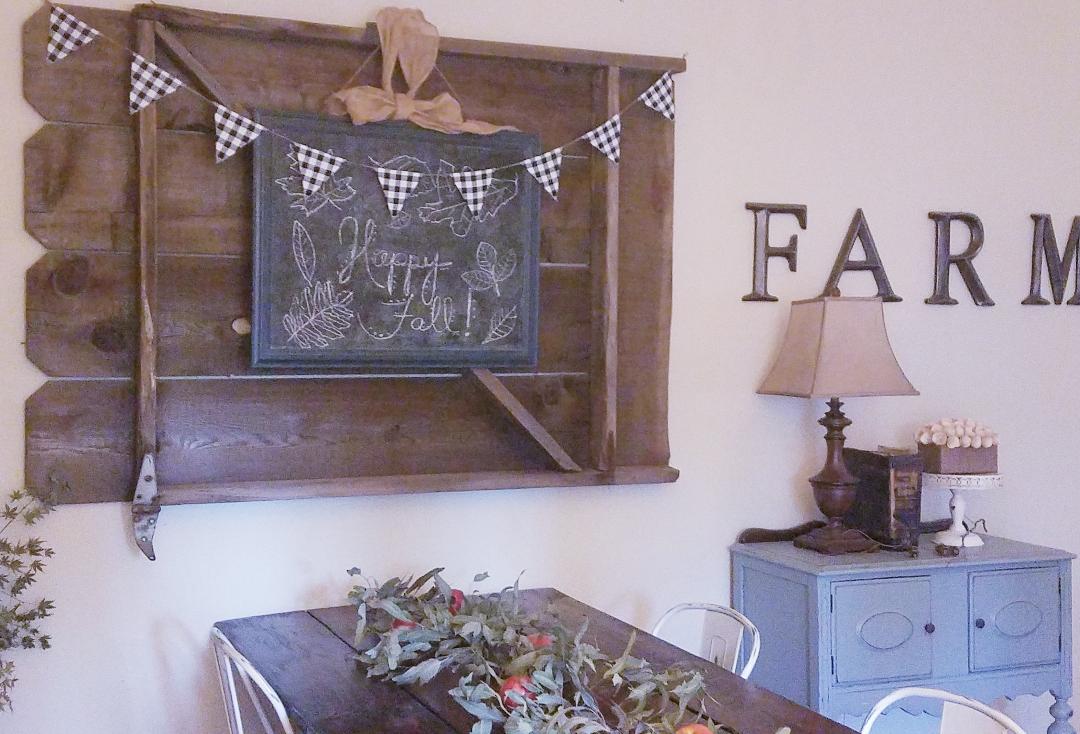
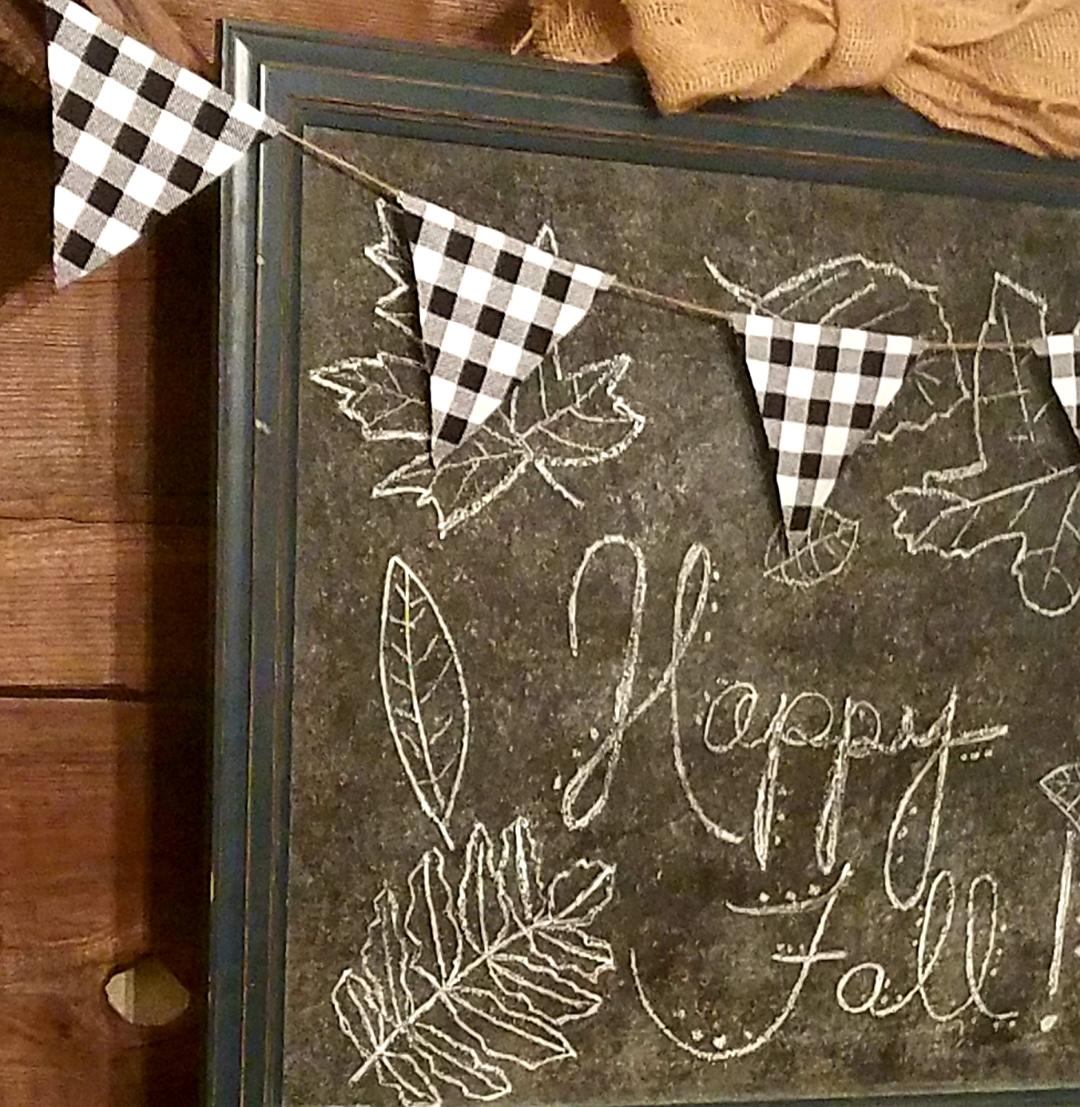
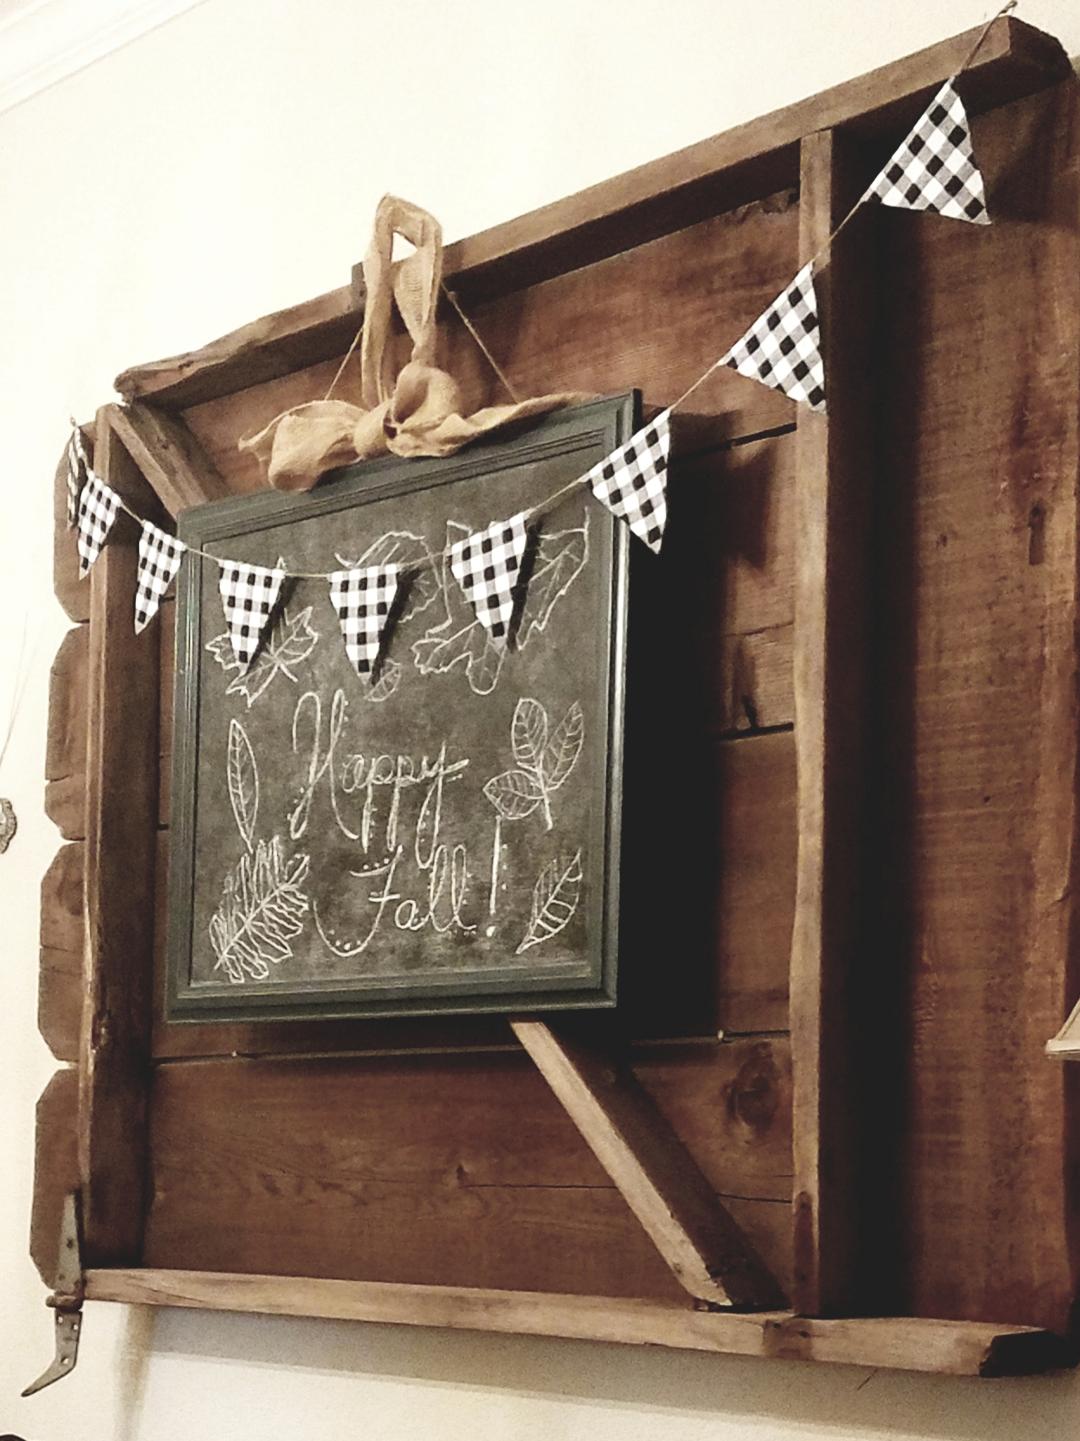
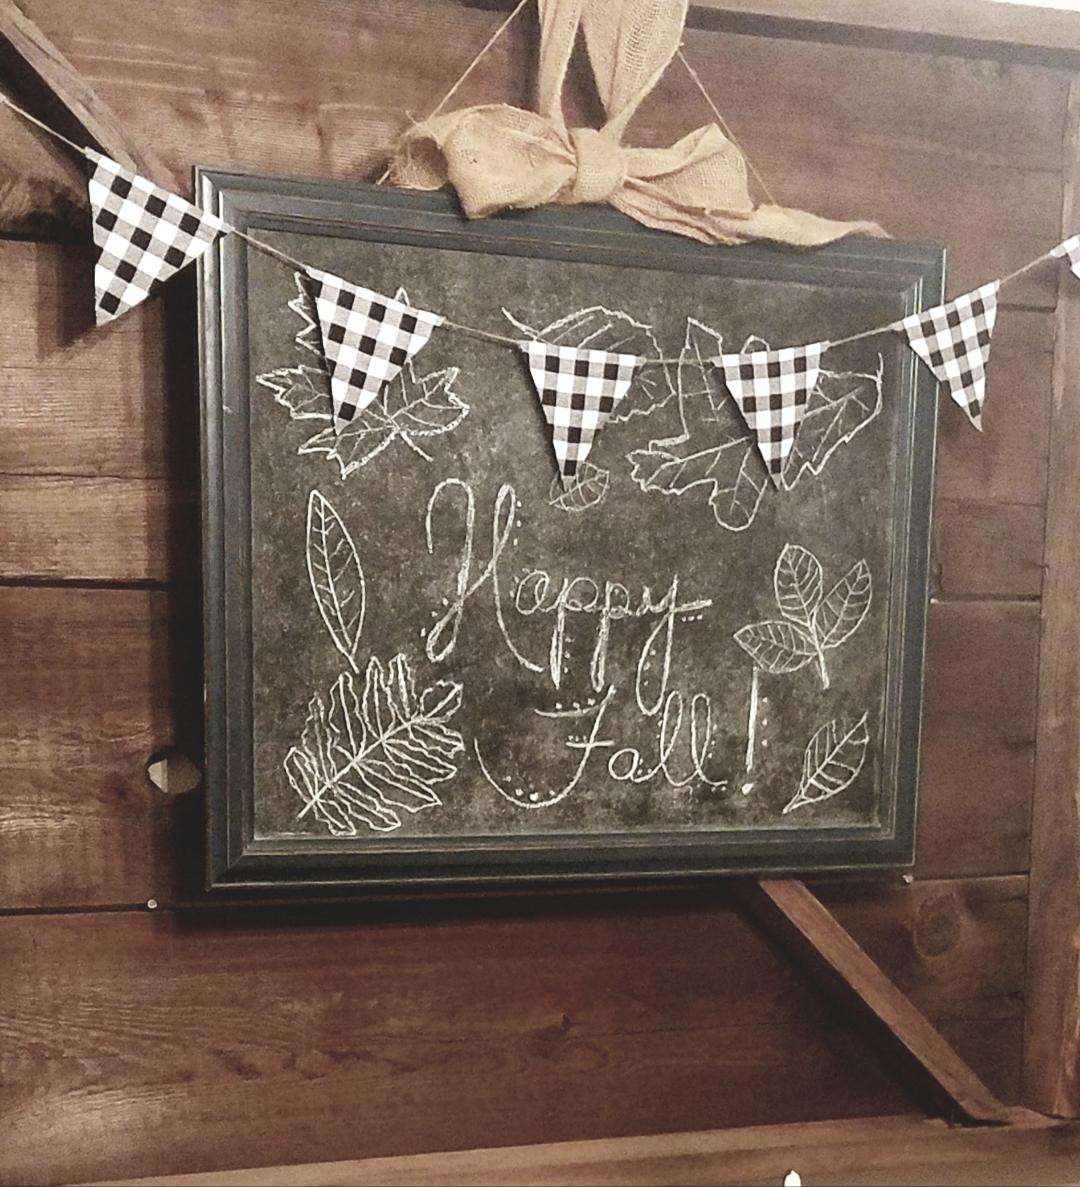
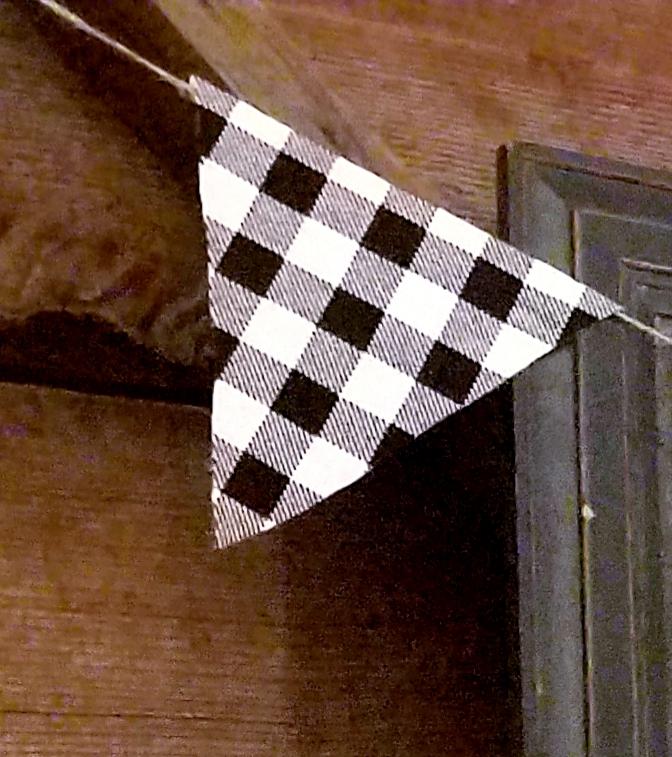
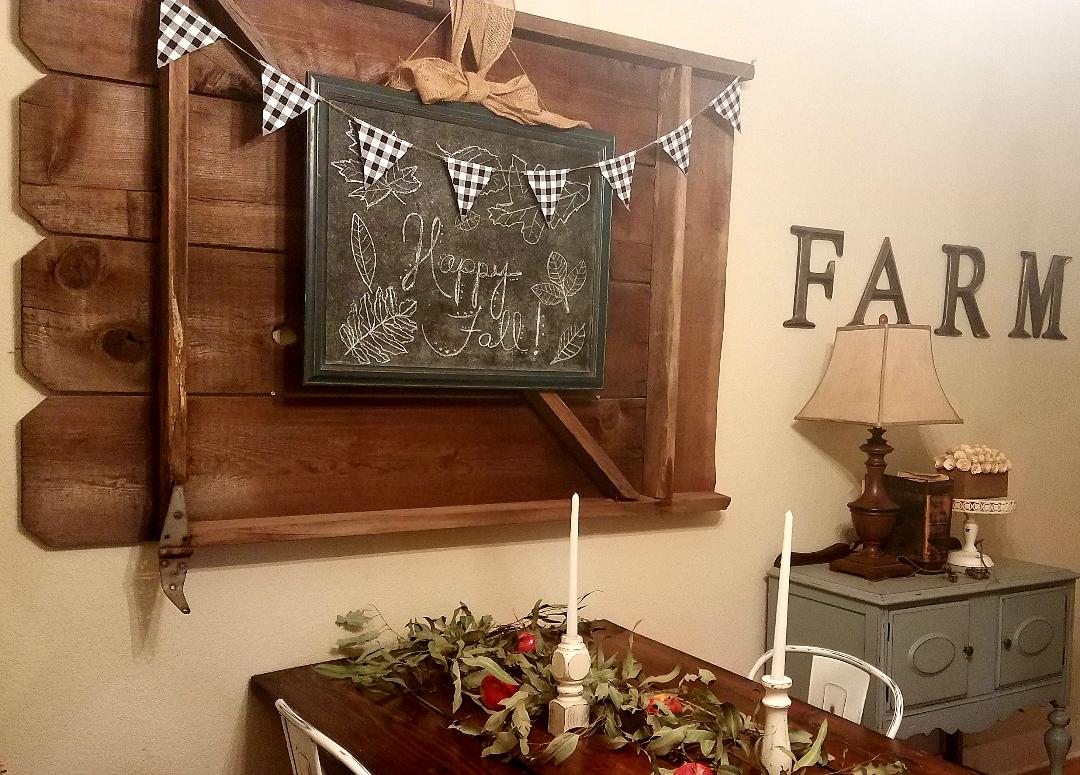
Well back to this upcoming season, for fall this year, I’m really wanting to mix some black and white material here and there in my decor and I thought it might be perfect to make a bunting out of this checked fabric.
If you’ve never made a bunting before, you’re in for a treat.
It is easy peasy lemon squeezy!
I mean really, you can’t get more simpler than this tutorial.
- First of all you’ll need some fabric you like. Mix it up and use a different pattern for each flag or just use beautifully simple burlap, your choice. With this project, I chose to use all the same fabric for each flag.
- You’ll also need jute or ribbon to hang your flags on.
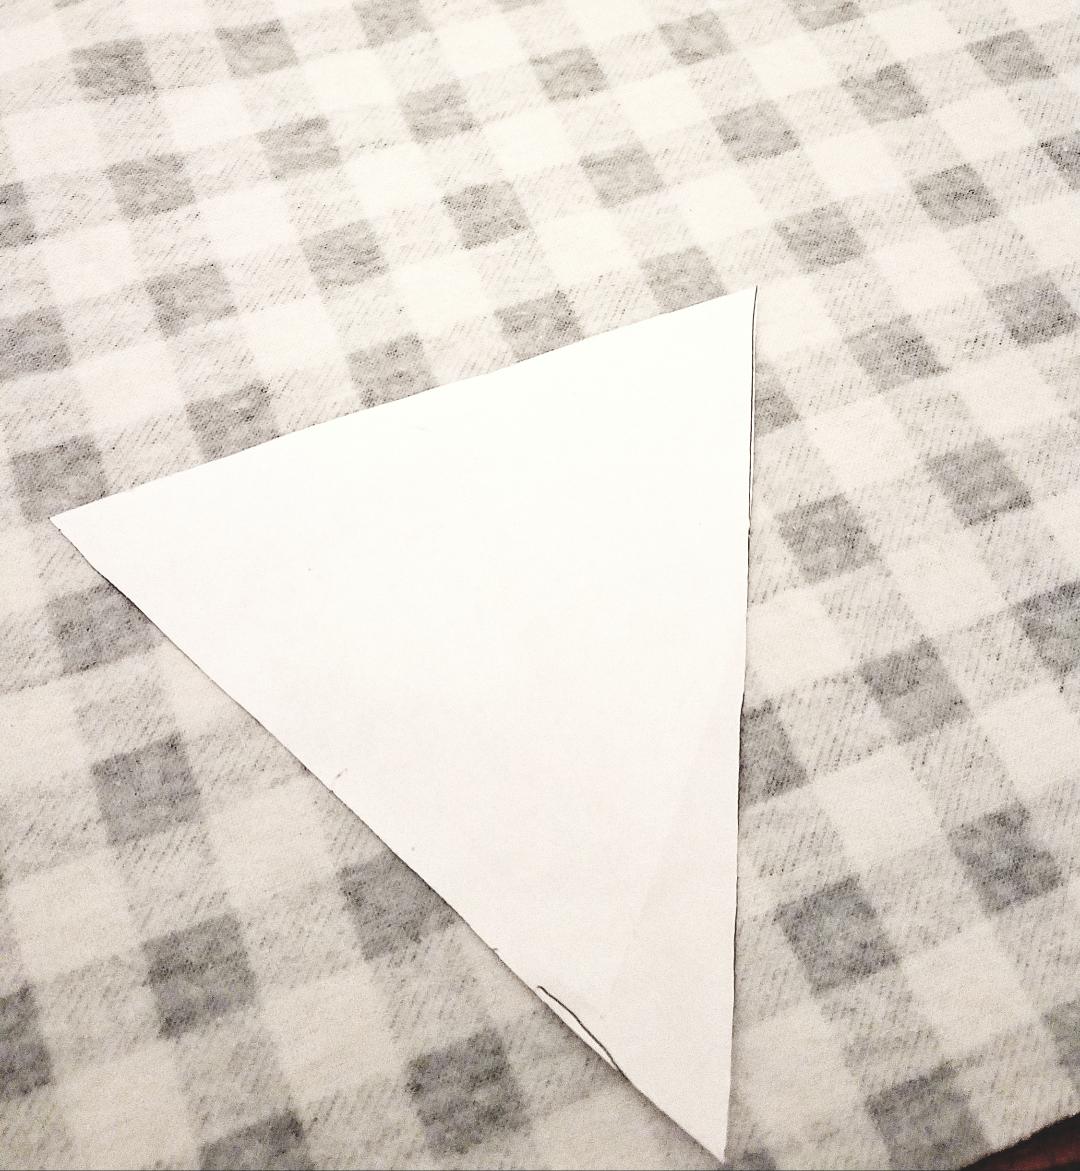
- Next, grab some graph paper. You’ll use this as a template for your flags.
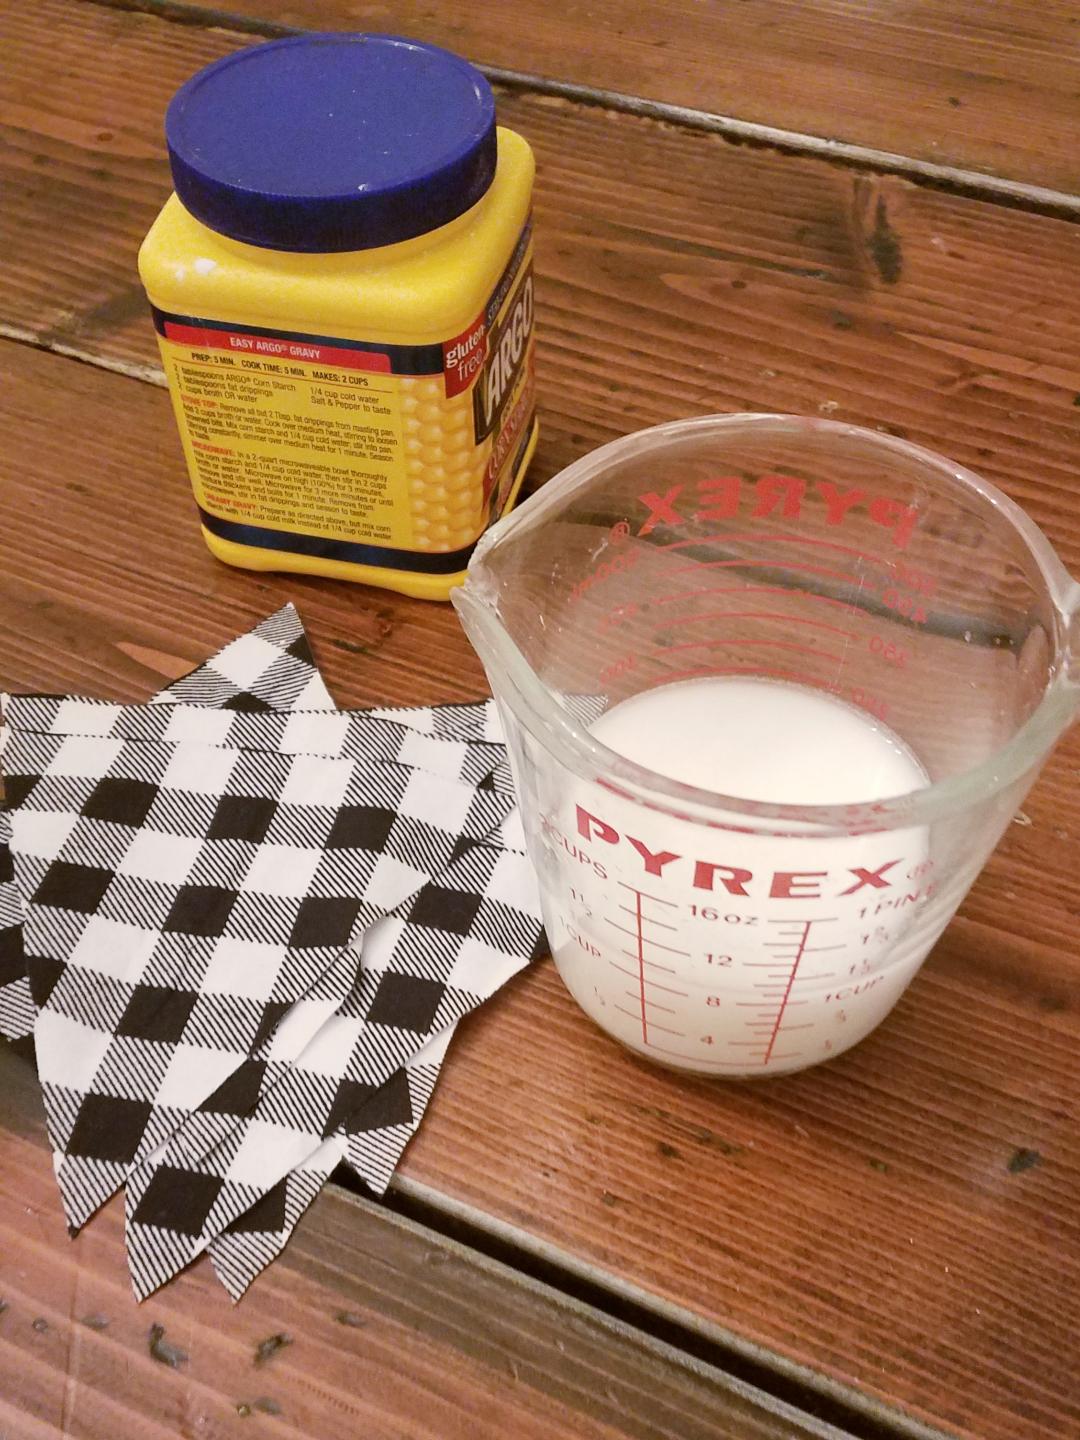
- Make some homemade starch (so simple) to stiffen the fabric.
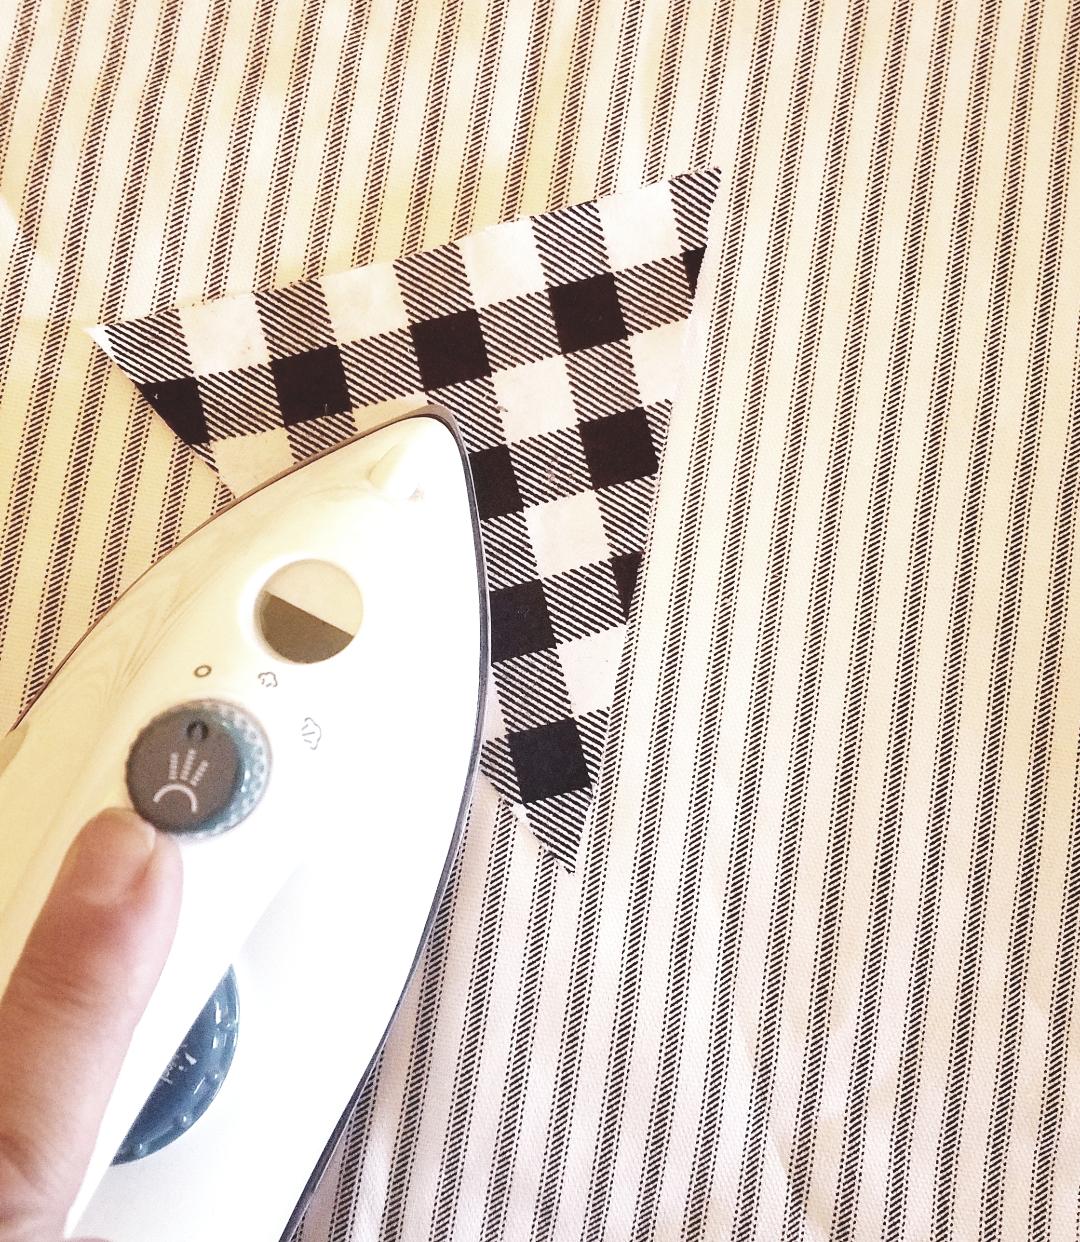
- Your iron, you’ll use, to activate the starch on your material.
- A glue gun, or if you prefer to sew it, a sewing machine will seal the deal.
After you gather your supplies, figure out how big you want your flags to be.
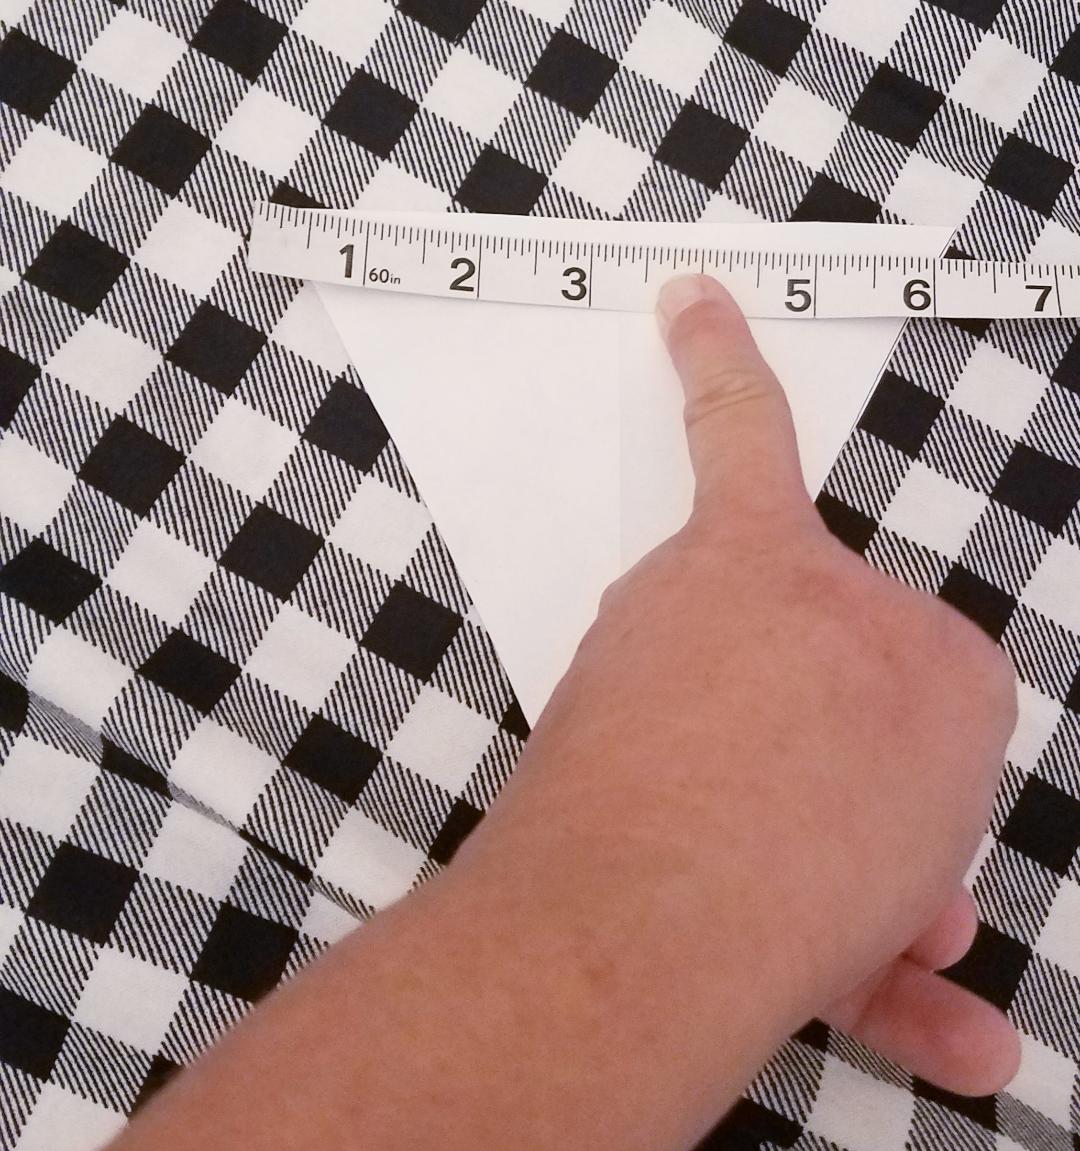
The graph paper helps you measure it out better.
I measured mine out to be 6 inches across the top and 6 1/2 inches down on each side.
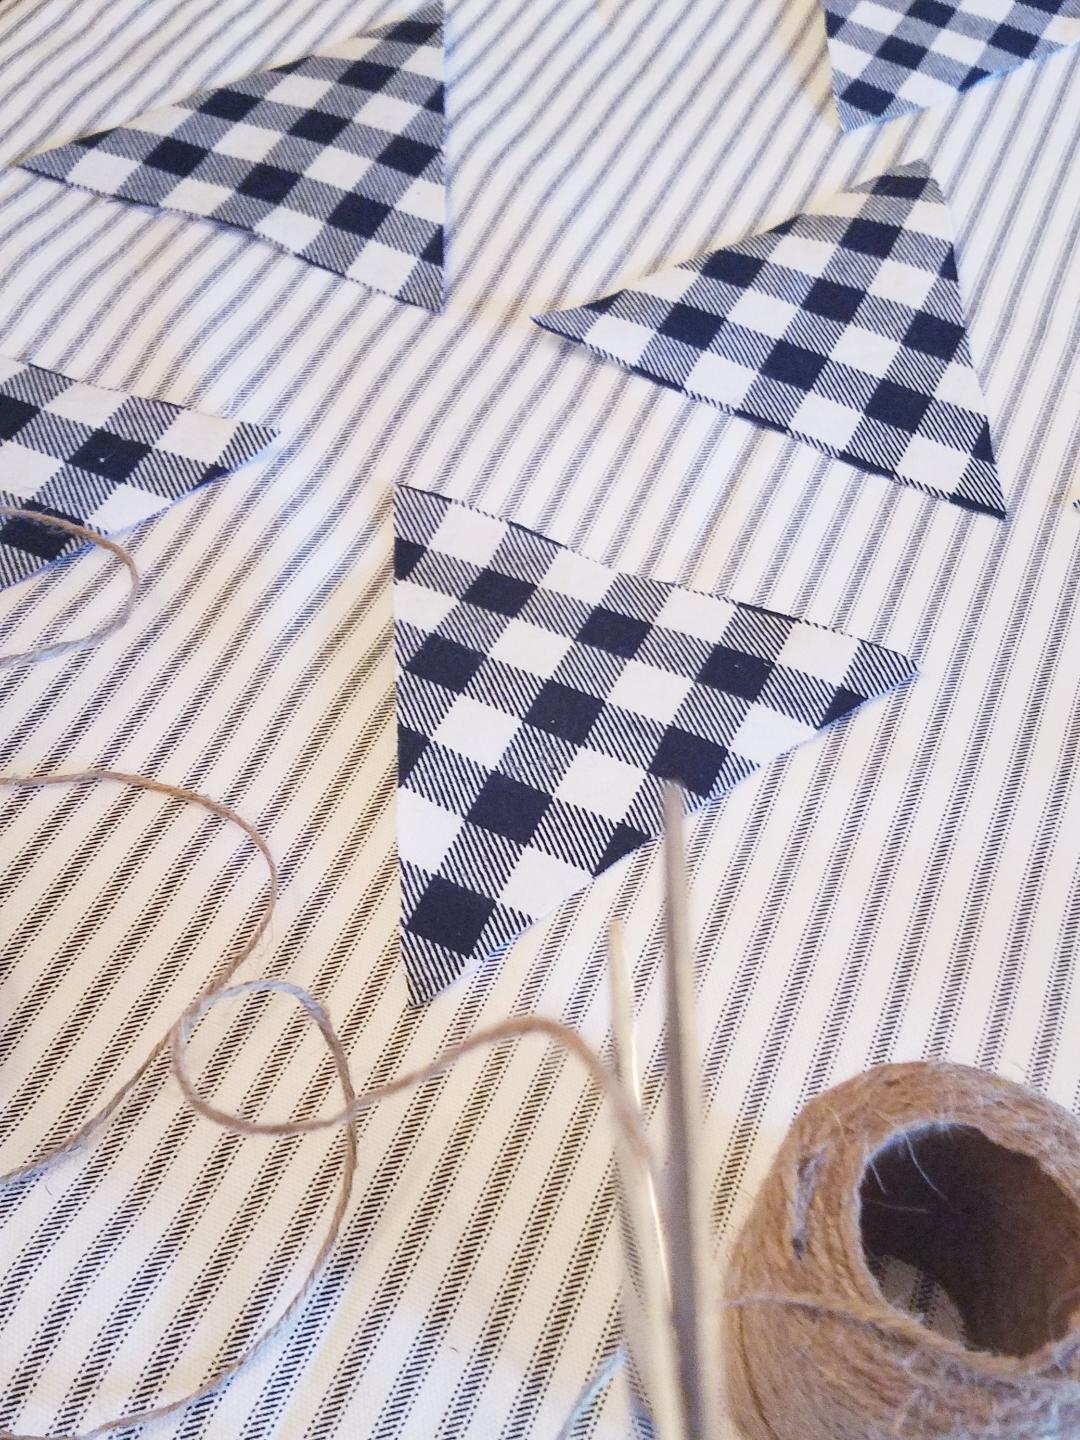
After you cut the triangle out of the graph paper, trace it onto the material and cut that out too.
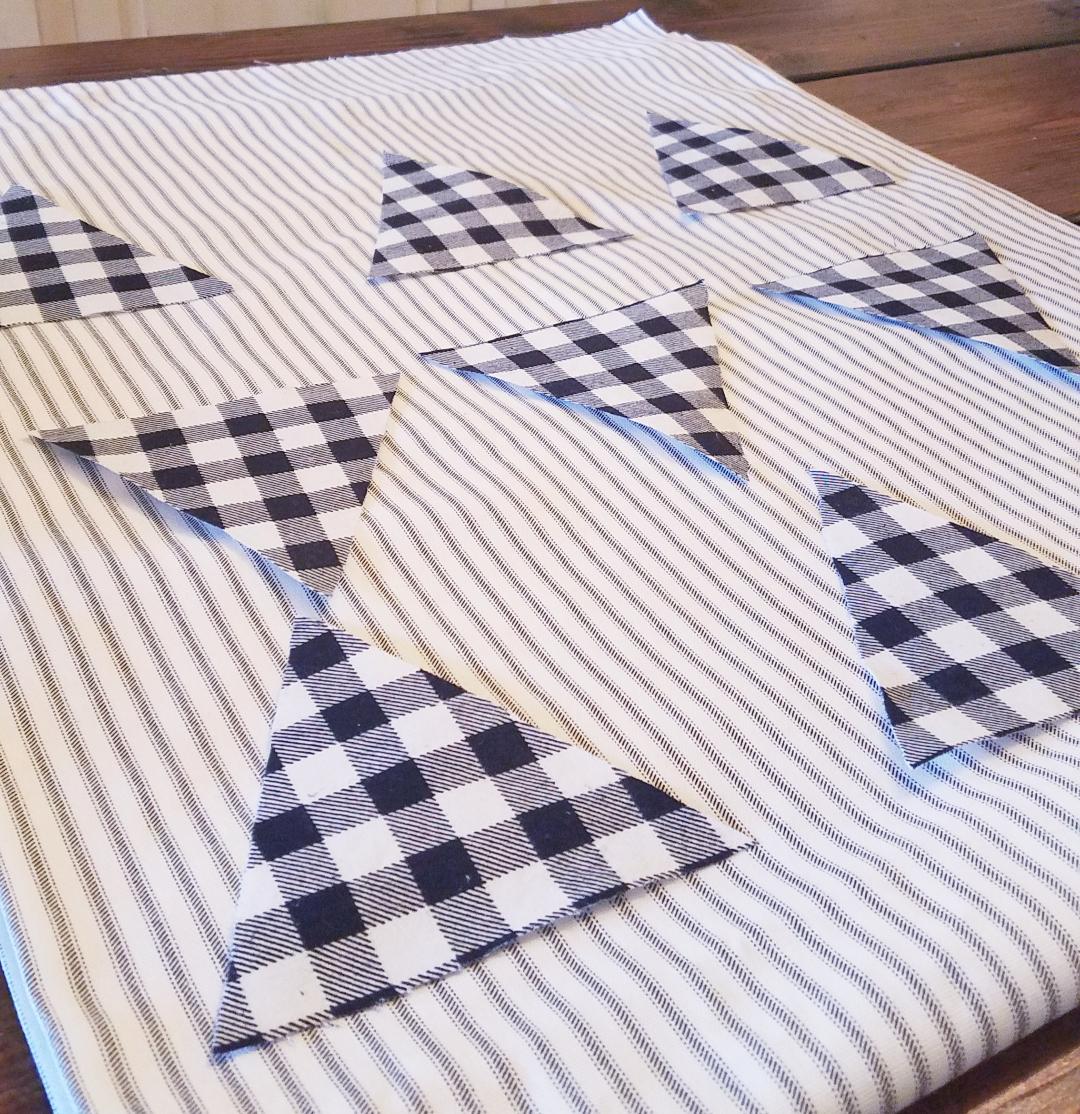
I wanted 9 total flags for my bunting.
Now here’s the fun part.
I made my own homemade starch by just mixing 1 cup of water and 2 tablespoons of corn starch together then dipped each flag into the mix, wrung it out and ironed it flat.
Then I let it them dry over night to stiffen the fabric up so that when the bunting hangs in garland fashion the material holds its shape.
I next decided the length I wanted and cut the jute to 7 feet.
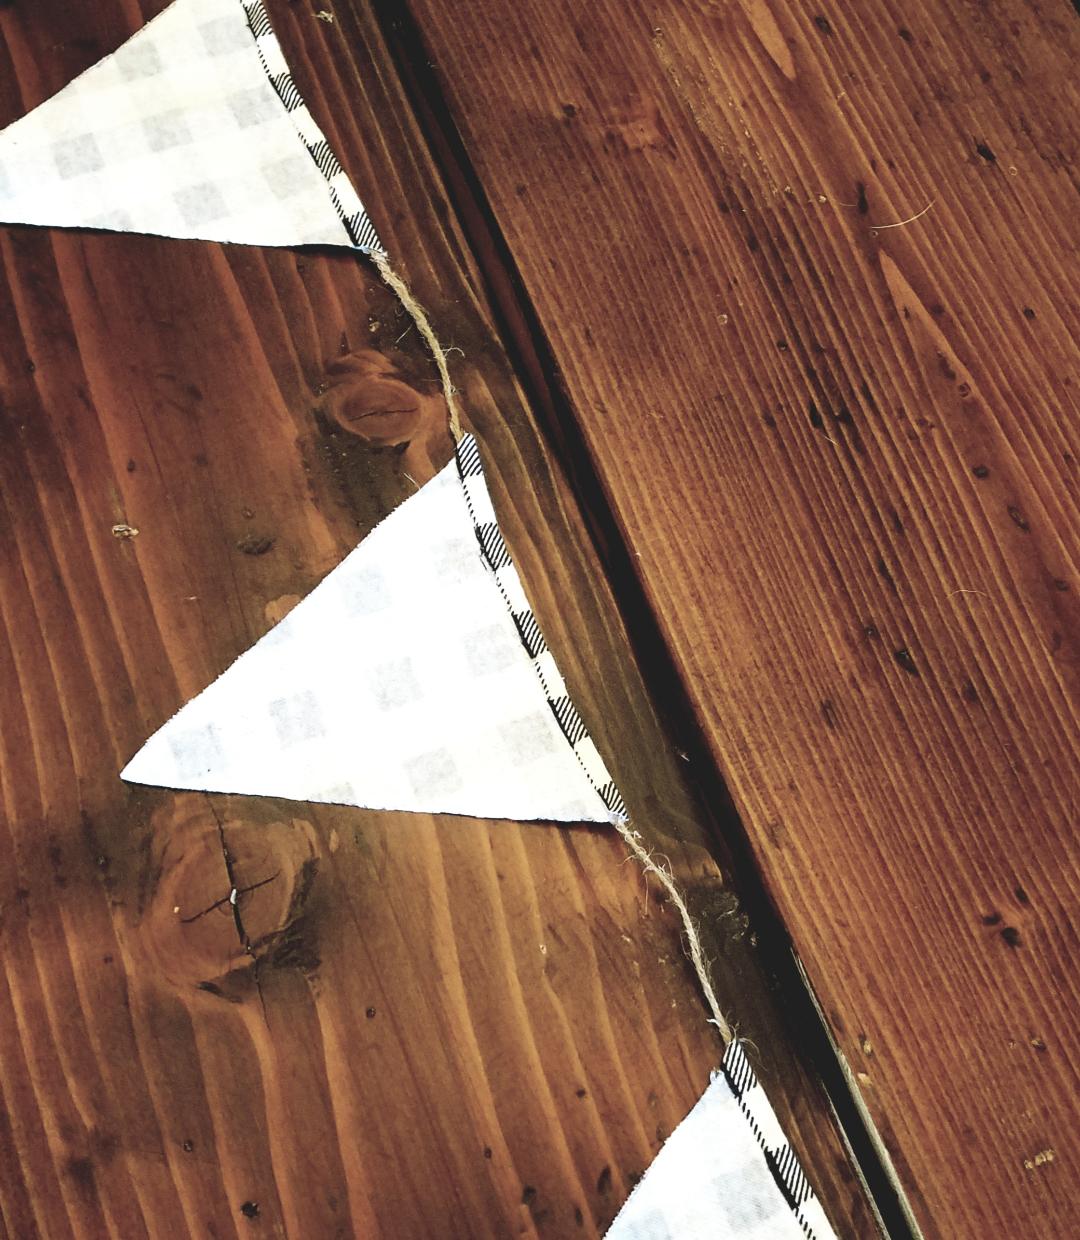
I laid out my flags spacing them evenly 3 inches apart along the jute.
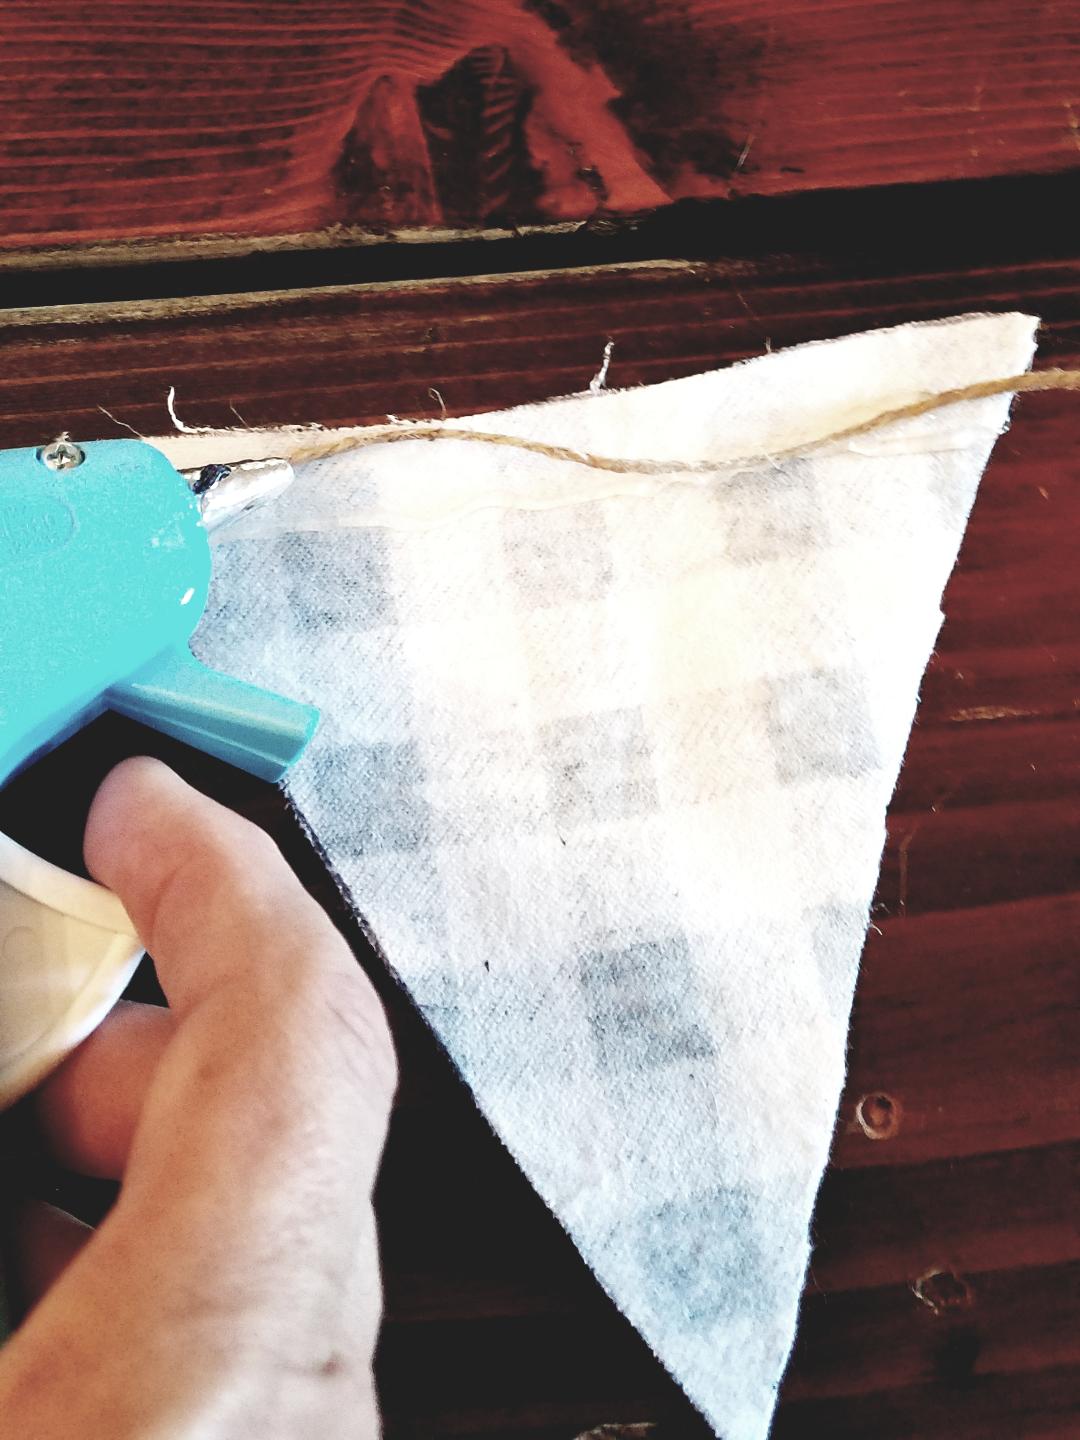
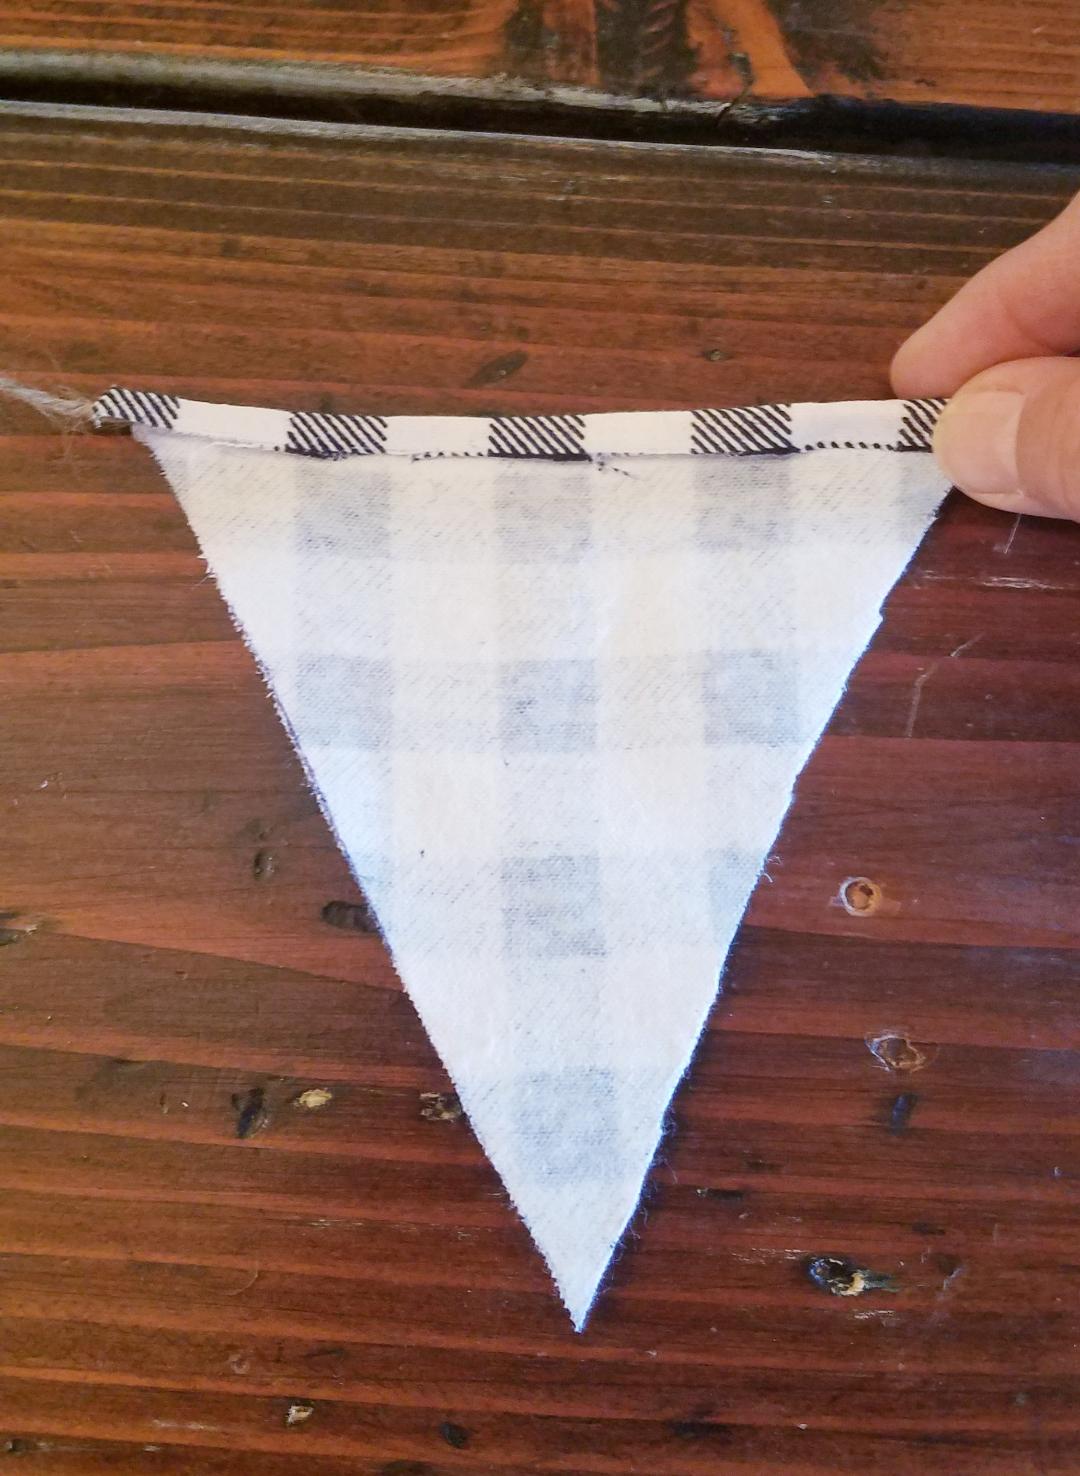
Then, I heated up my glue gun and glued those babies down while folding over the top edge.
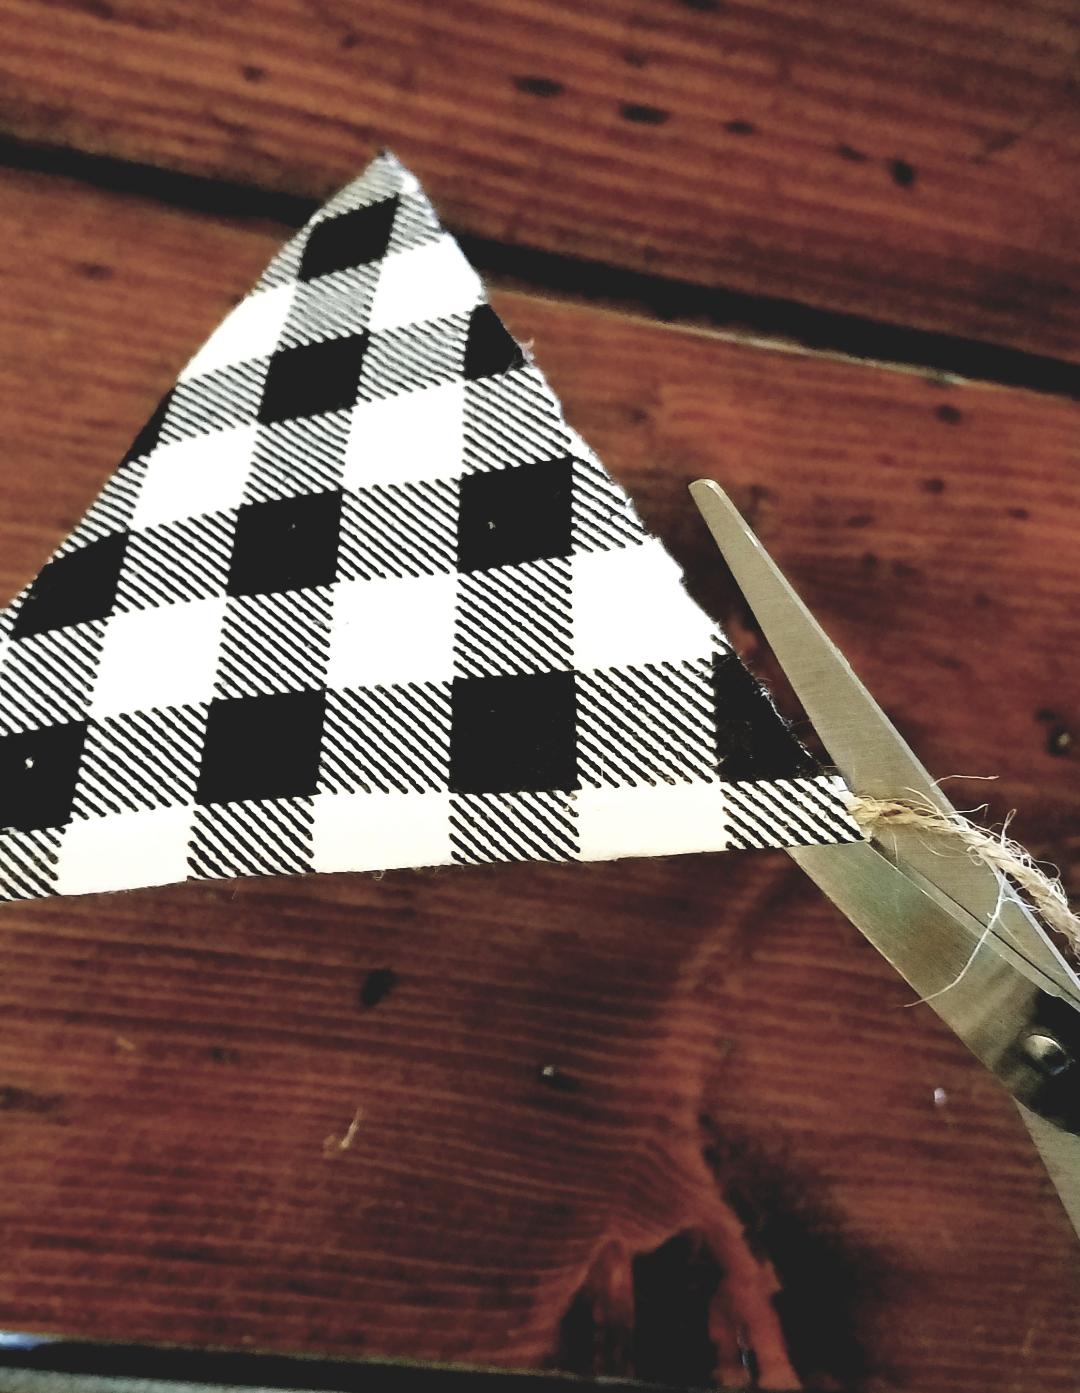
Then trimmed the edges,
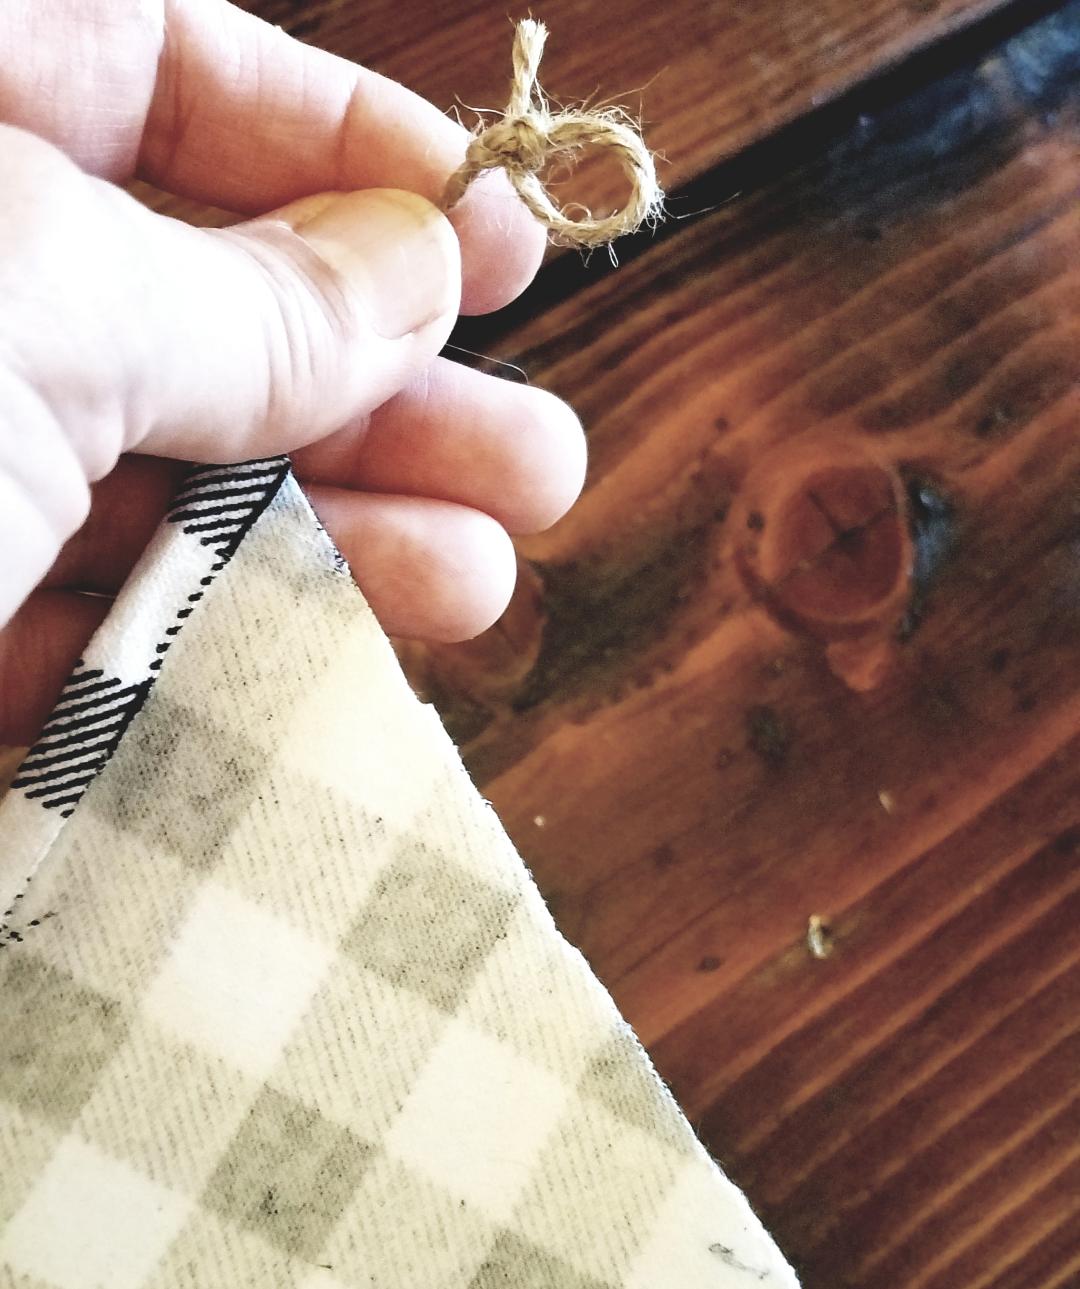
tied a loop on the ends to hang easier and…
that’s it.
Done.
I’m tellin ya, so quick and easy and I just love how it turned out!
So let’s ring the fall season in with a celebratory bunting announcing its arrival as a warm welcome for us all!
XO Jerri
