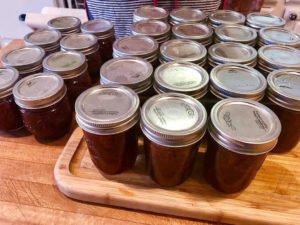
Have you ever had a canning party?
No?
Oh, you’re missing out.
It’s so fun!
Well at least the way we do it, it is.
But maybe not so much fun when you’re a kid just wanting to play.
I can remember when I was a little girl going to visit my Grandma at the ranch and she took us over to Great Aunty Ethyl & Uncle Ernie’s ranch so we could both help in canning peaches.
There were baskets and baskets of them and we peeled and pitted them all out in an old shed like outbuilding from what I can remember.
It wasn’t long until I was covered with itchy peach fuzz and juice, and felt a bit hot and tired.
Probably getting a little too antsy for my great aunt, I was told I could go into the house to play.
Well there was this old trunk of dresses that I got to play dress up with.
(I’m serious, can you even believe how fun this sounds?)
I know my aunt may have been a little impatient with me at first for not having a longer attention span in learning this great art of preserving the bounty of her harvest. But…
she must have finally felt a little sympathy for me after all because I was allowed to pick out my favorite dress to take home and play with forever!
How sweet huh, even sweeter than her delicious peaches.
Since then canning peaches, jam, and all other kinds of pickled goodness has been like a magical science project to me.
I mean, it’s so cool to think that you can preserve your summer harvest and eat it all year long until the next summer season.
Wow! It’s great, right?
And as amazing as this sounds today, it was just a normal chore not so very long ago.
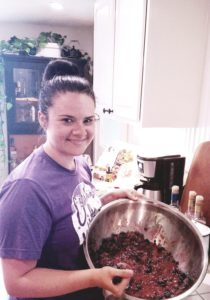
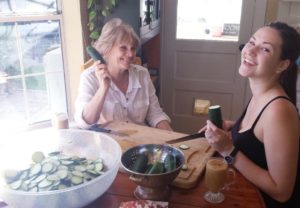
These days, a group of my family and friends get together to really use our team work to get this job done and we have a ball all the while!
It really is true what they say, many hands lighten the load.
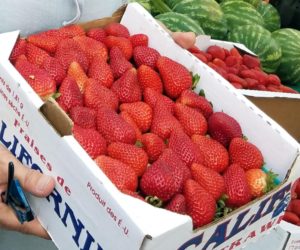
First we decide what we’re going to can, gather the fruit and vegetables from either our gardens or from a local farmer’s market.
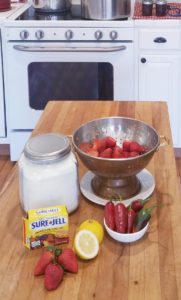
We divvy up the supply list. Someone brings the mason jars, the rings, the pectin, and the different fresh ingredients.
We’ve been doing it here at my home but I think we’ve talked about switching off now.
Sounds fun right?
We make sure there’s always yummy nibbles and drinks to satisfy our hunger and refresh us while we labor away
(usually laughing and catching up really)
but the spread is simple so we can focus on the task at hand.
The best thing about it is we get to gather together to pass down a wonderful skill to the younger girls so that this sweet art of homemaking isn’t lost.
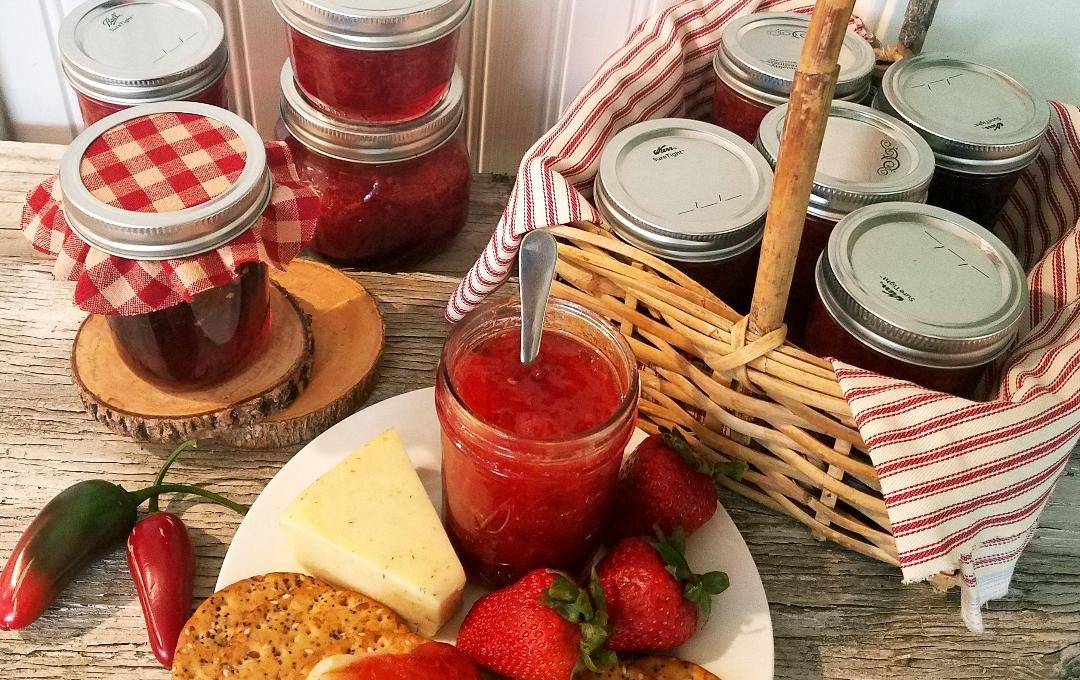
And then of course, we all get to take home jars and jars of our wonderful treats that we’ve created!
I hope you feel encouraged to preserve your own harvest with some friends and family if you’re not doing it already.
It’s great family fun!
XO Jerri
P.S.
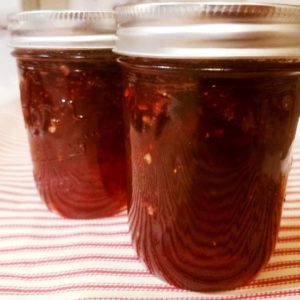
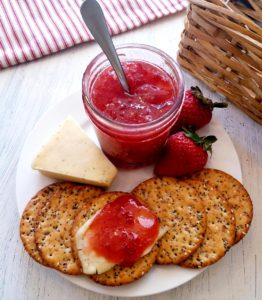
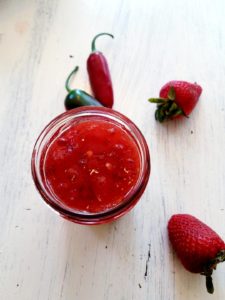
Here’s the recipe of our favorite thing to can: Strawberry Jalapeño Jam (a California Treat)
STRAWBERRY JALAPENO JAM
INGREDEIENTS
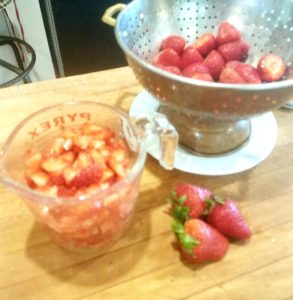
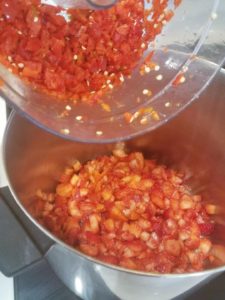
4 c crushed strawberries (stems removed, crushed or chopped by hand not in food processor)
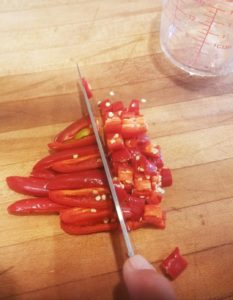
1 c minced red or green jalapeno peppers chopped by hand or in a food processor (seeds and membranes included for lots of spice or not for less) (oh, the red jalapenos have been left on the plant longer, are sweeter, but hotter)
“WARNING” WEAR GLOVES (I’ve burnt my hands before by just touching the peppers when chopping, not fun)
¼ c lemon juice
1 ½ (2 ounce) packages powdered fruit pectin
7 c white sugar
8 half pint canning jars with lids and rings
DIRECTIONS
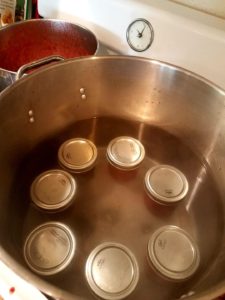
- Sterilize the jars, lids, and rings in boiling water for at least 5 minutes.
- Place the crushed strawberries, minced jalapeño peppers, lemon juice and pectin into a large saucepan, and bring to a boil.
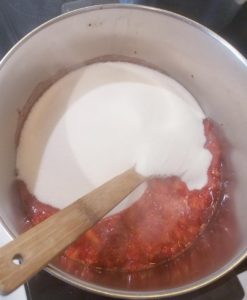
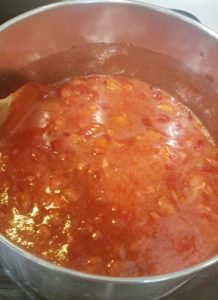
- Once simmering, stir in the sugar until dissolved, return to a boil and cook for 1 minute.
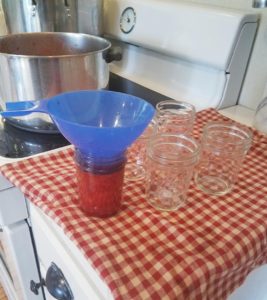
- Pour the jam into the hot sterilized jars, filling the jars to ¼ inch of the top. Run a knife around the insides of the jars after they have been filled to remove any air bubbles.
- Wipe the rims of the jars with a moist cloth towel to remove any food residue. Top with lids, and screw on the rings.
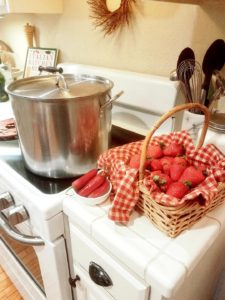
- Place a rack in the bottom of a large stock pot and fill halfway with water. Bring to a boil.
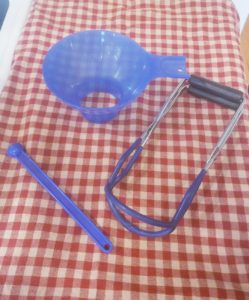
- Lower the jars into the pot using a holder. Make sure the water level is at least 1 inch above the tops of the jars, if not, add more water.
- Bring the water to a full boil, cover the pot with lid and process for ten minutes.
- Remove the jars from the stock pot and place onto a cloth covered surface and allow to cool overnight.
- Once cool, press the top of leach lid with a finger, ensuring that the seal is tight. Store in a cool dark area.
