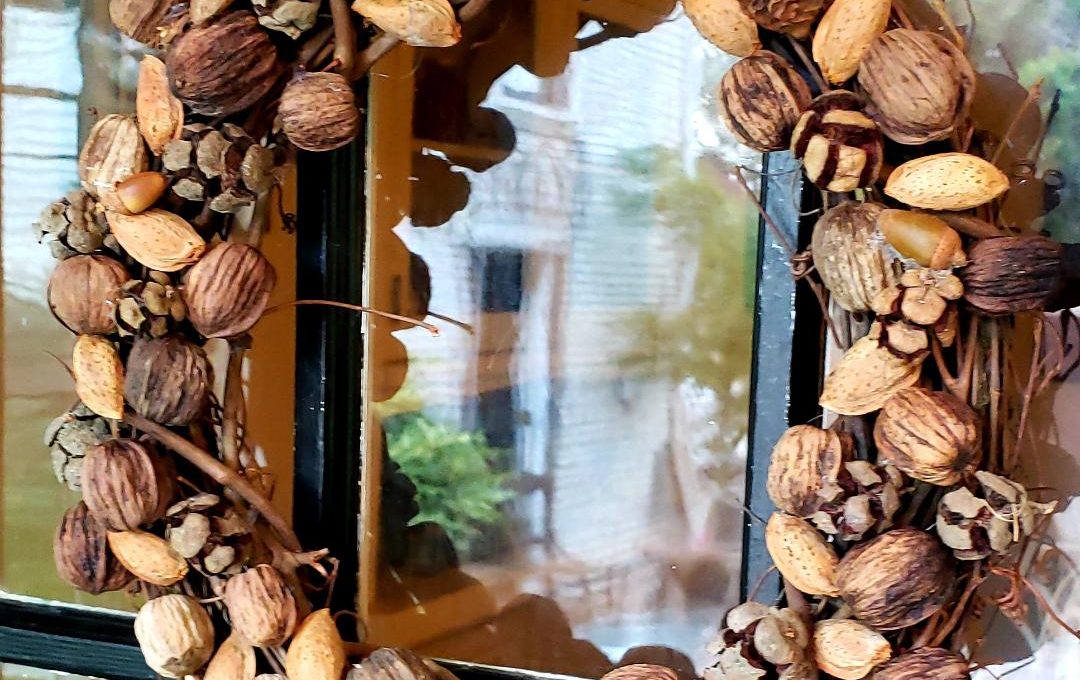
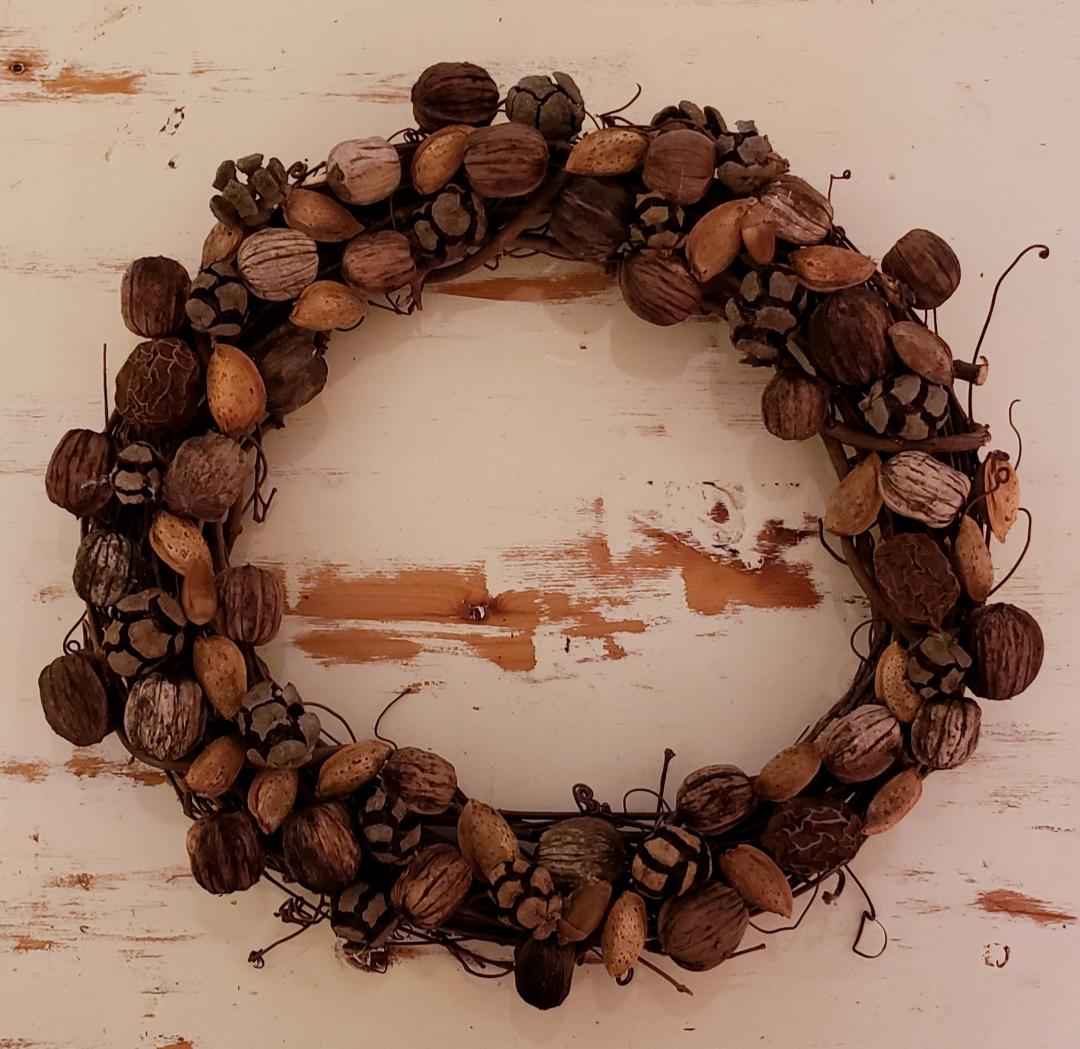
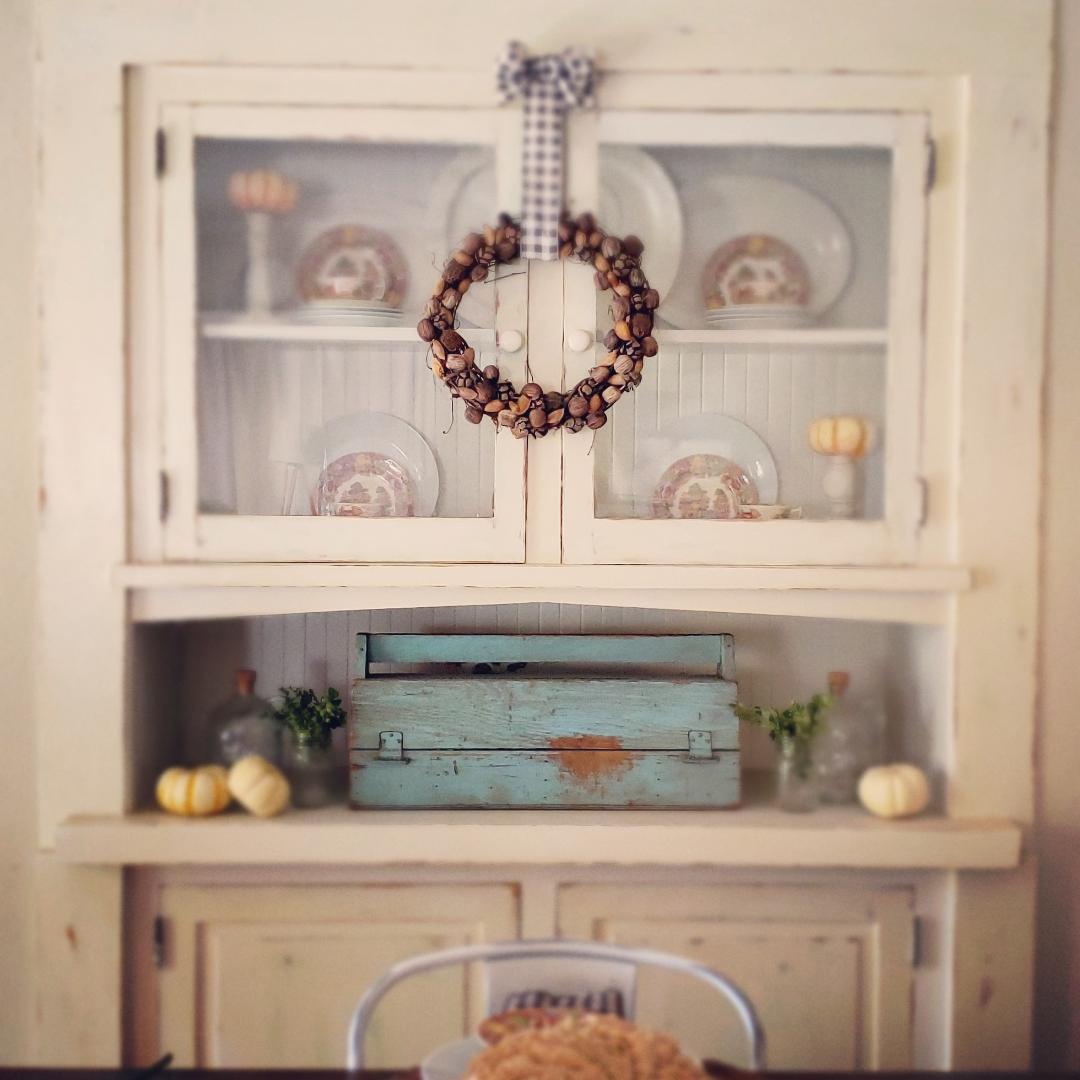
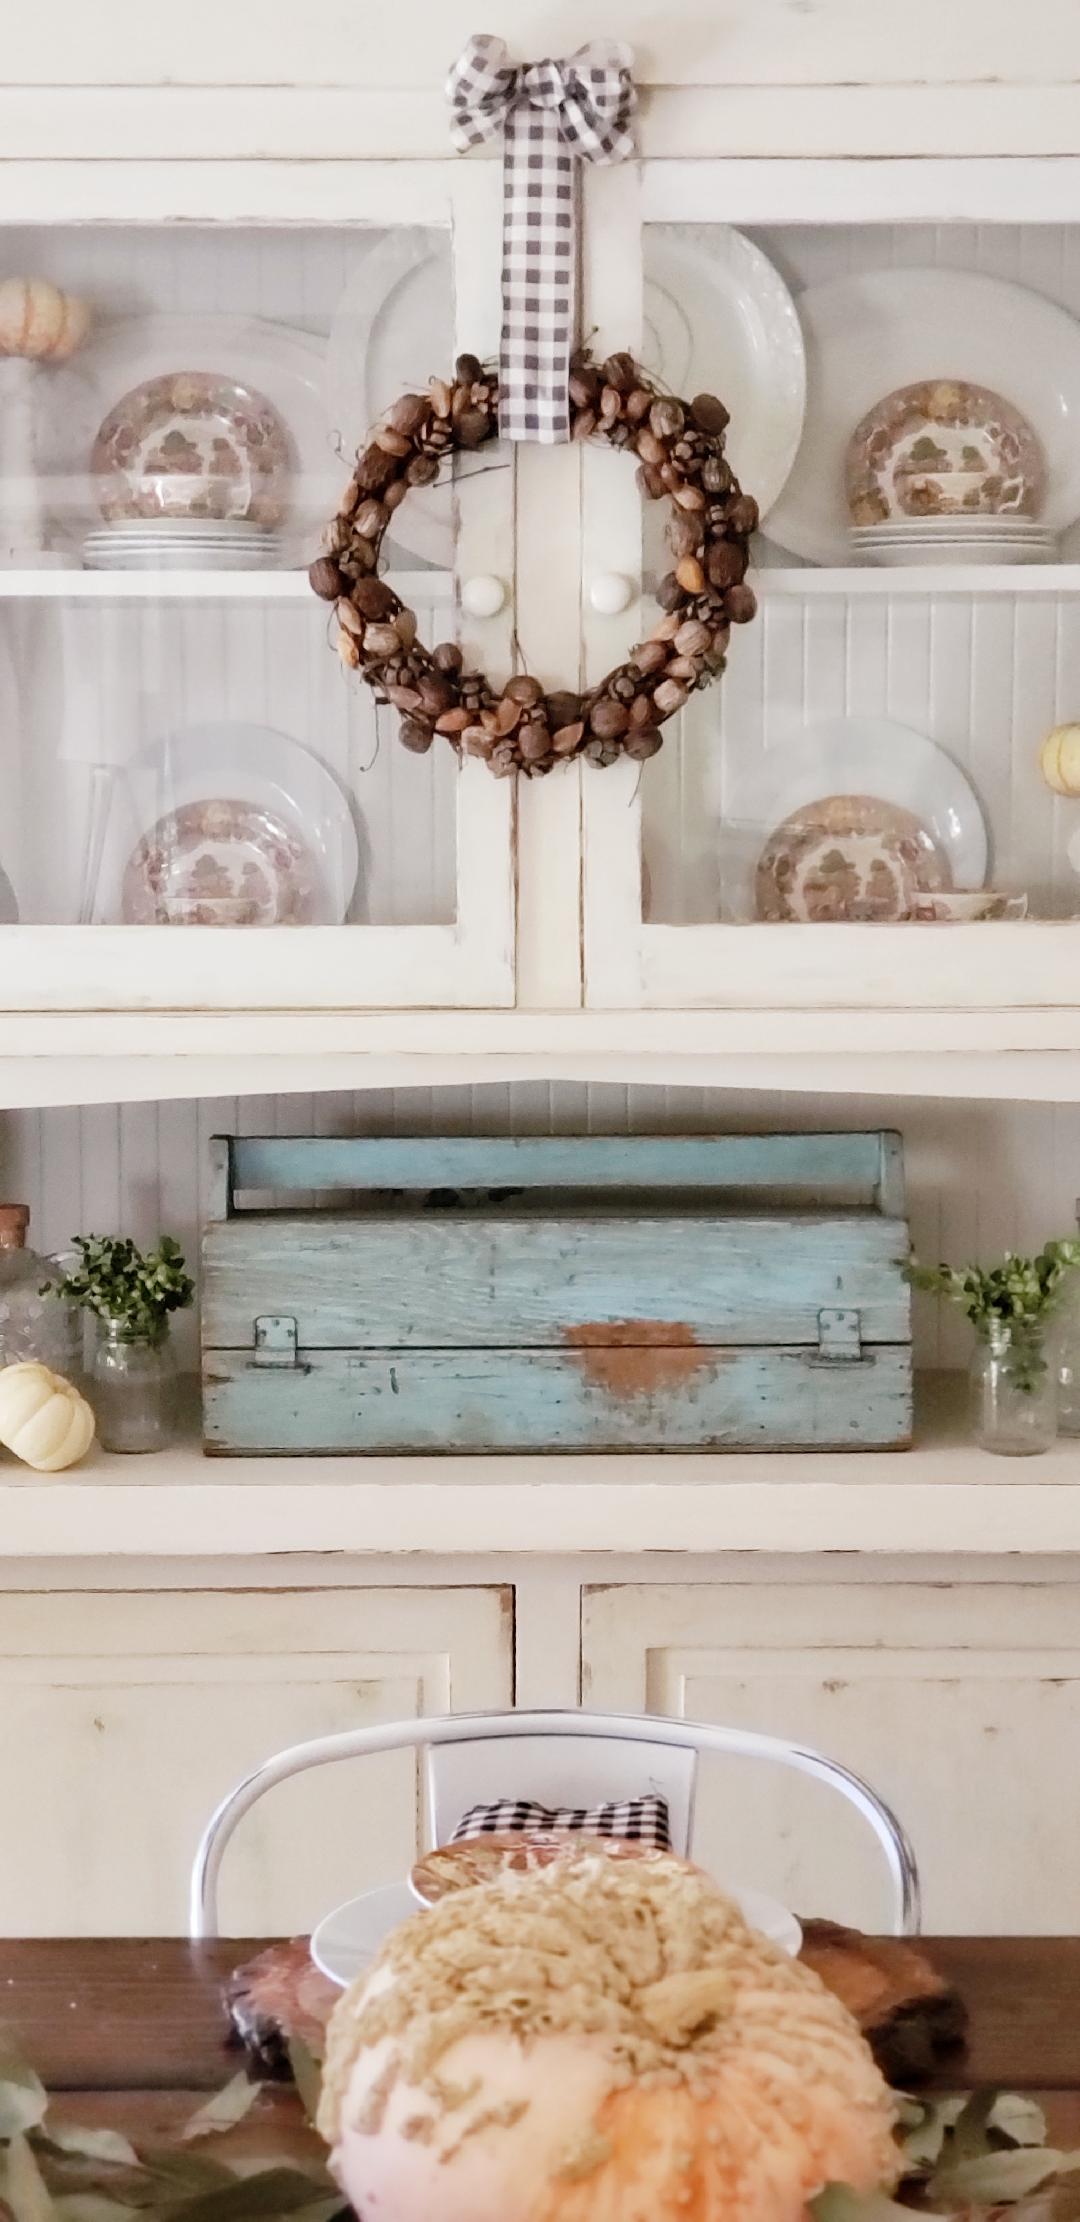
Here’s the wreath I just created for our front door this fall.
Yep, I’ve gone a little nuts… over this craft, let me tell you!
And the cool thing about it is I just took a little walk around the yard to gather up some of what nature had to offer to create it, and that didn’t cost much money at all.
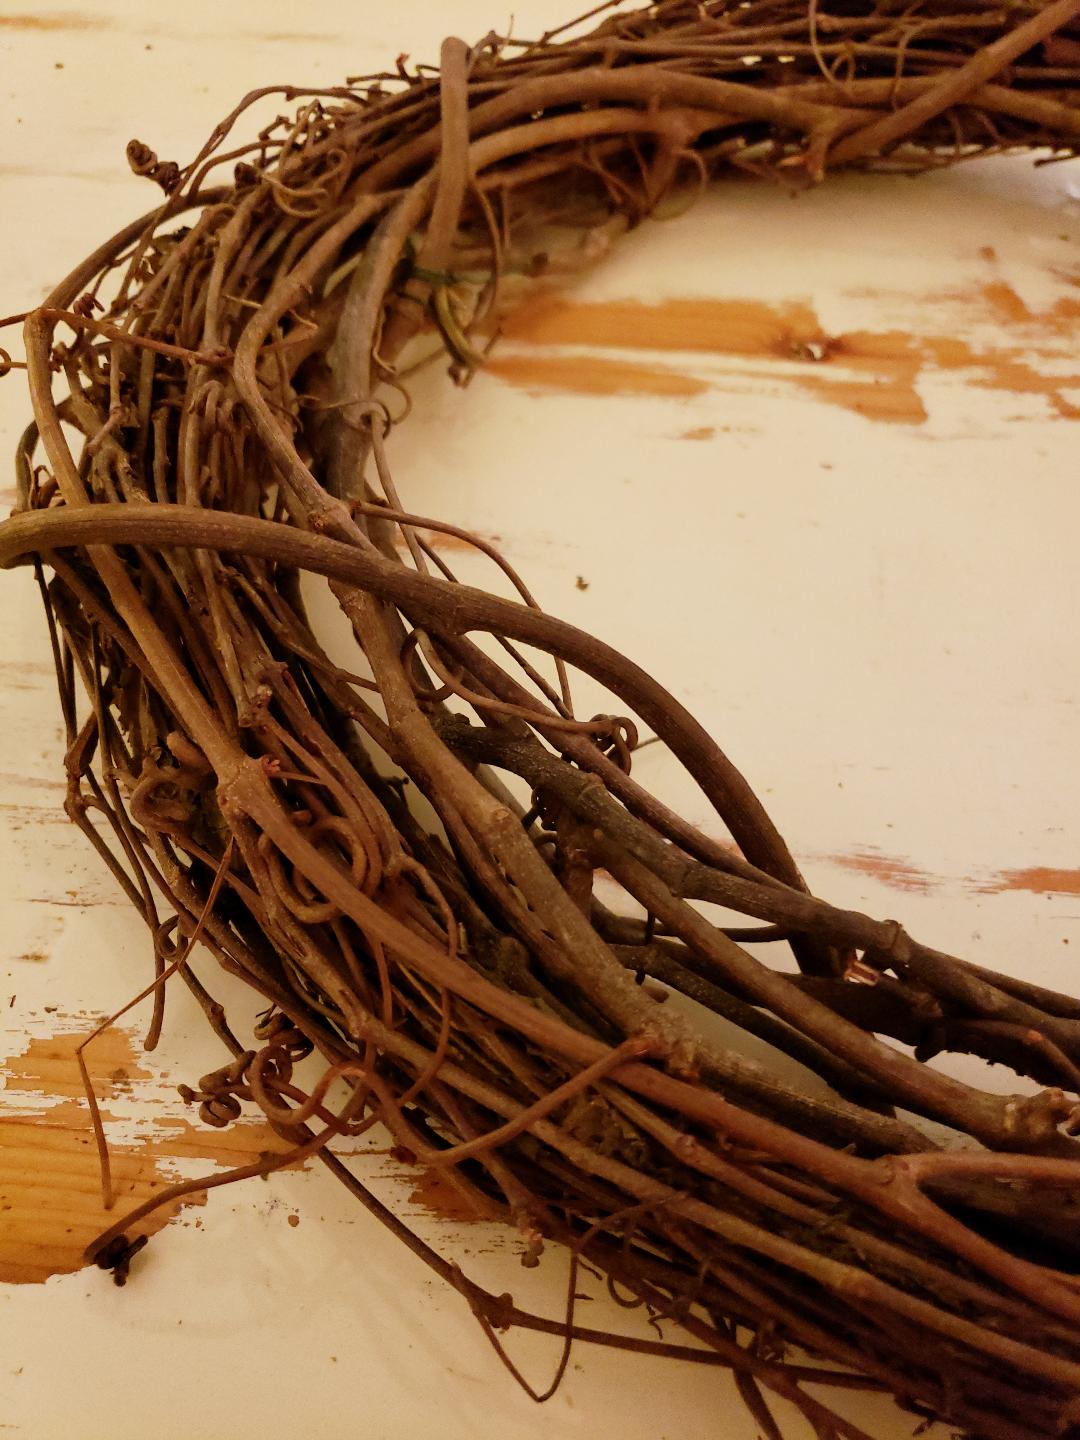
I used a grape vine wreath from Hobby Lobby ($5.00) and I needed hot glue and a glue gun, then the rest was just…
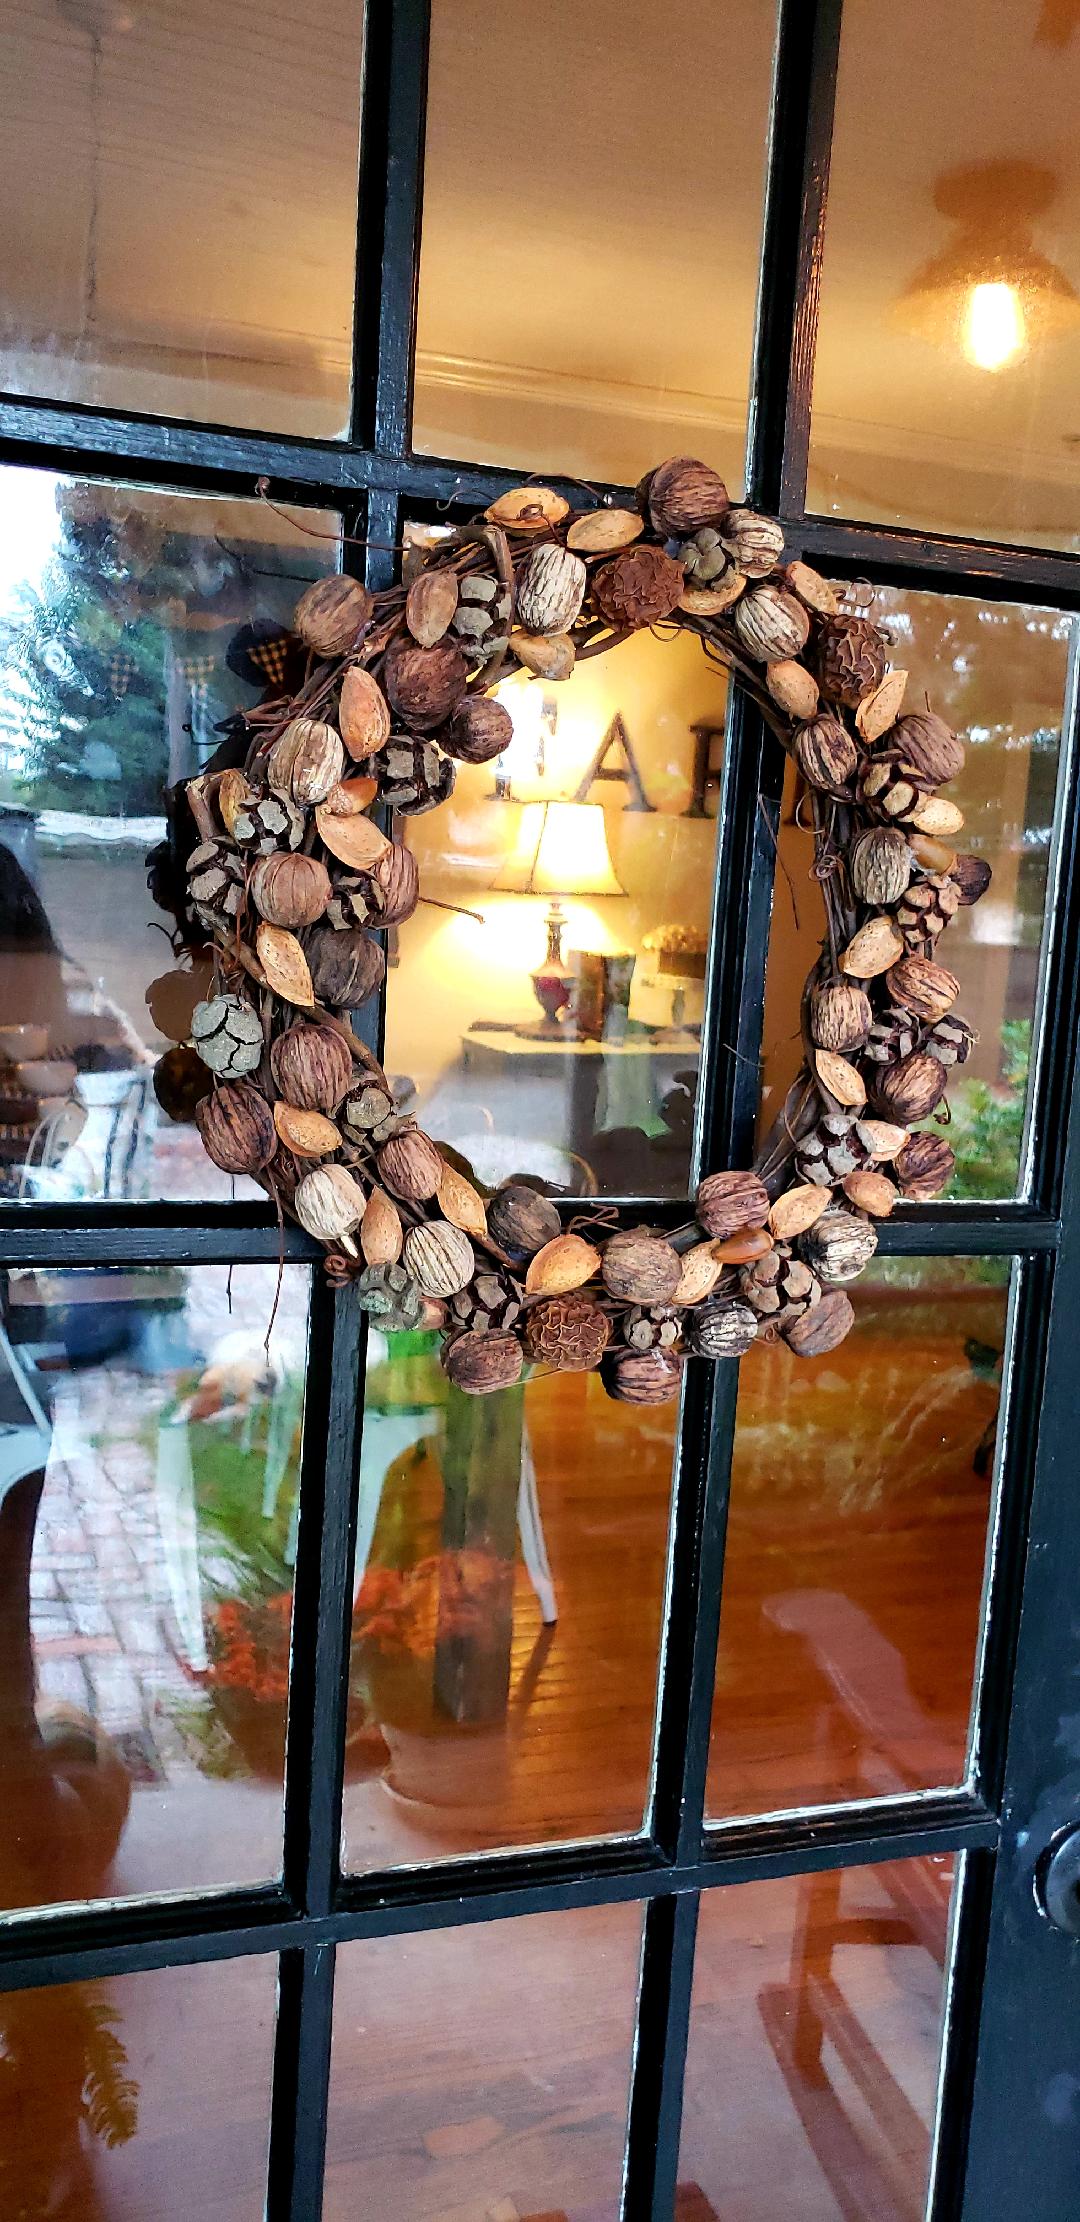
walnuts,
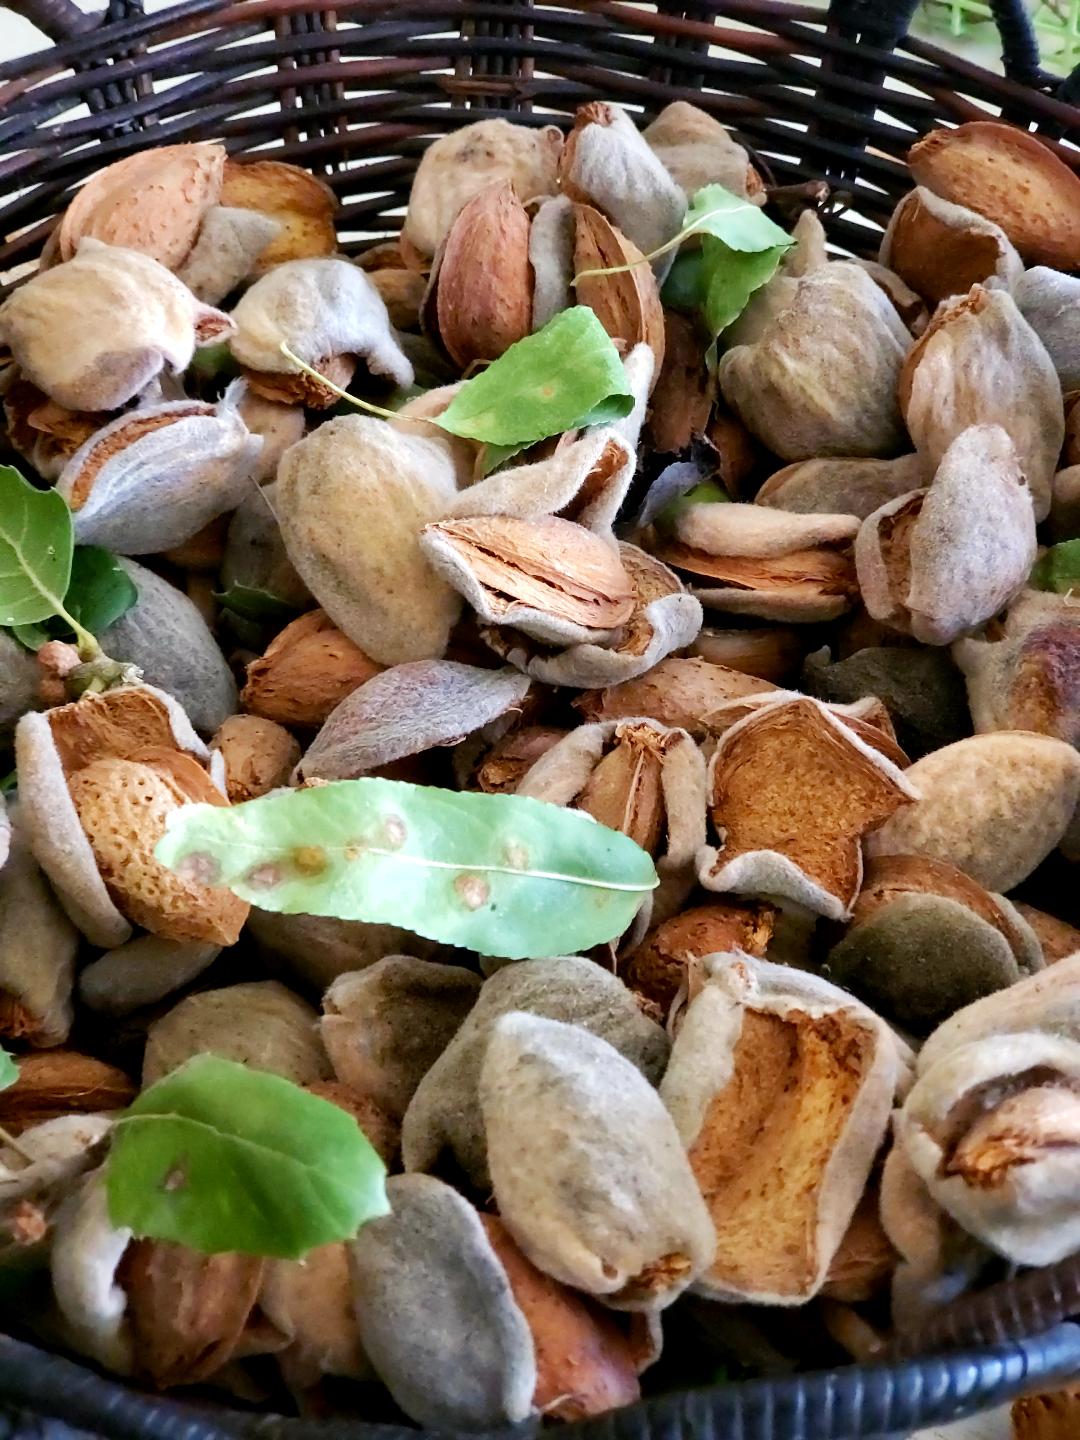
almonds,

acorns,
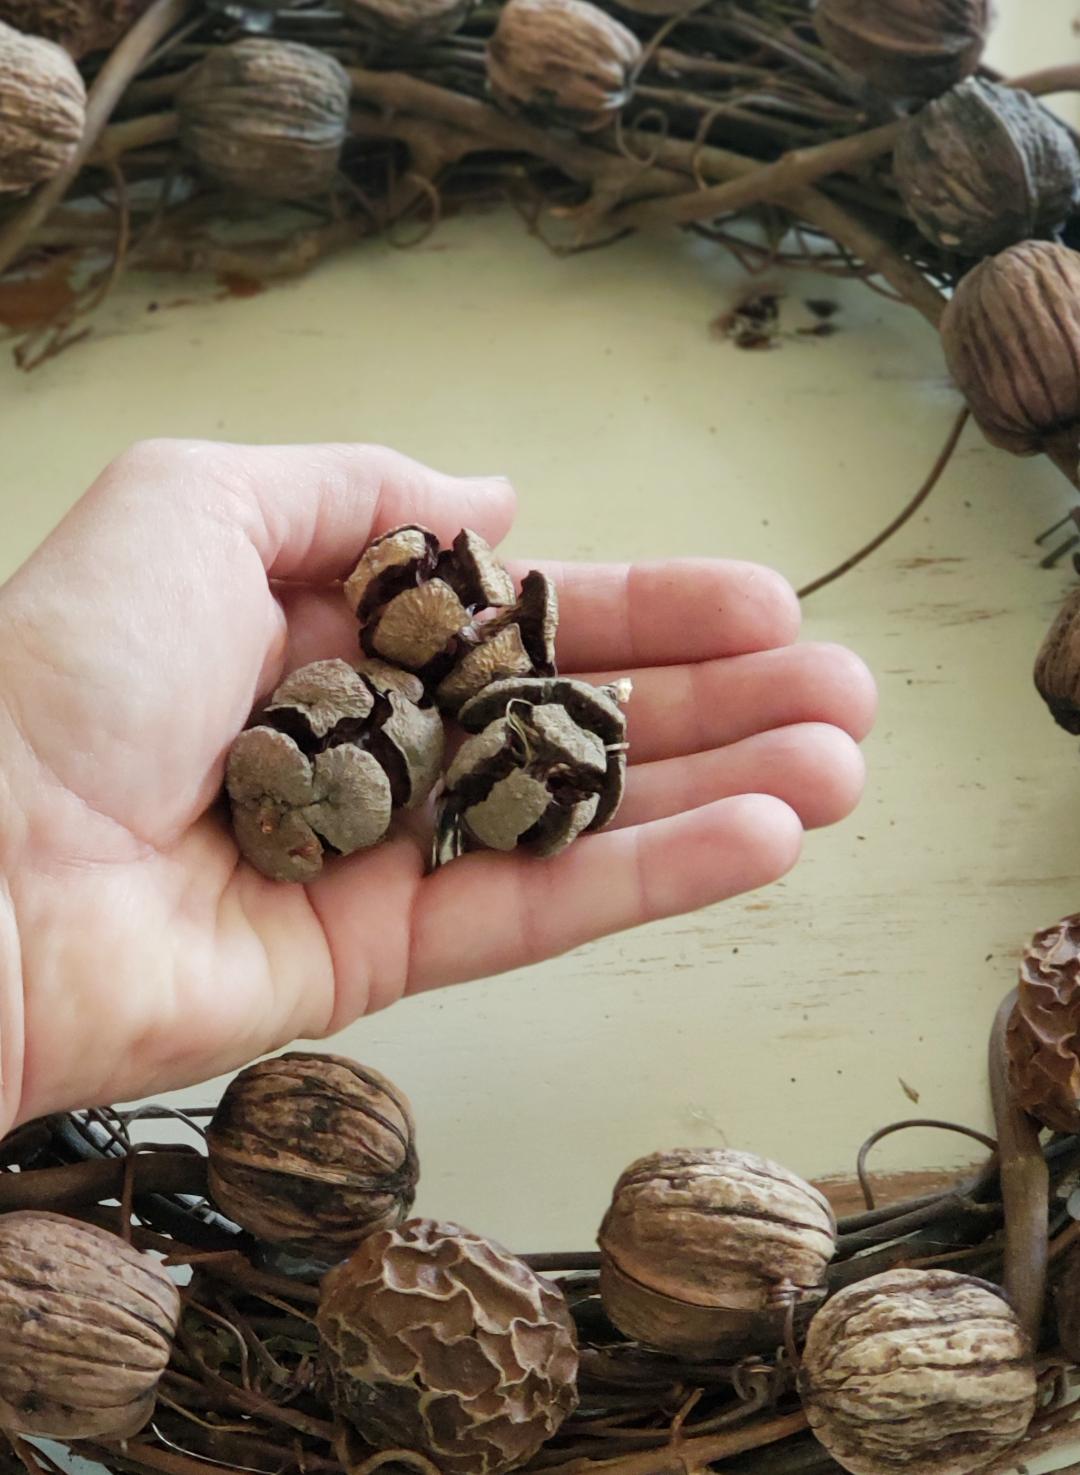
and these pine cones which were all found on our yard during a little Saturday morning coffee walk.
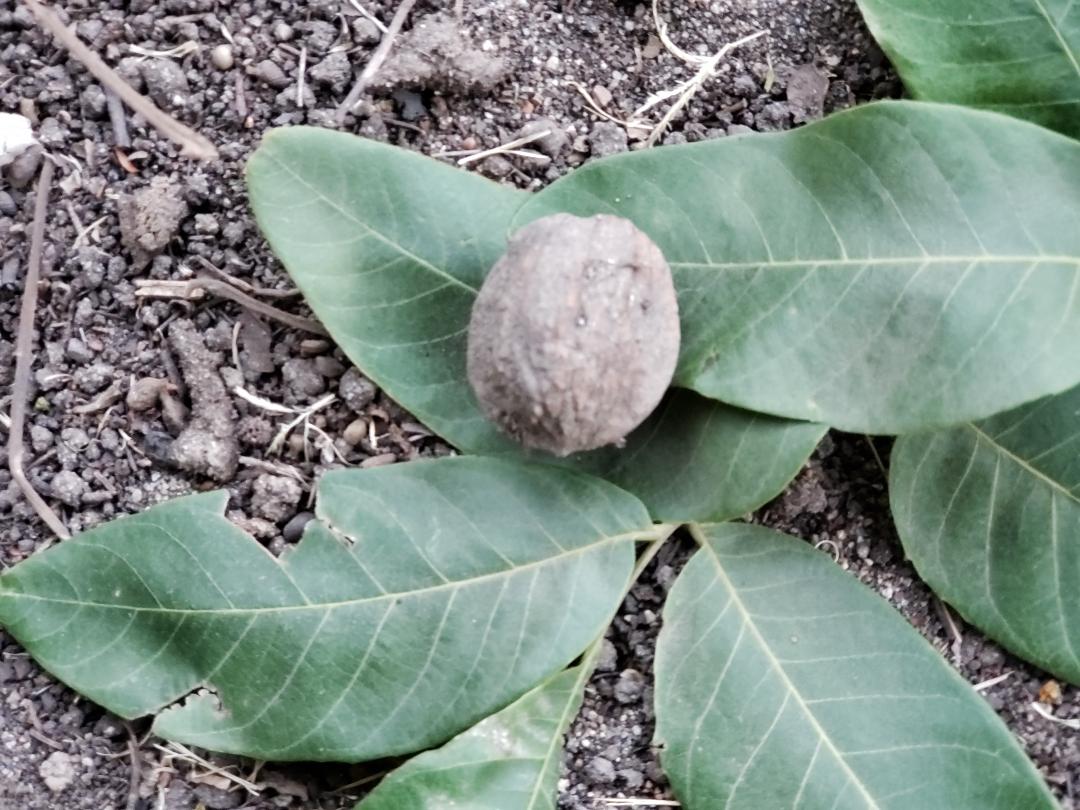
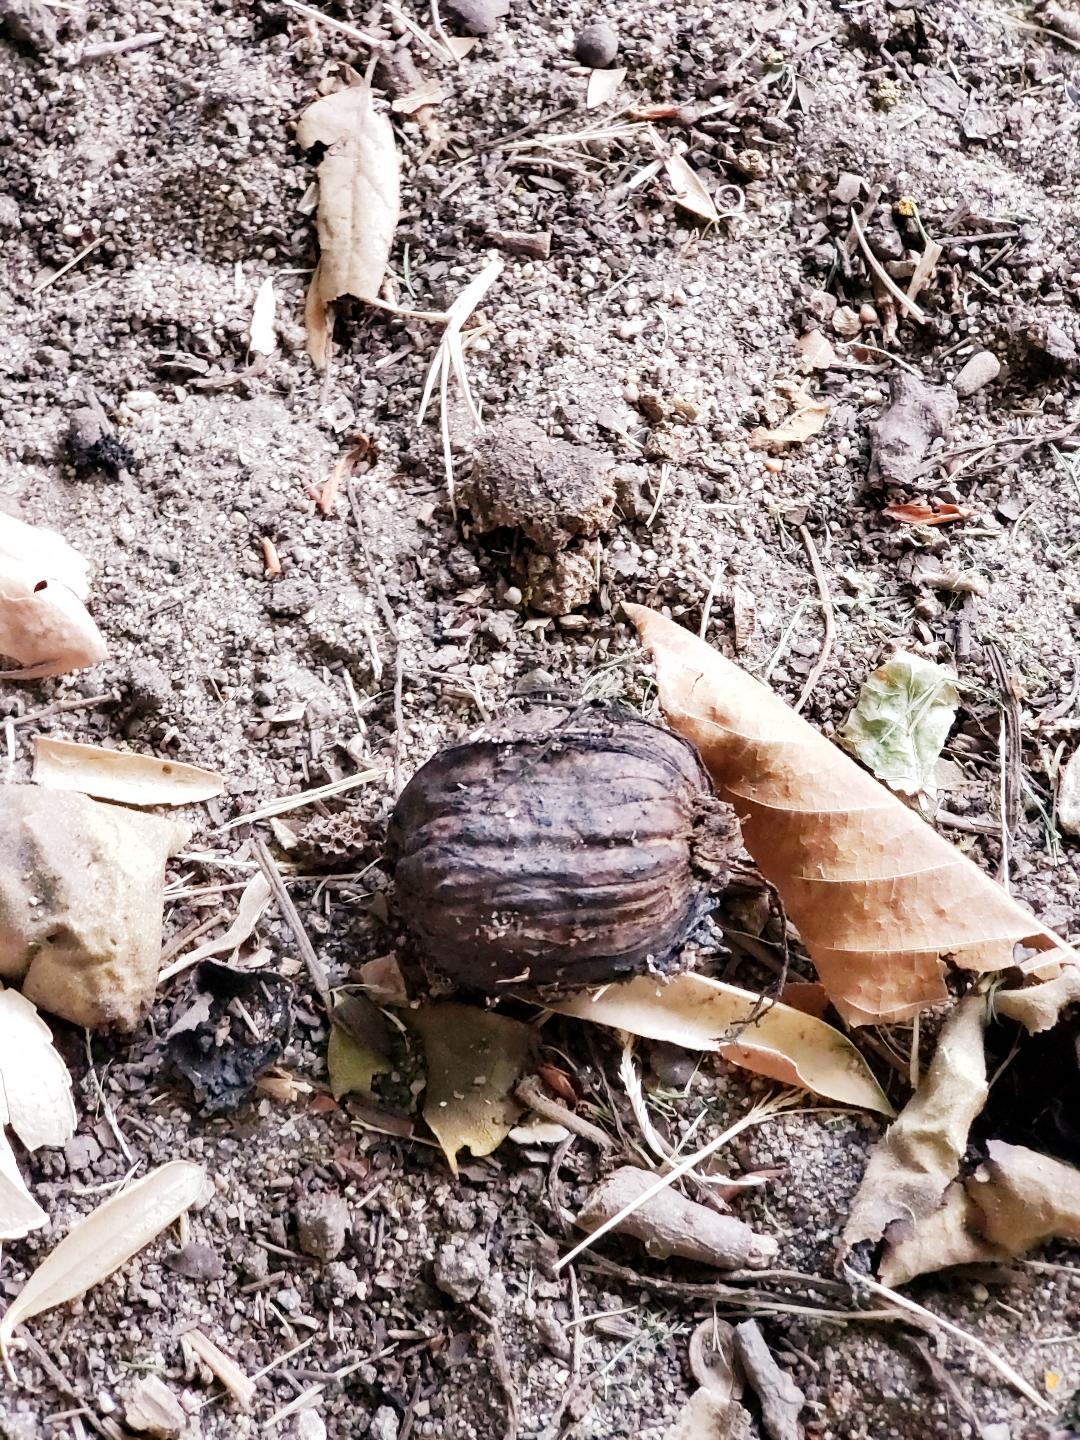
Now the first thing you need to know is that walnuts don’t just look like they do when you get them at the grocery store.
While they are on the tree, they have this greenish brown ball of soft leaf spongy like material around it.
It’s its own cocoon so to speak.
However, sometimes when I’m walking about, I do find the soft shell peeled off because some animal has done the work for me.
But this one was left on as you can see.
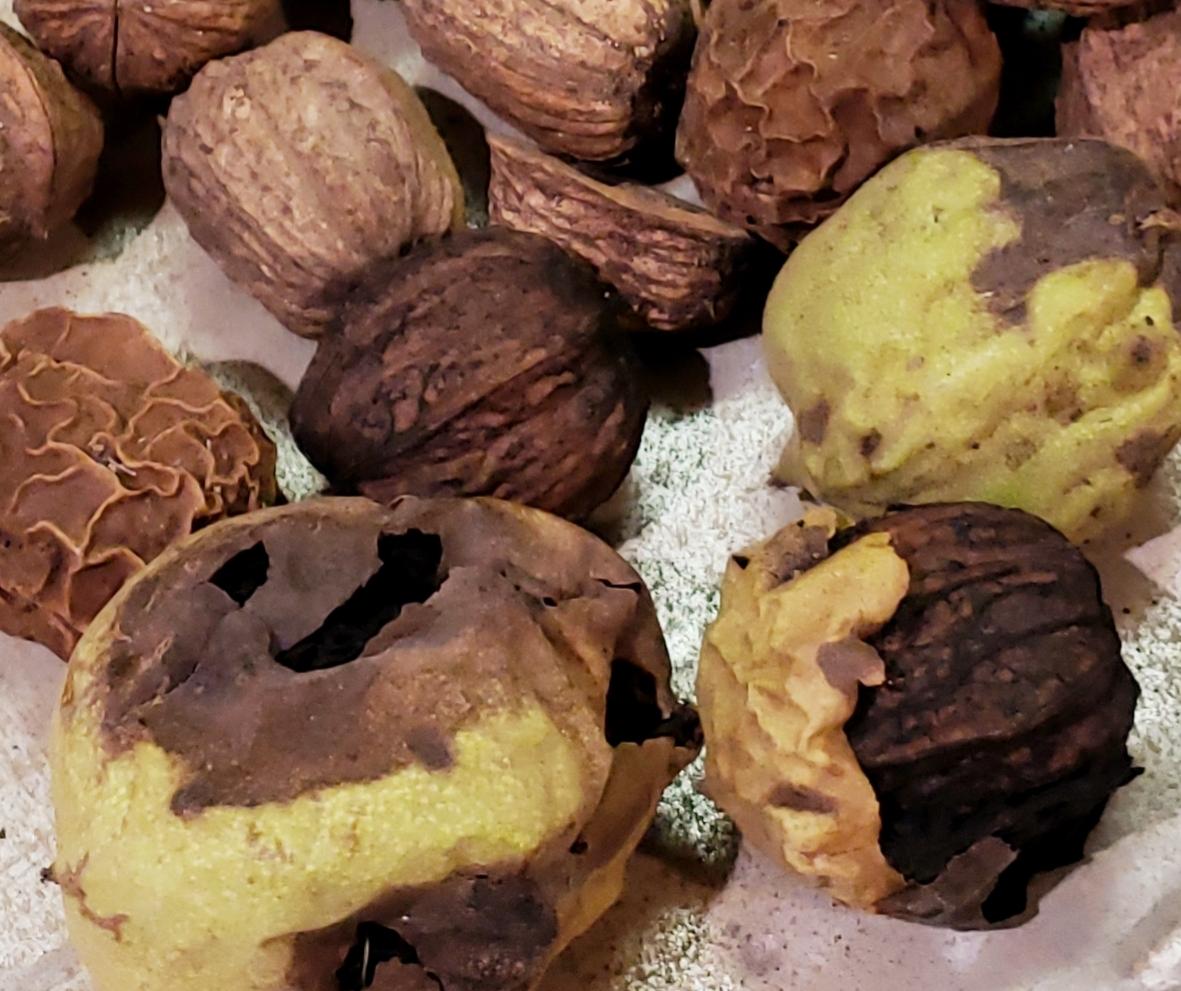
No worries, I just peel it off myself to unravel this (not very golden) walnut underneath.
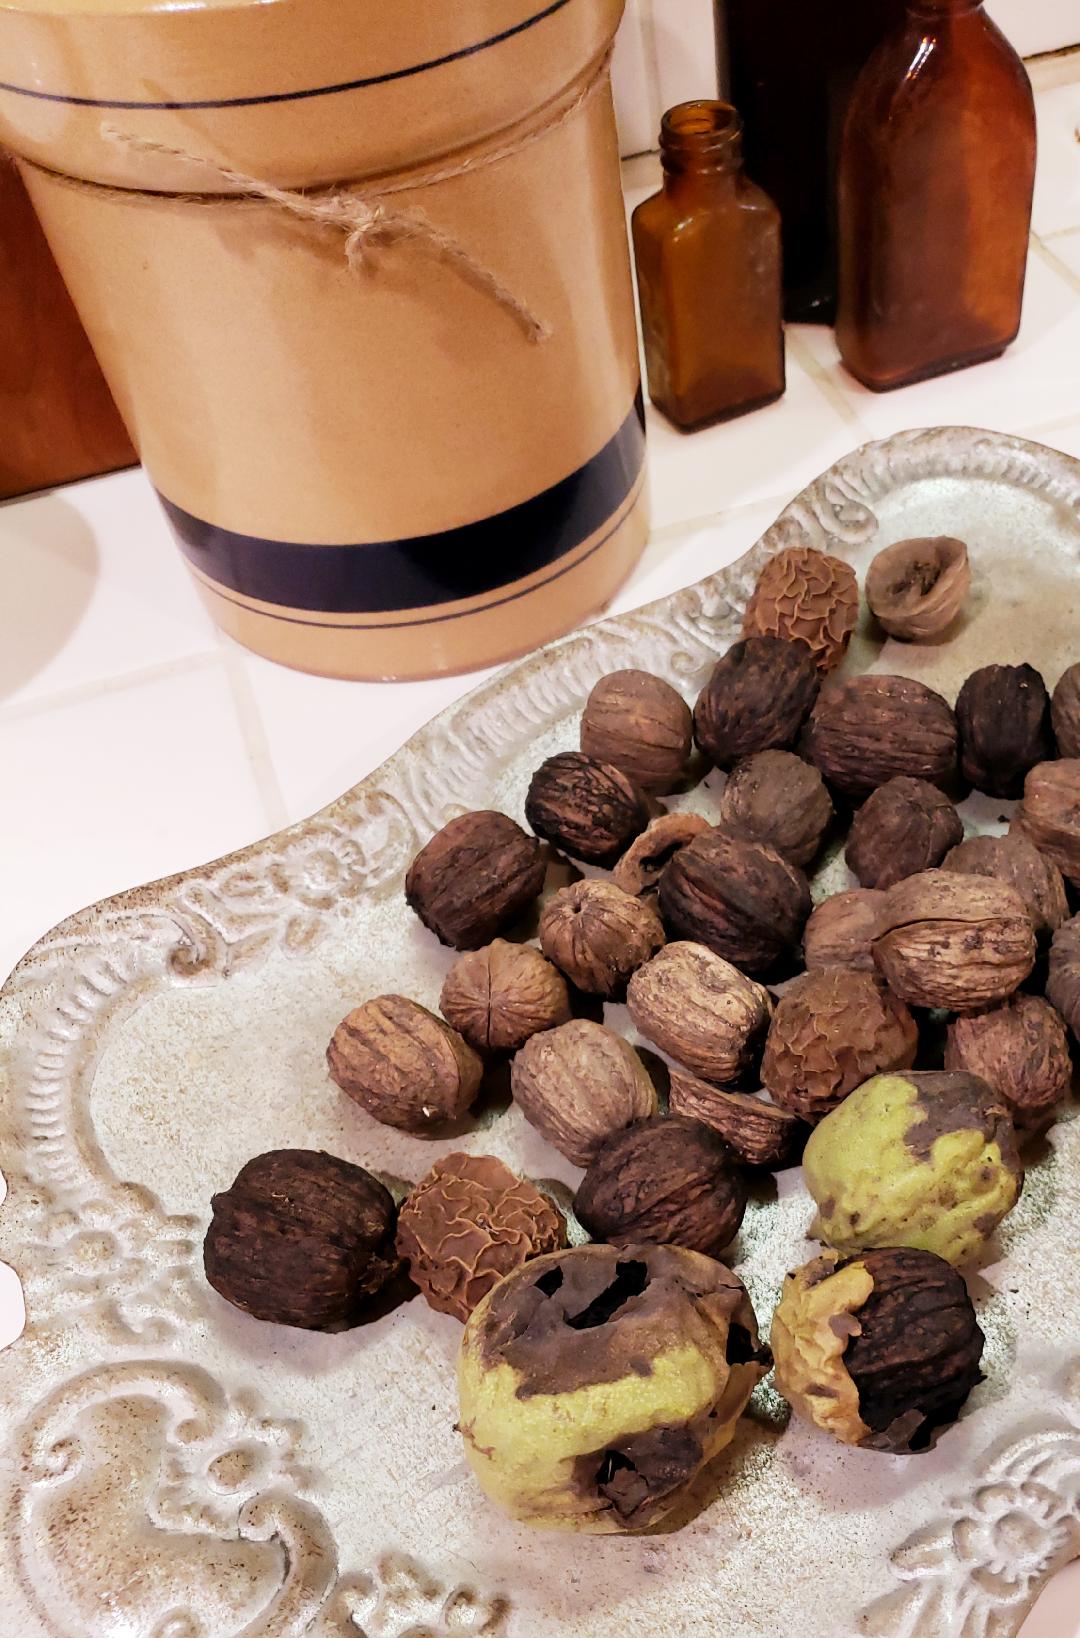
Yep, they can be a little dark and blackish so I take them in and give them a little scrubbing.
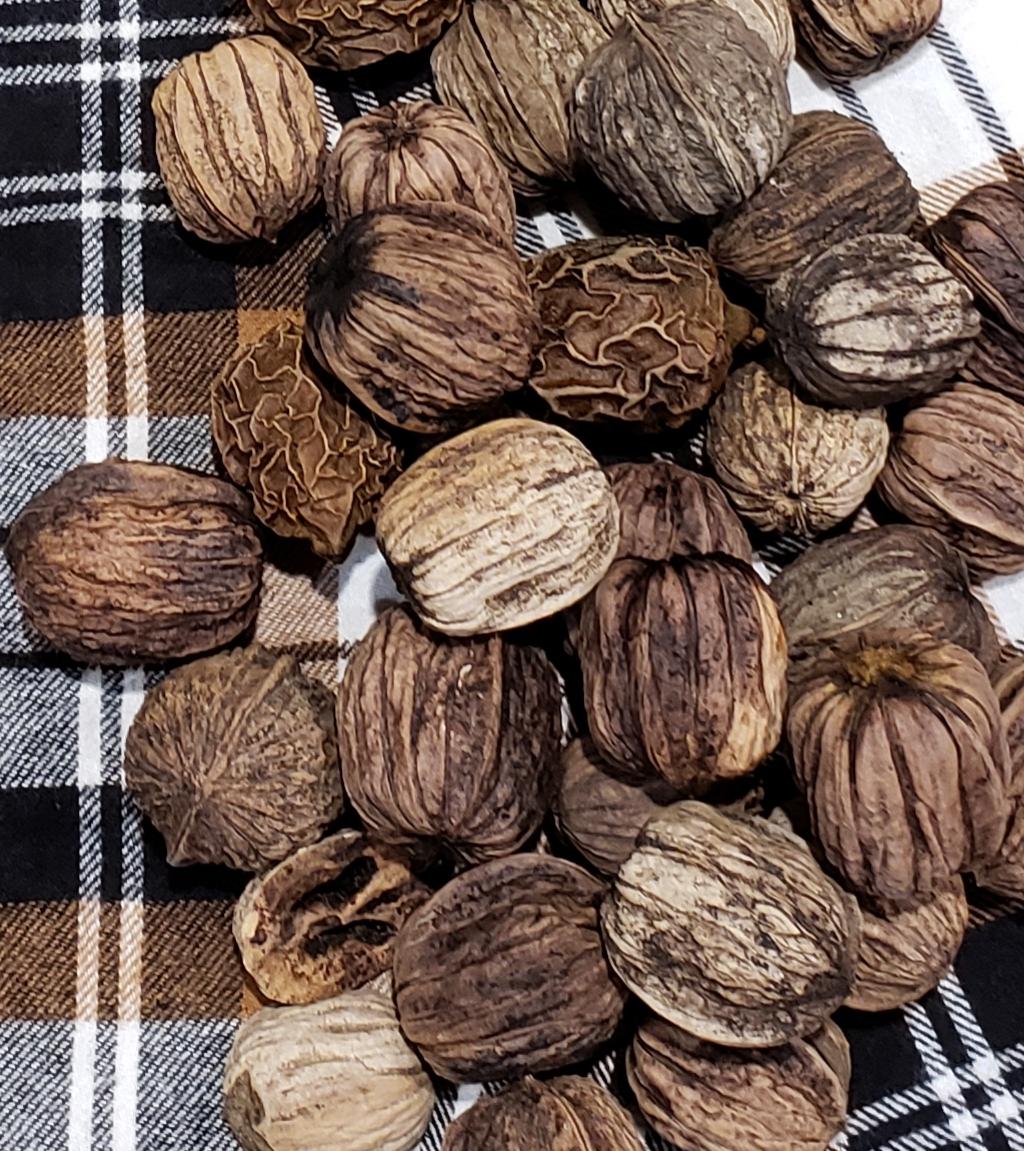
Then, after all of the nuts are dry, I gather the rest of my supplies.
Like this grapevine wreath,
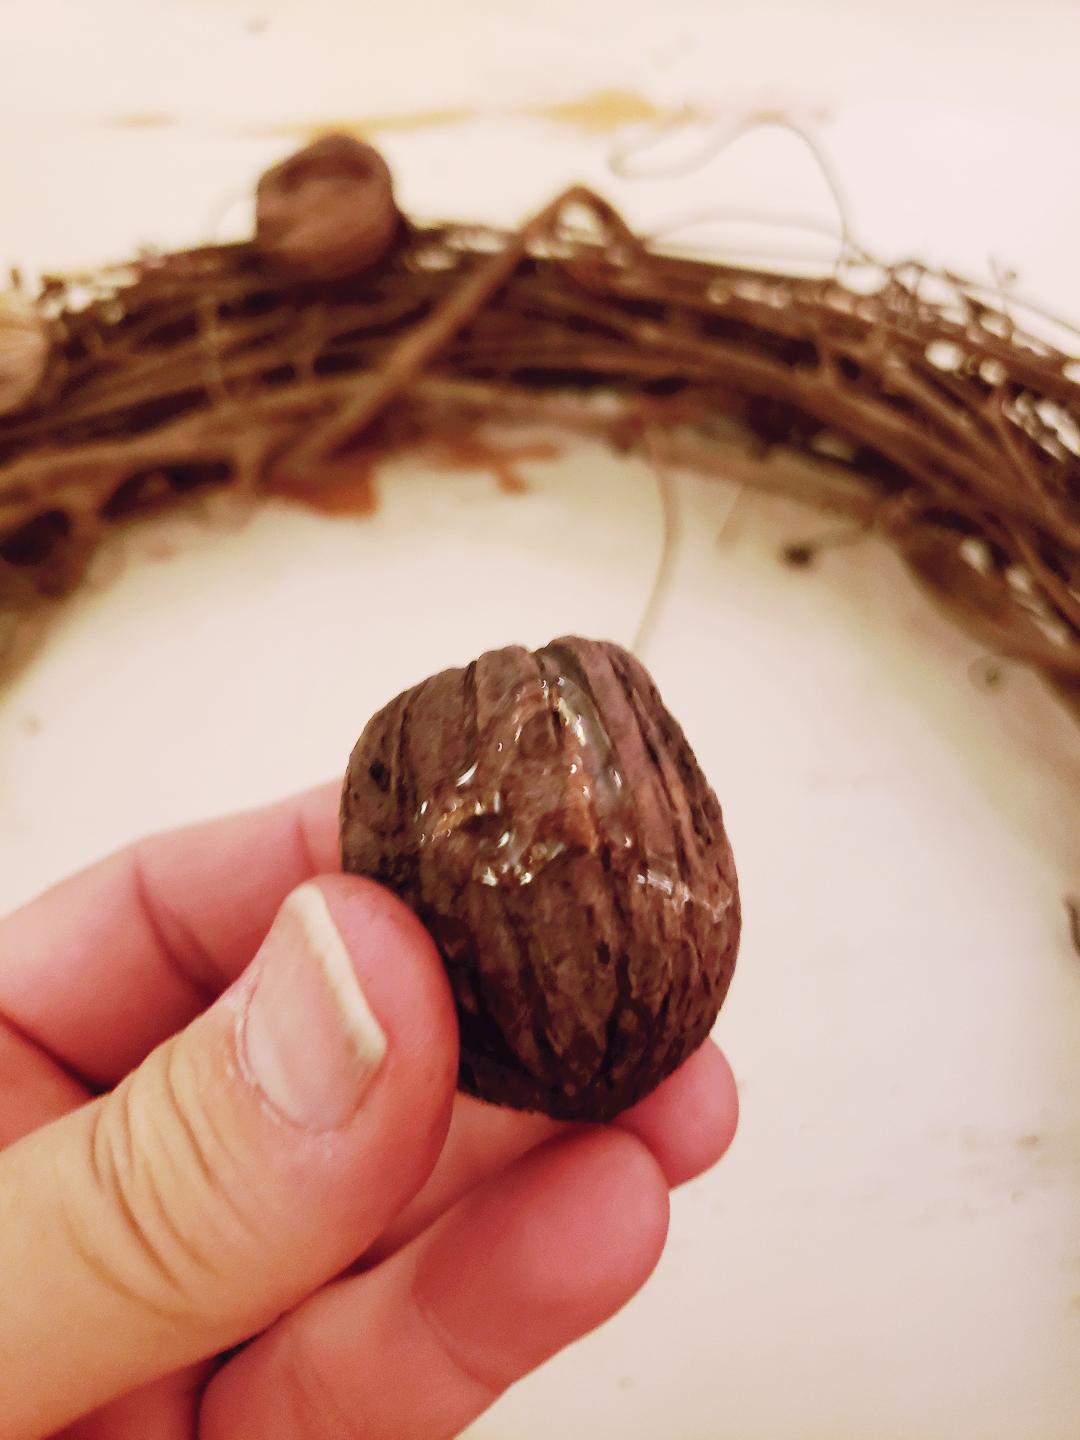
and some hot glue
and then I start gluing away!
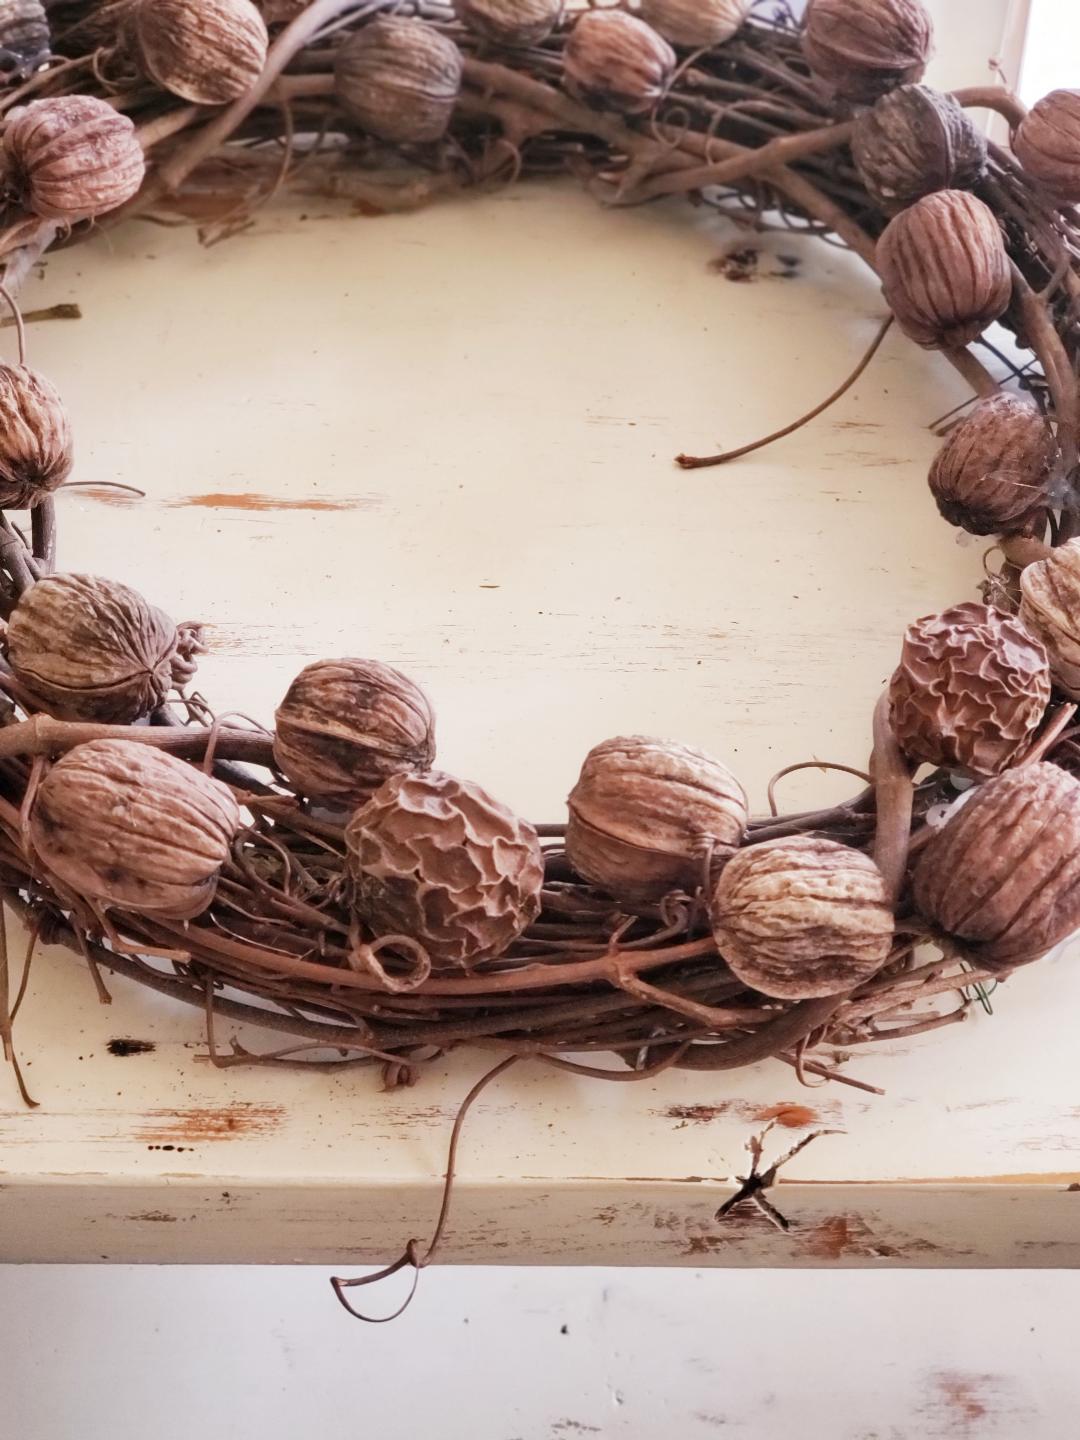
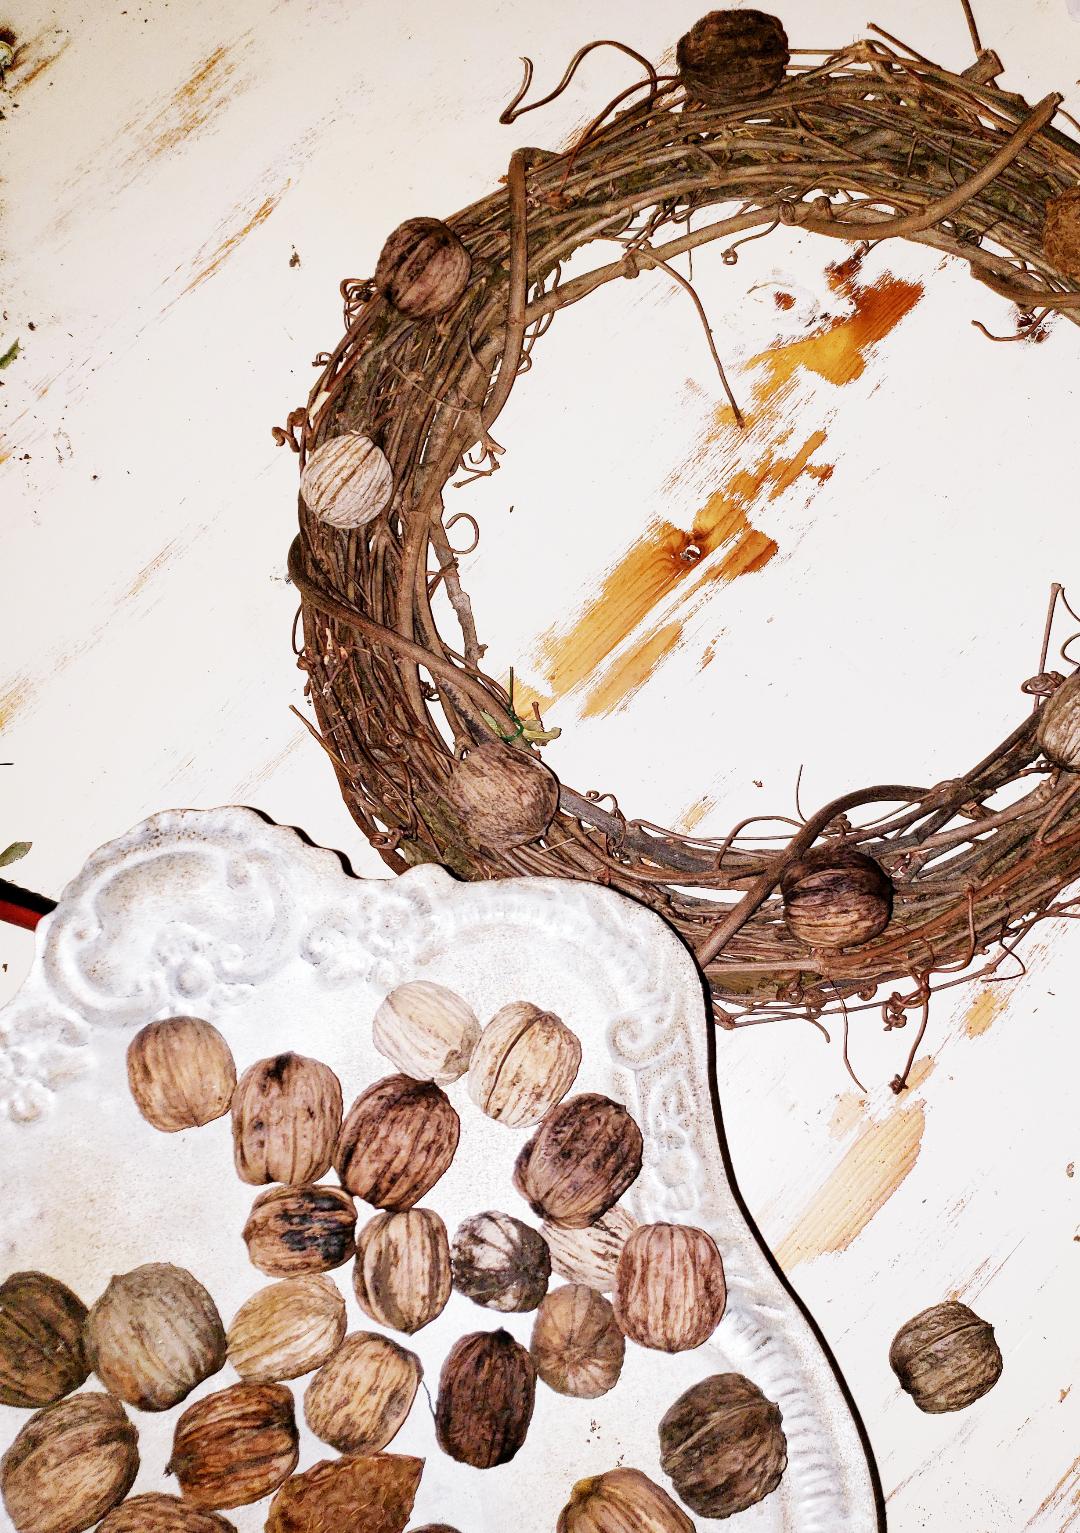
I position the largest items first
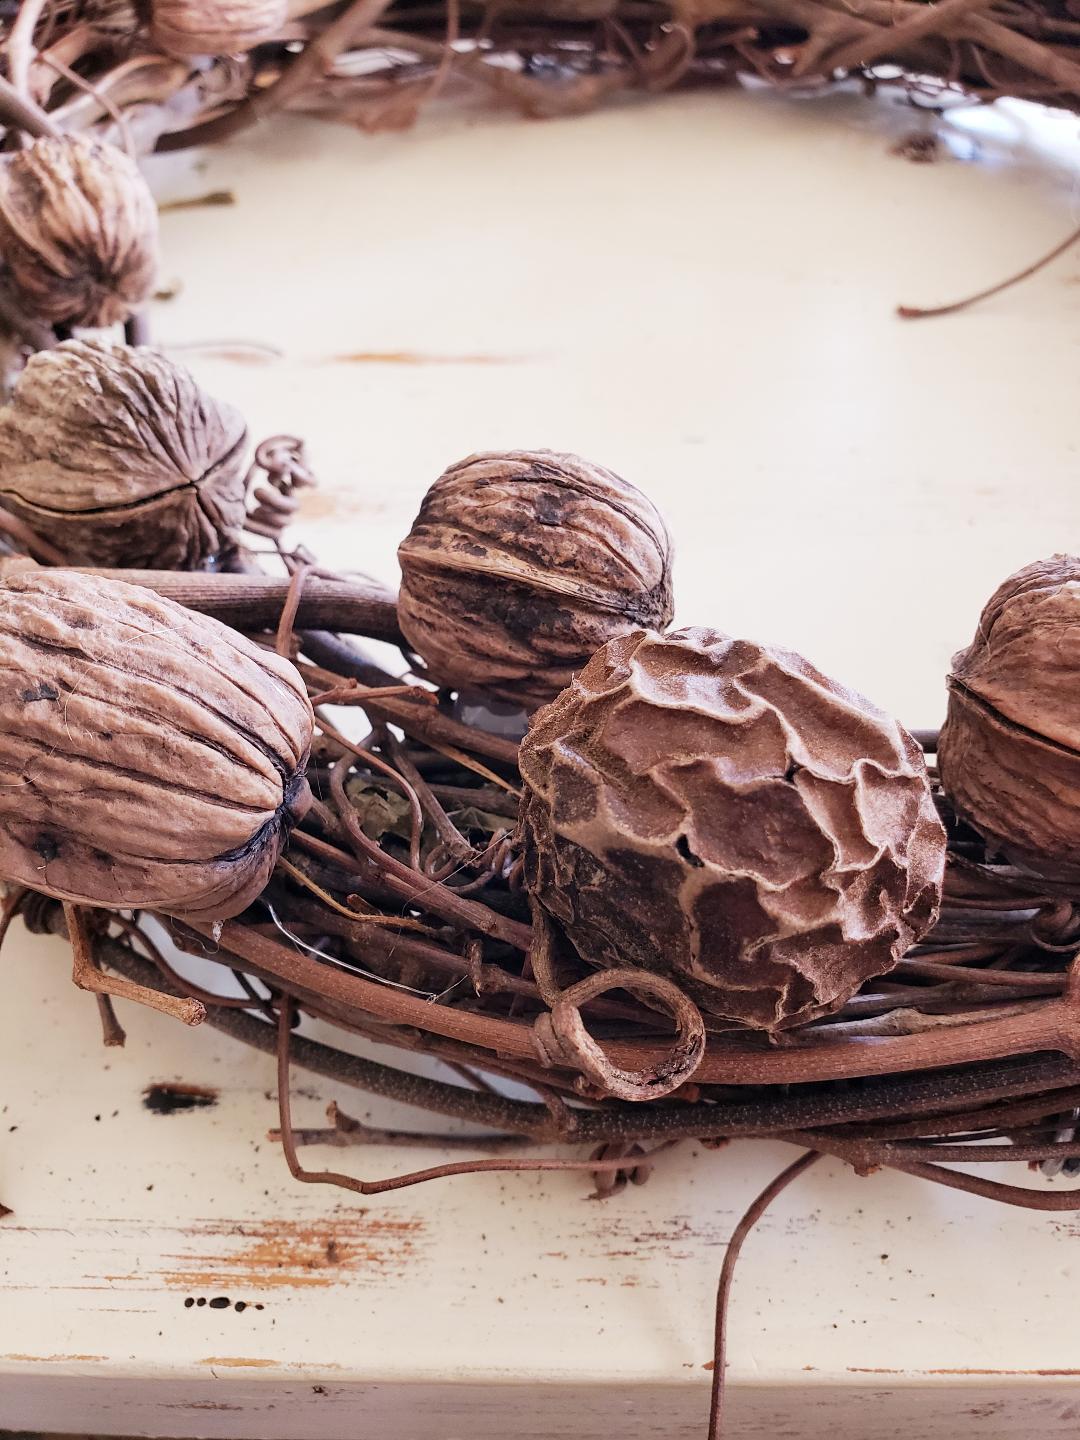
(which are the walnuts) to where ever I think they look best.
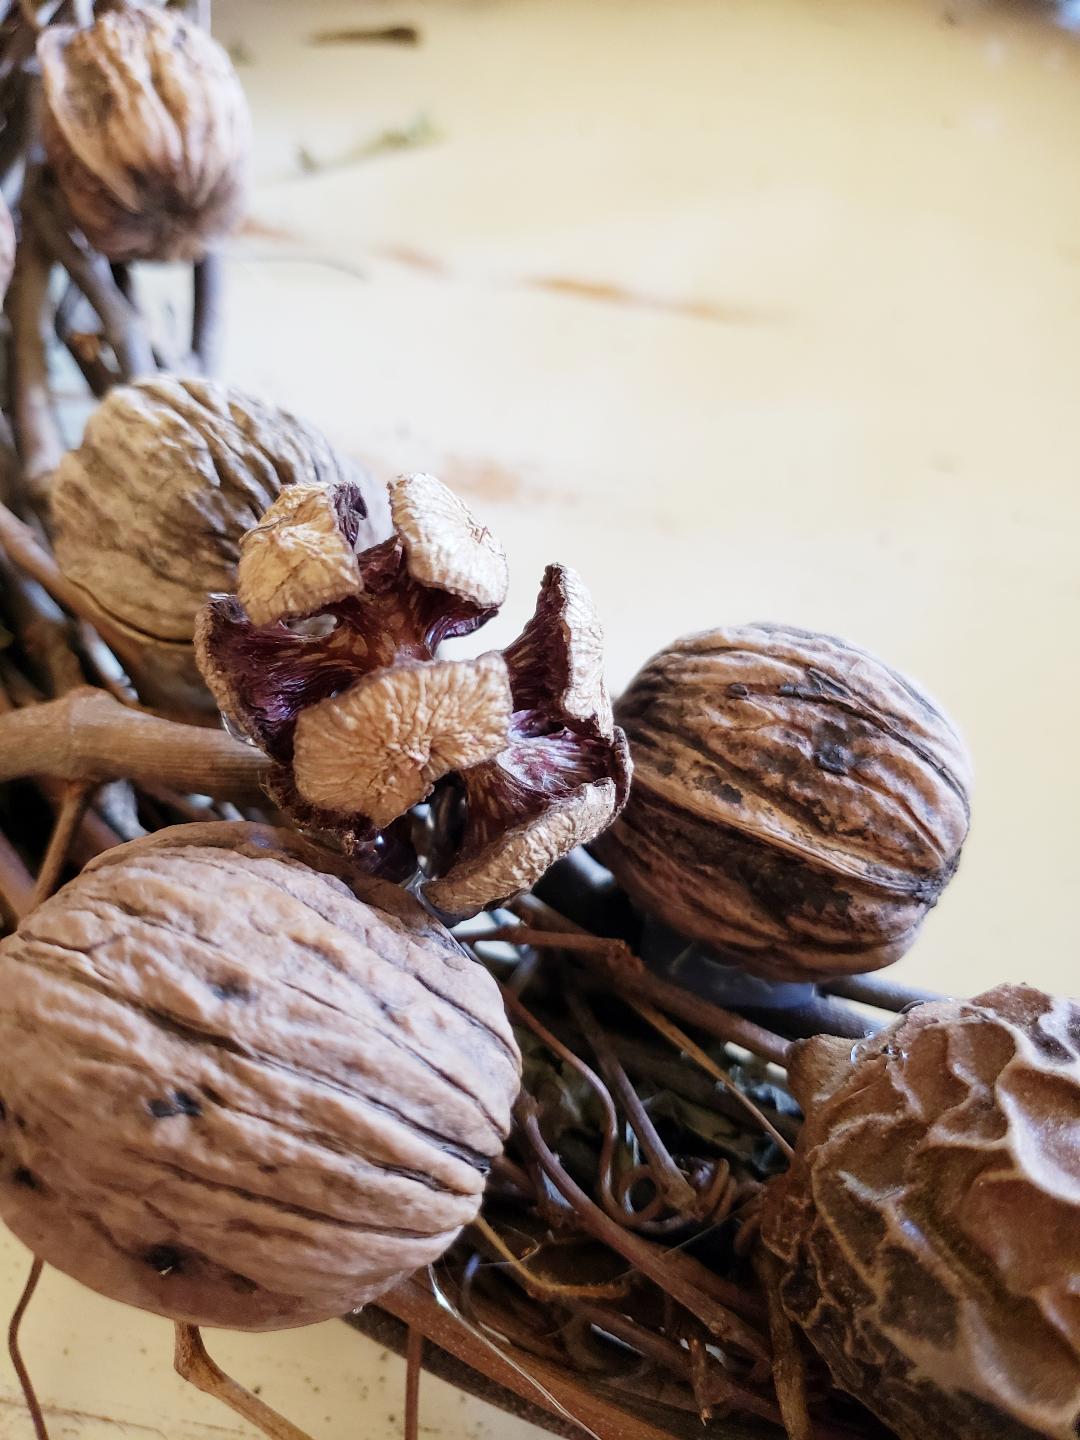
Then adding the next biggest items, which are the pine cones, I scatter them here and there.
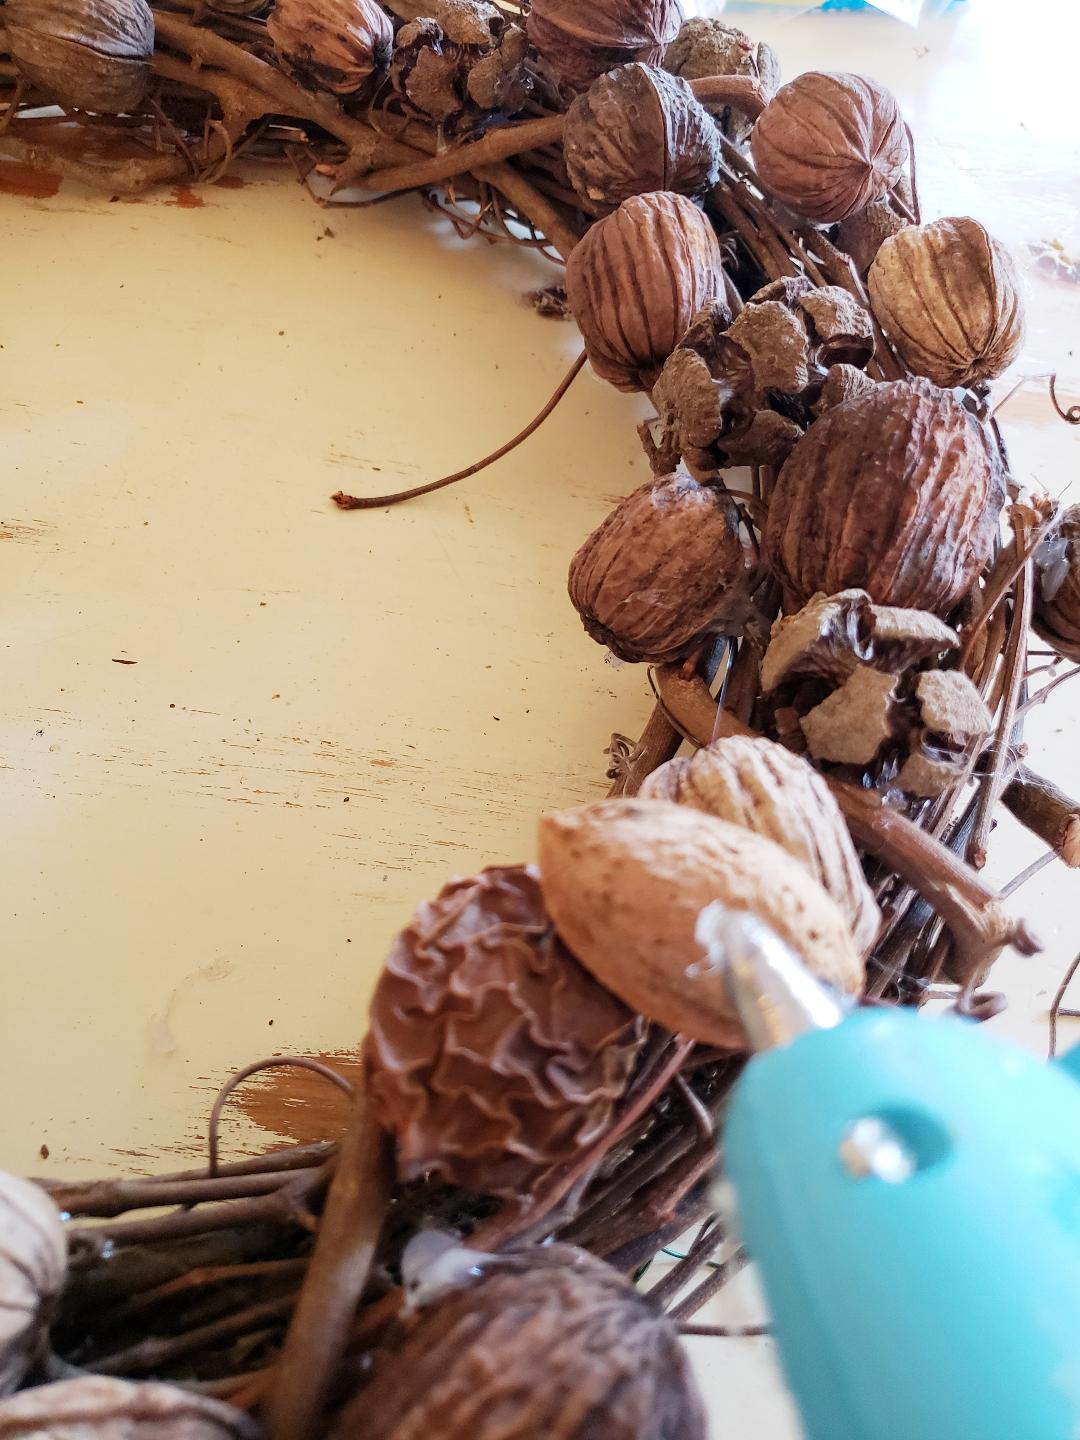
I grabbed those almonds and acorns next, gluing them on too, while filling in the blanks so as to round the whole thing out.
Yay! Done! It’s really a fun process too.
I enjoyed each step of it: the gathering, the washing/drying em up, (you could just shop at the grocery store for your favorite nuts if you don’t have access to walnut, almond, or oak trees) and the gluing and arranging them on the wreath.
It was so rewarding creating my own wreath and so inexpensive when you make it yourself!
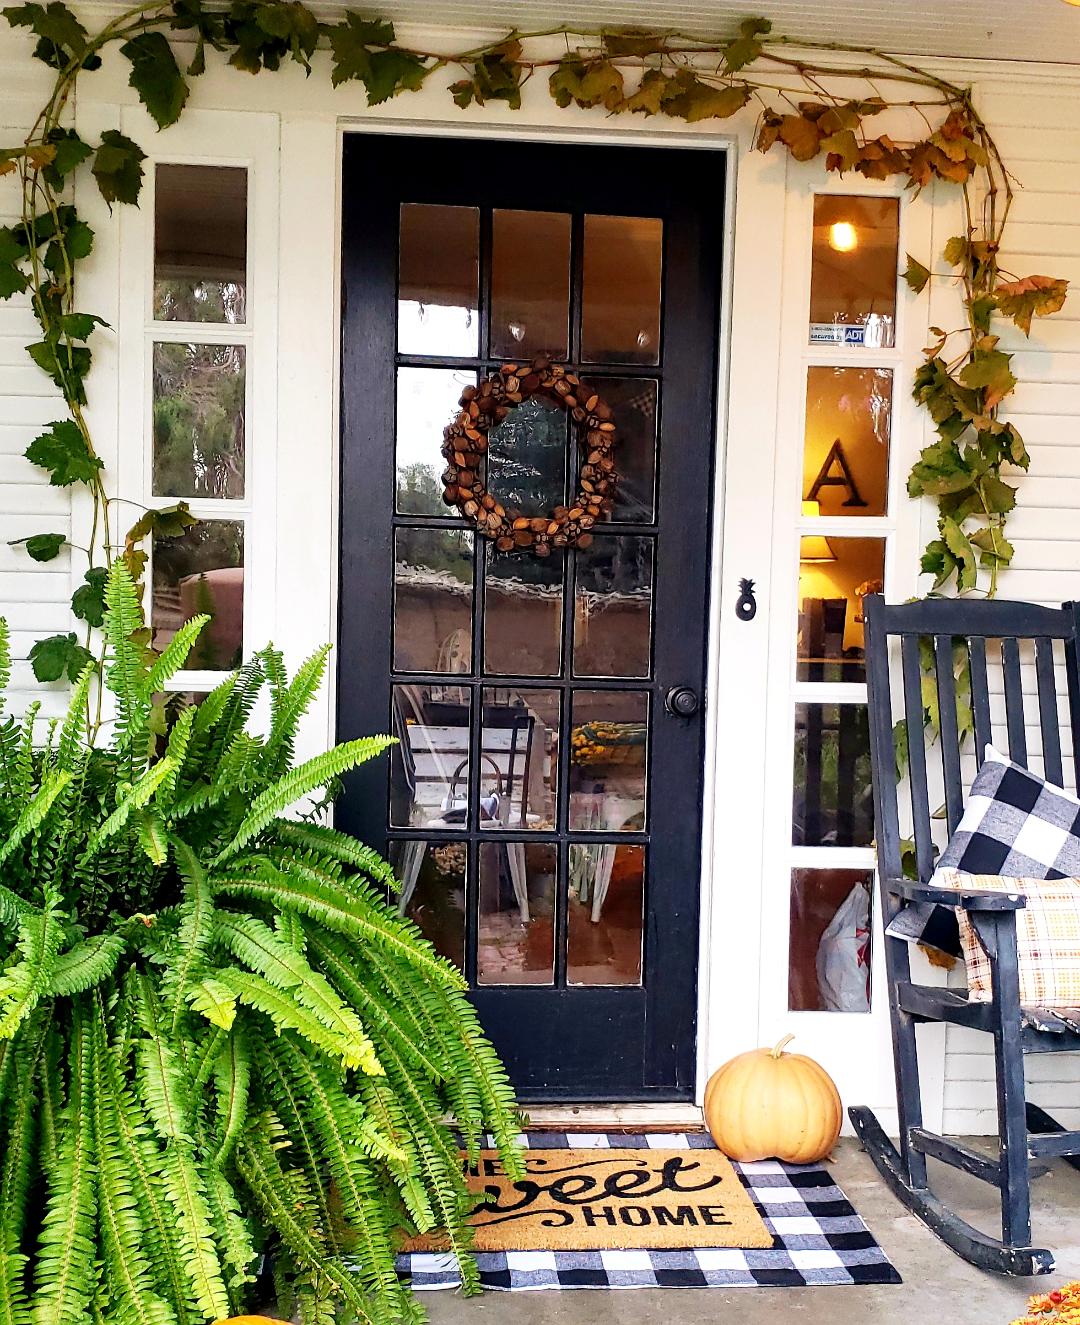
And it added so much to my whole fall farmhouse front porch setting!
Happy Fall my friend! Hope you jump into some fun fall craft yourself.
XO Jerri