HOW TO DIY SHIPLAP
Have you ever just wanted a change in a room and thought, you’d love to make a big impact with a design element, but ugh, your budget isn’t that big? Yeah, that’s like my story all the time! But I don’t let it stop me, nope! Just take a look at this bathroom make-over we did. We shiplapped it!
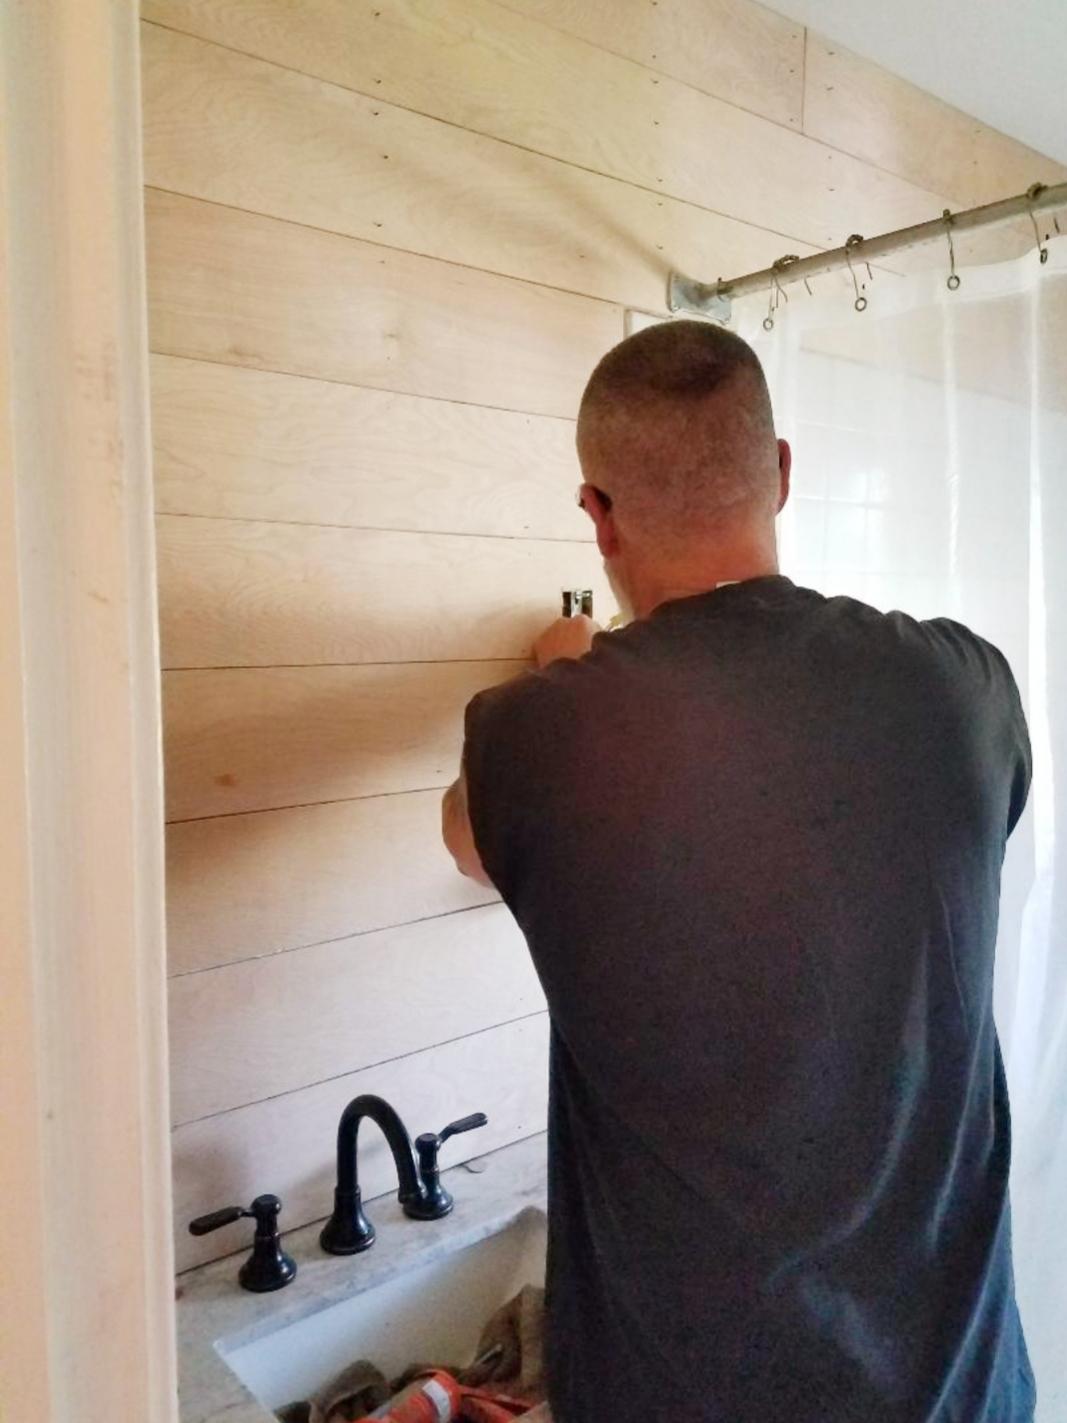
And this time when I say “we” I mean “me!” Yep, I did it all by my lil’ ol’ self! My hubby was a bit busy with coaching and teaching and all, and I did not want to wait for his help. So I thought, I think I can, I think I can, and I did it!
First of all, I did not use real shiplap. The real stuff are these really old and thick boards found in old homes. But you can purchase something similar at Home Depot and it’s pretty thick too with tongue and grooves. I knew that wouldn’t work for me because I wanted to put it on top of the painted and textured sheet rocked walls which would add way too much thickness to them.
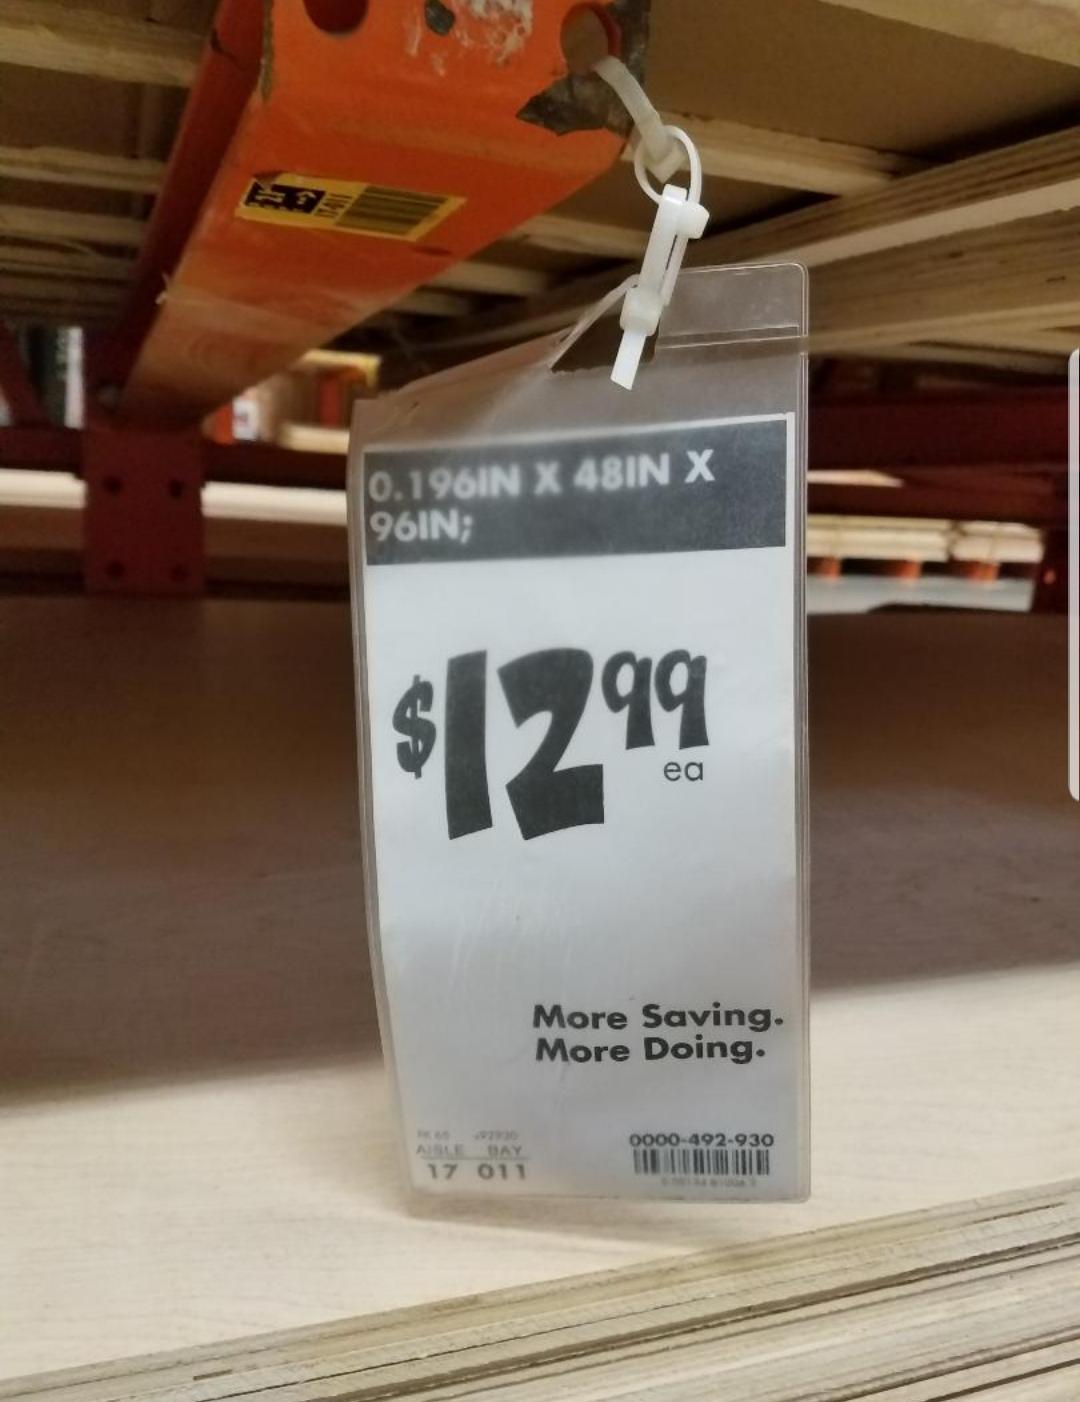
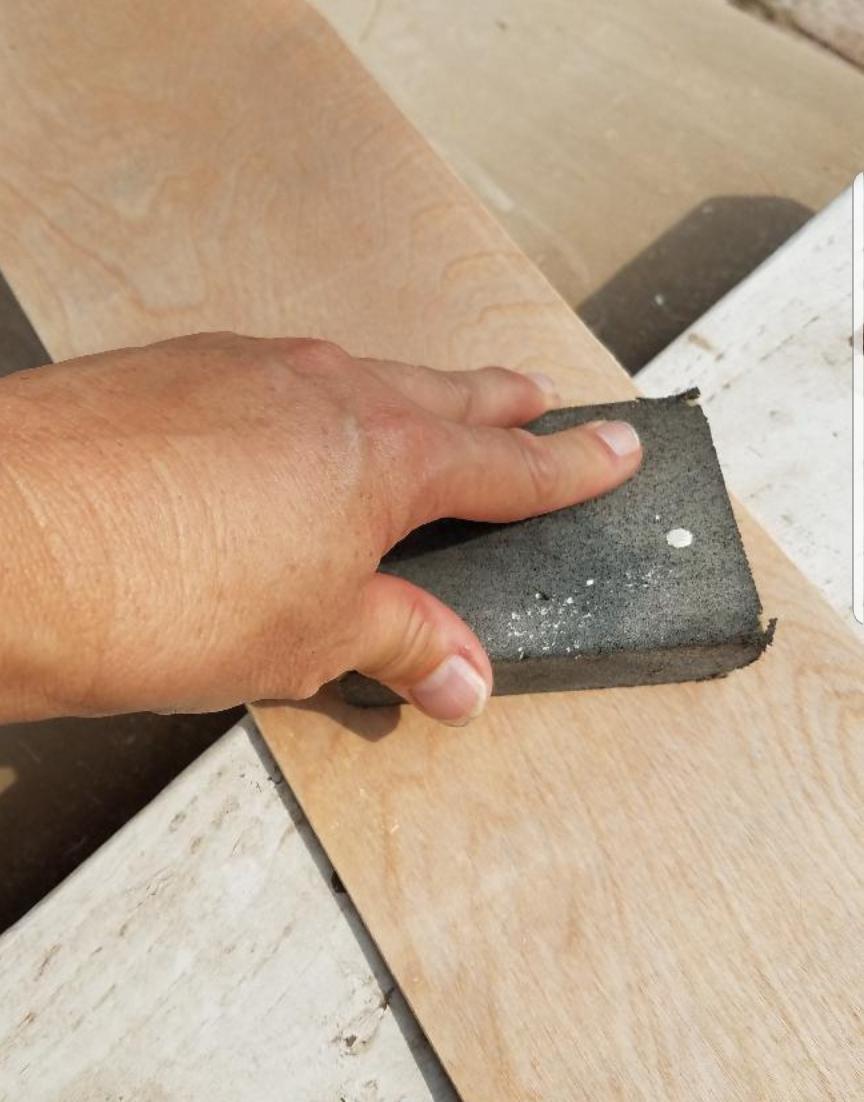
So I got these really thin in thickness plywood boards at Home Depot which were 4′ by 8′ and I had them cut it into 6 inch strips (which was only .25 cents a cut). That gave me about 7 boards (because as they cut, you loose a little bit of the board). Then I just took them all home and gave them a little sanding on the cut edges.
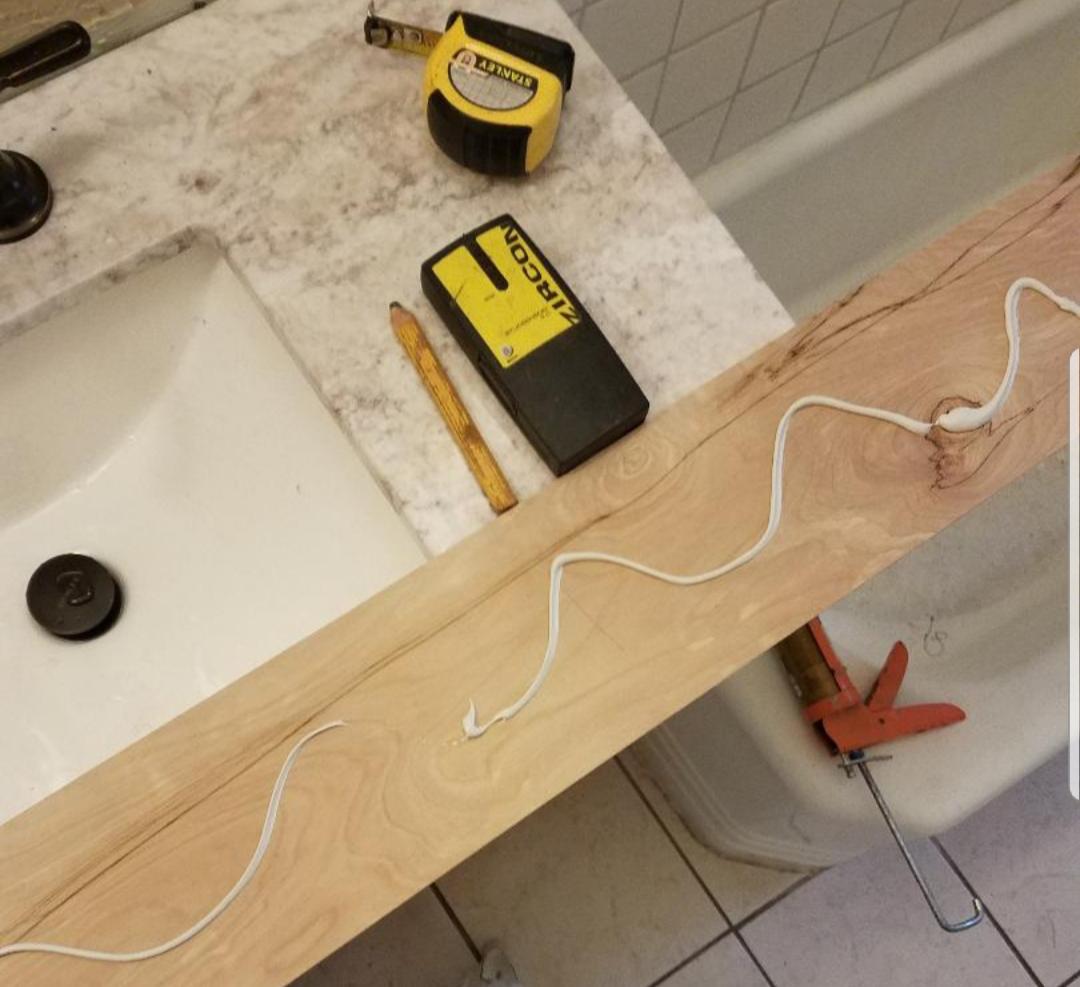
Next, I put some wood adhesive on the back like this.
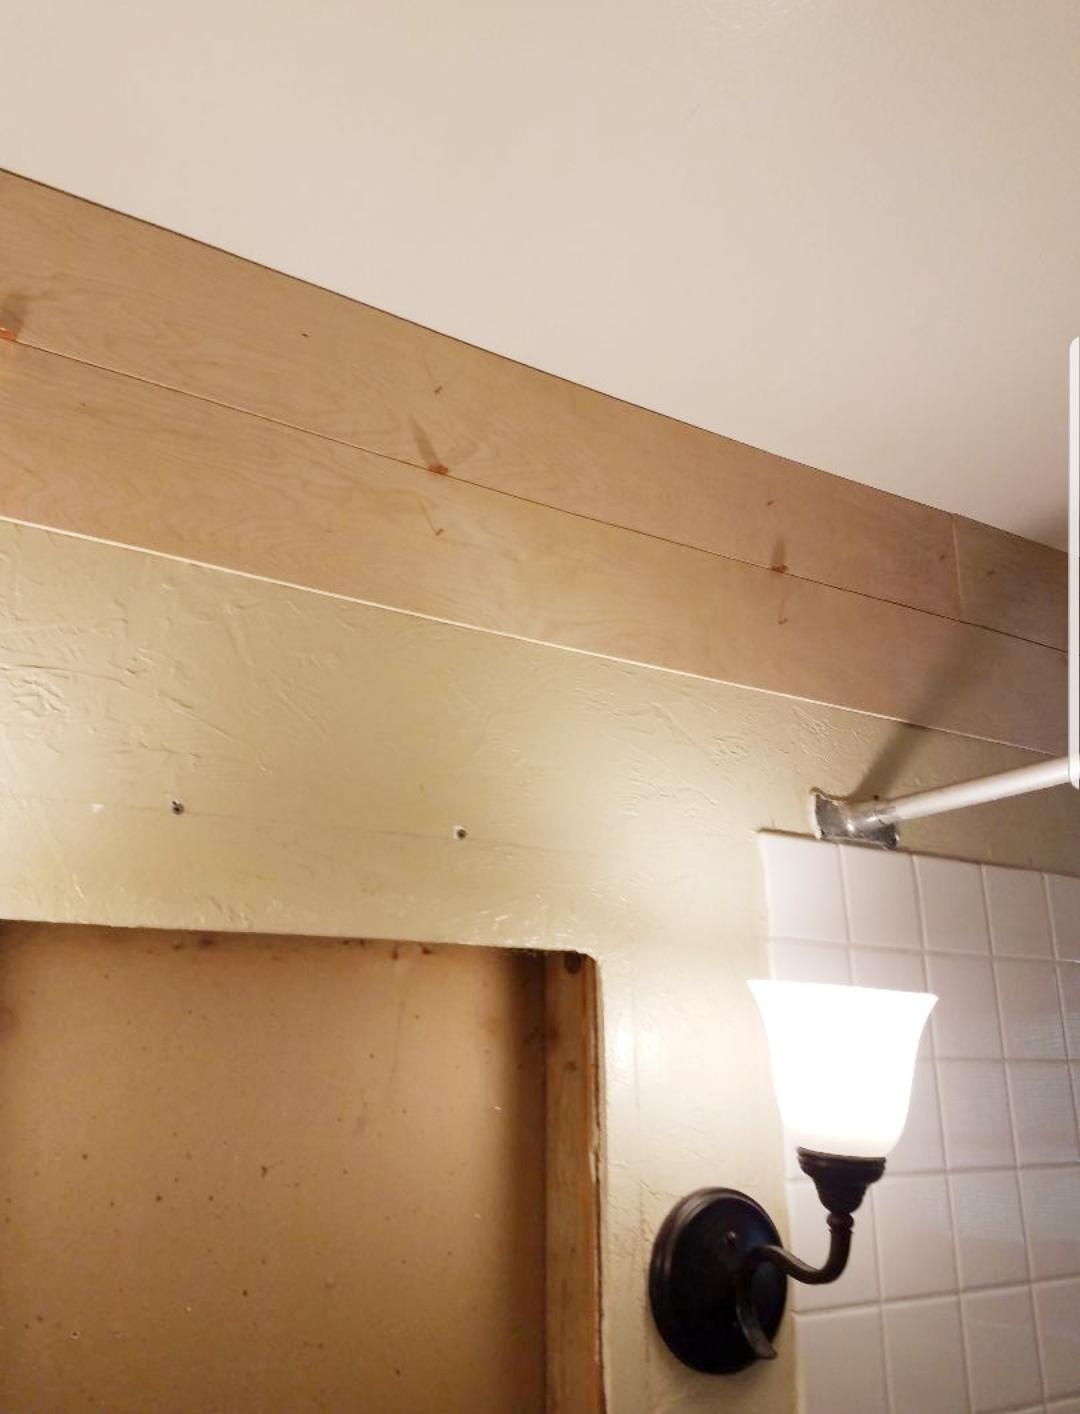
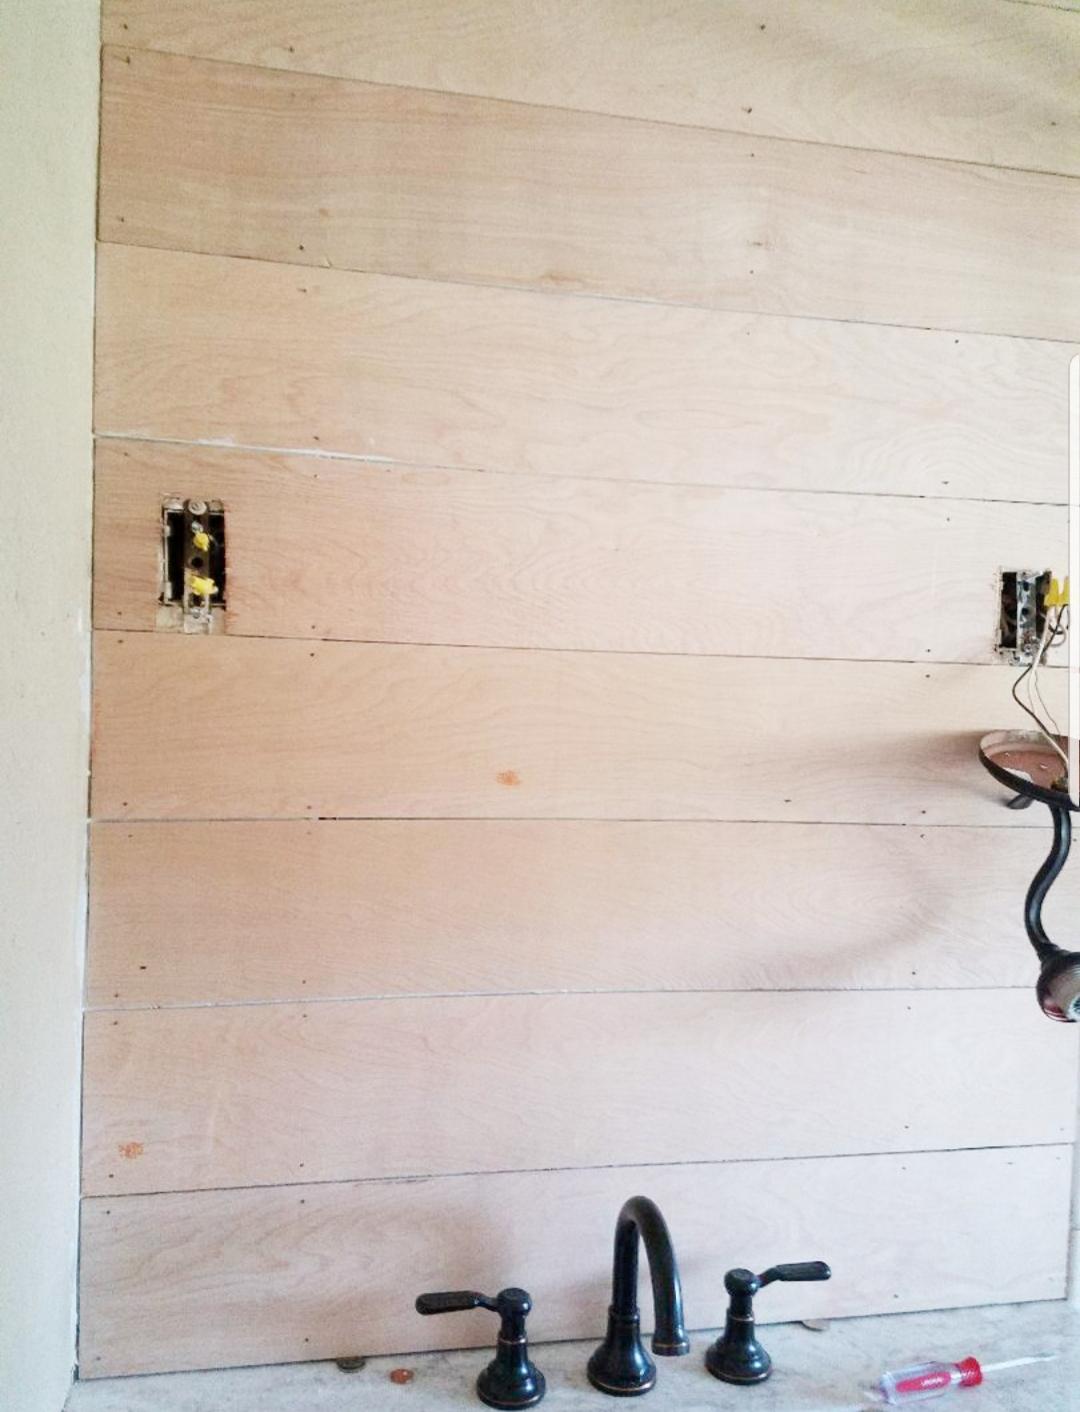
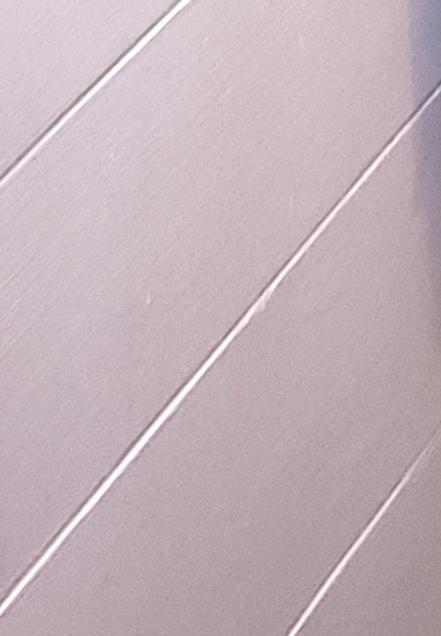
Then I just slapped that board up on the Wall, and nailed it into place. I started from the top and worked my way down. I put pennies in as spacers in between each board. That’s it, easy-peasy! Oh, I did use a level to make sure I wasn’t tilting them all one way or the other.
Now, while I started at the top putting my 8 foot long boards to set in place on the back wall above the tub, I did have to measure and cut some of the other boards to fit the lengths of the other walls which were different sizes. I just cut to fit with a circular saw that we have here at home. And yes, I did that myself too.
My hubby did help with taking the lamp sconces out and putting that back in again and also gave me lots of moral support. But everything else I did myself!
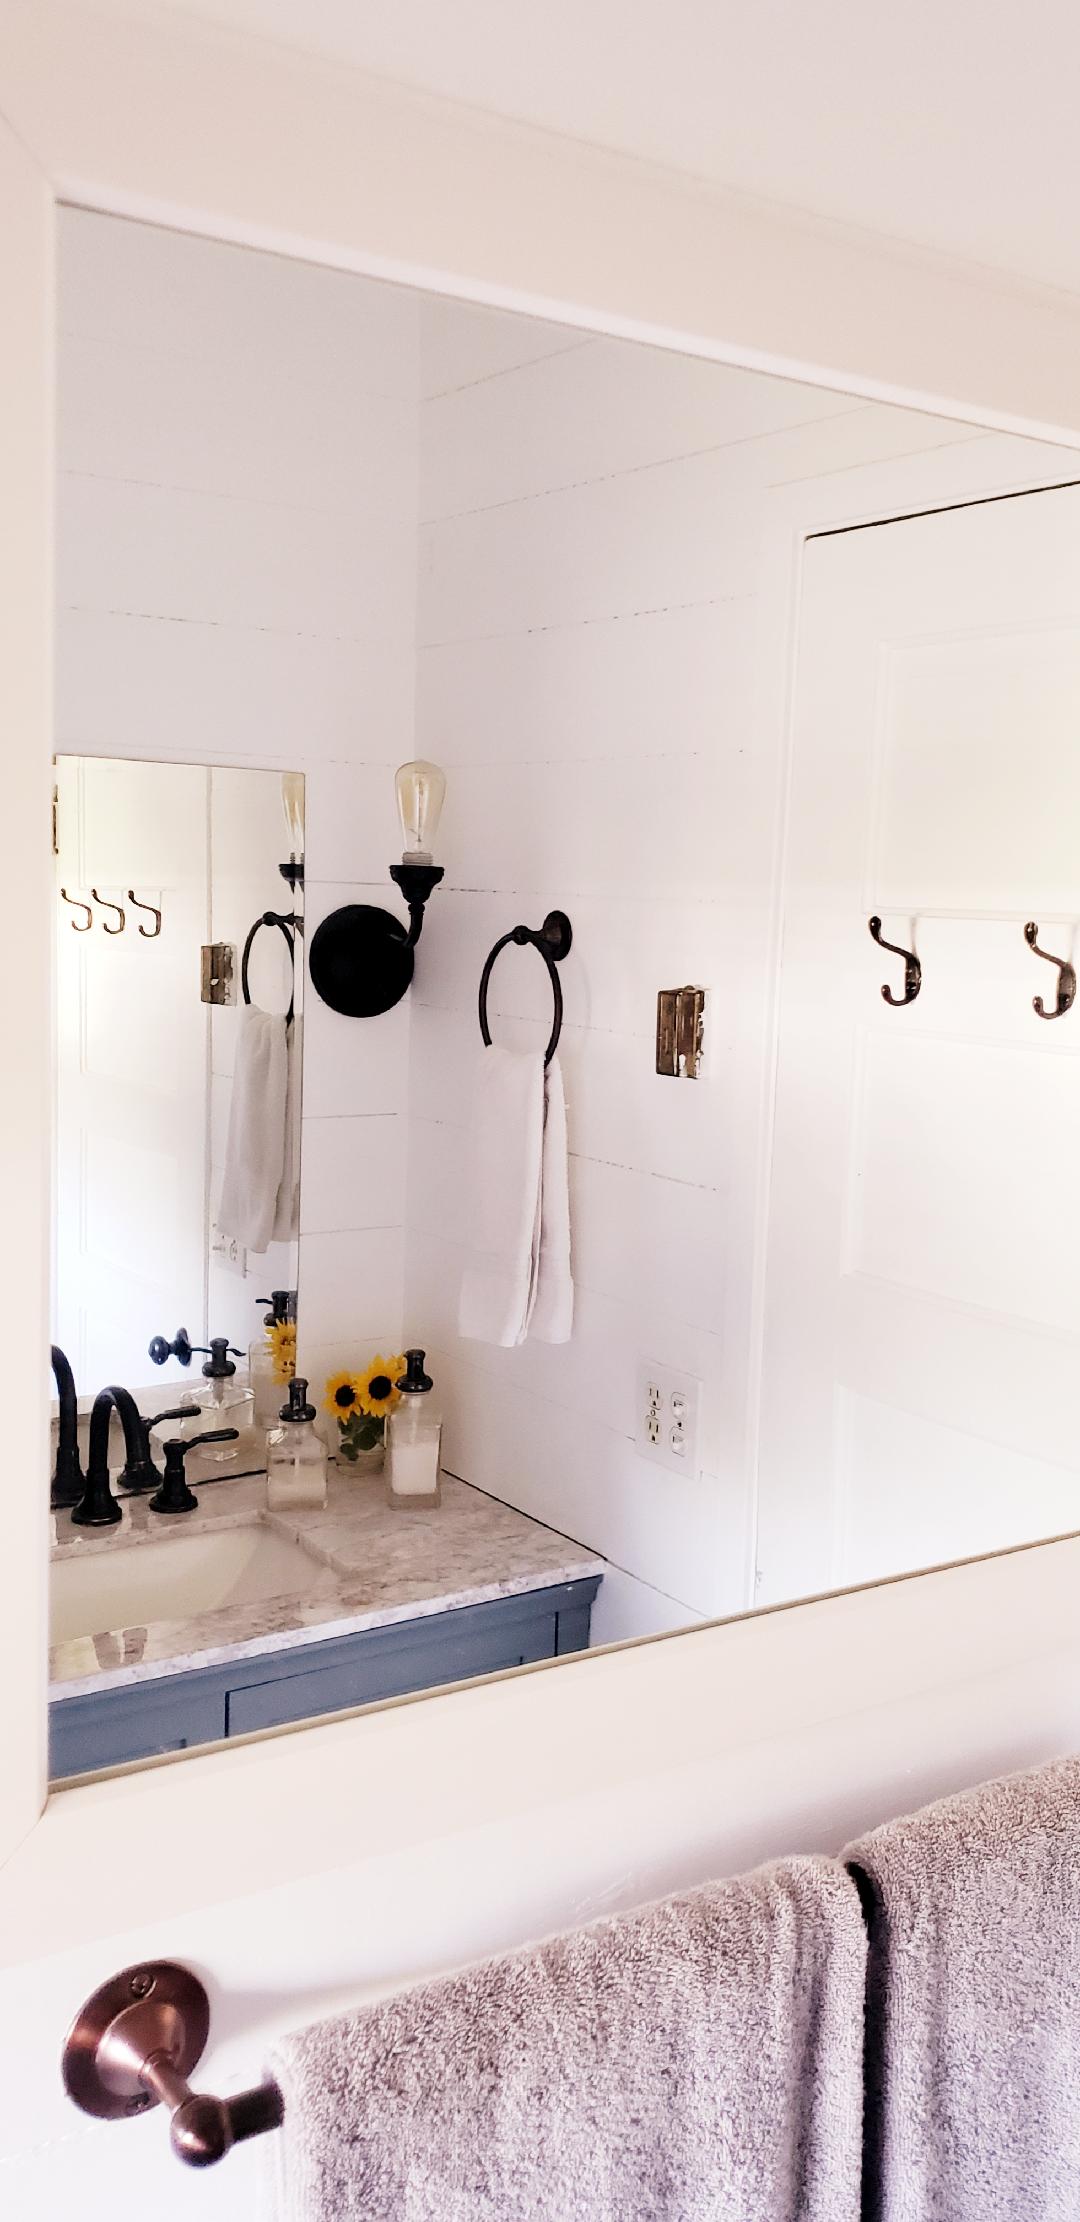
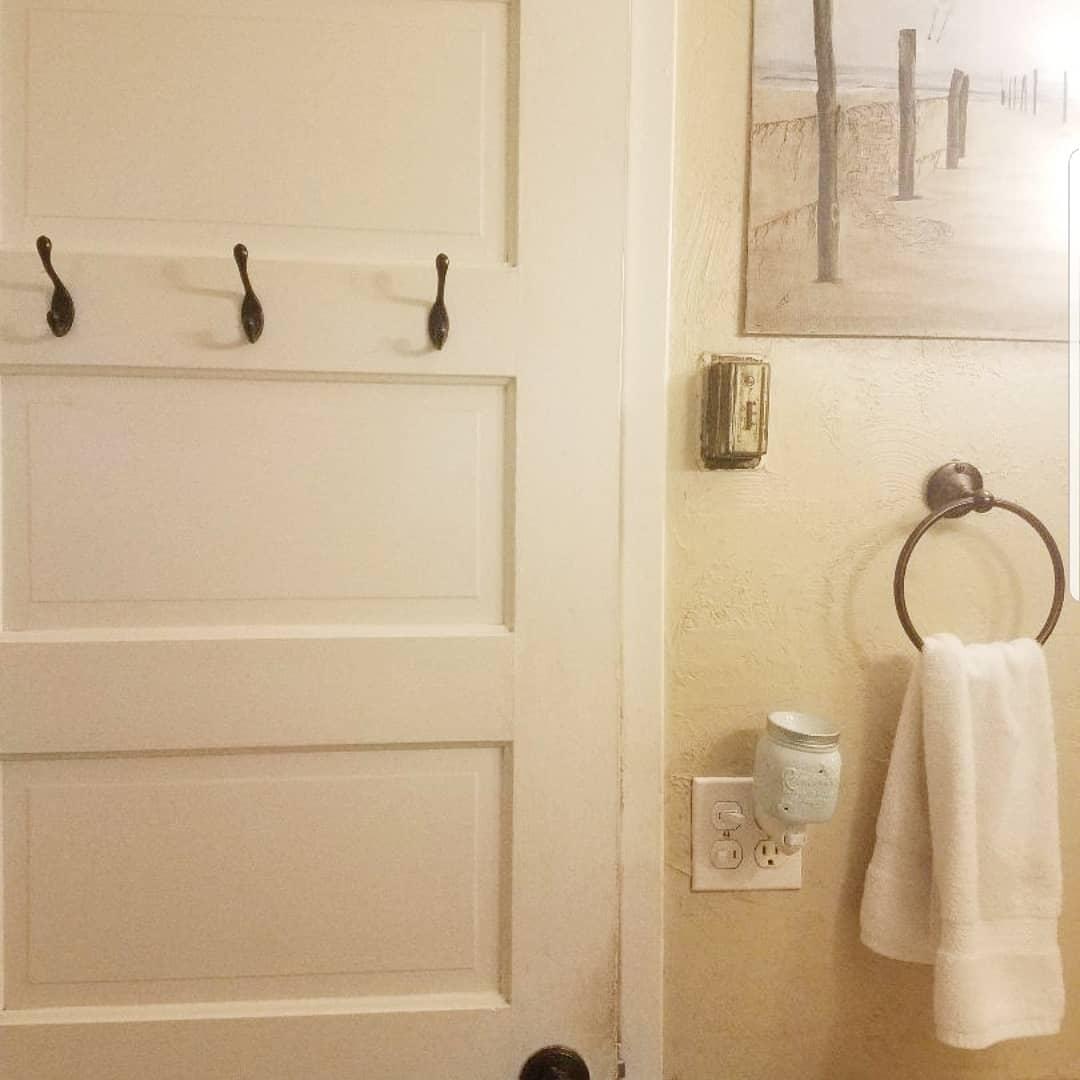
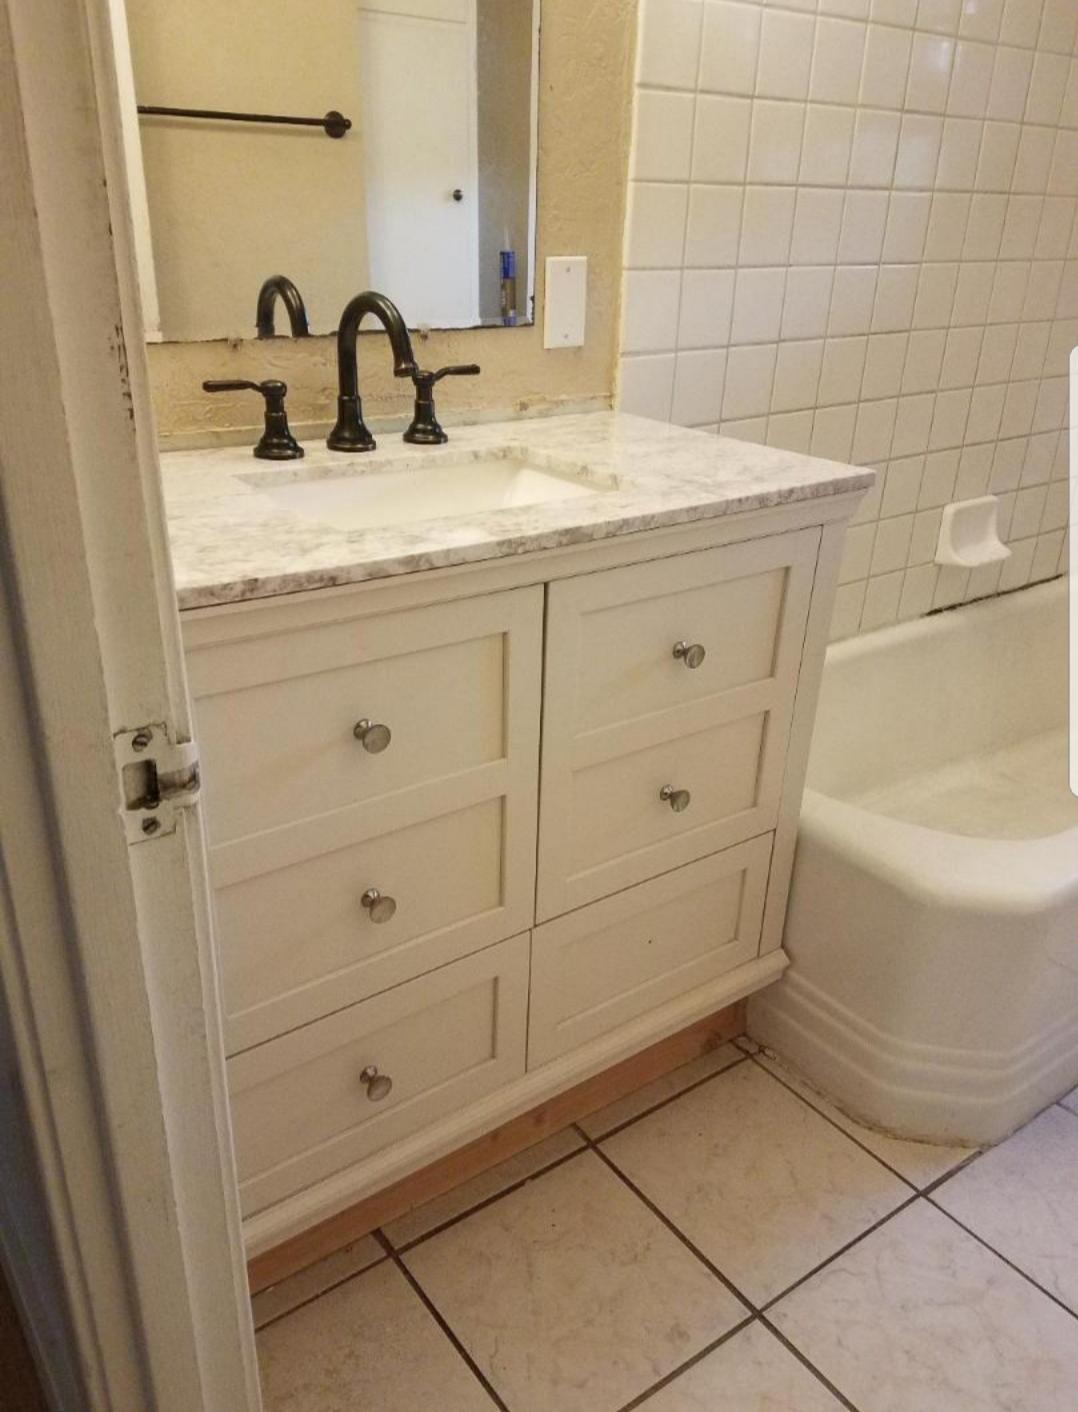
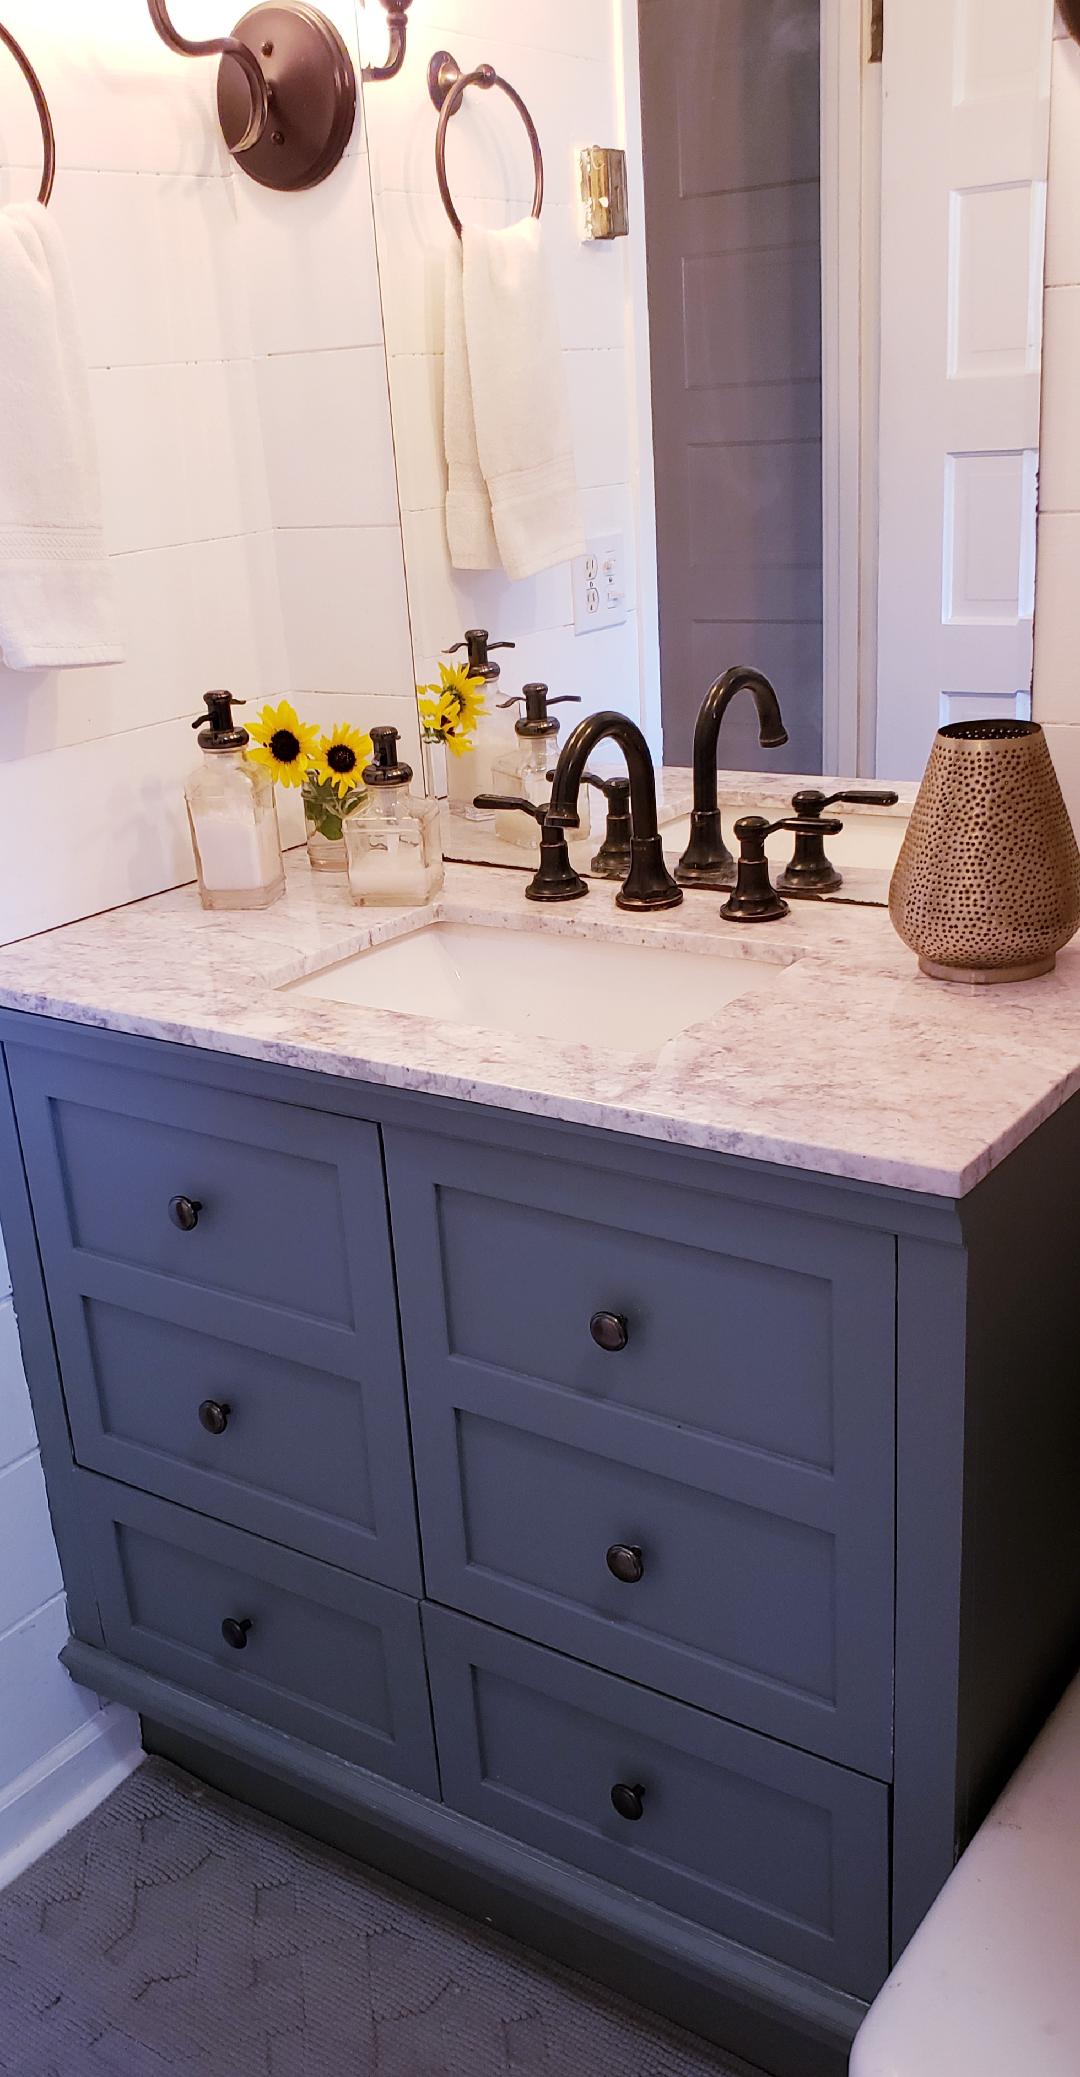
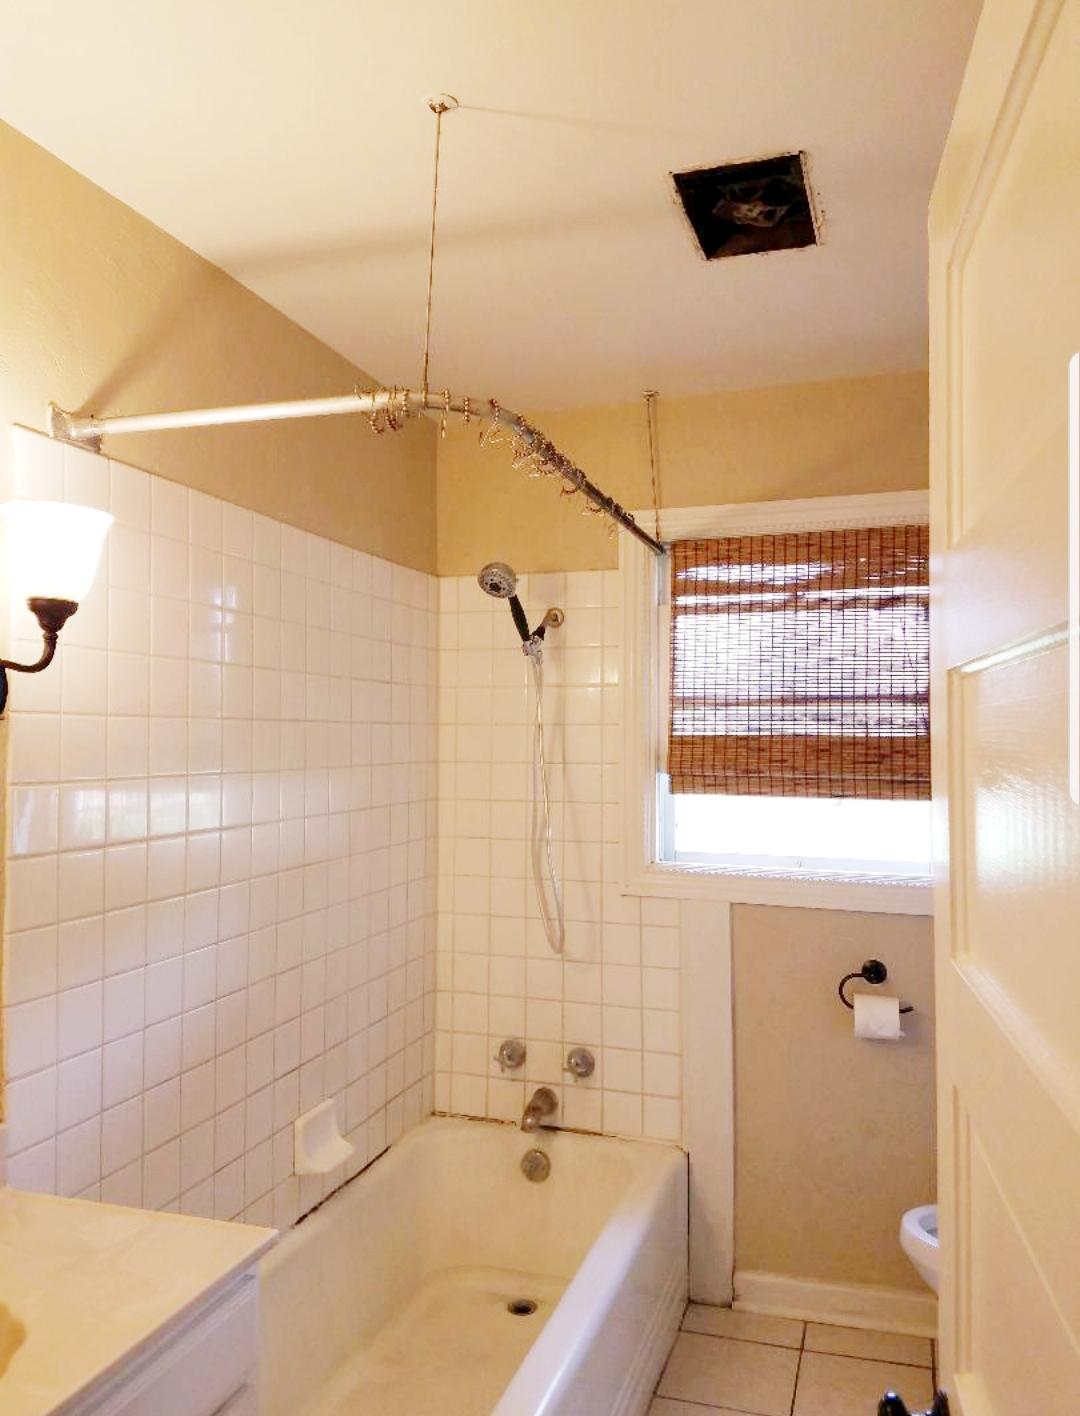
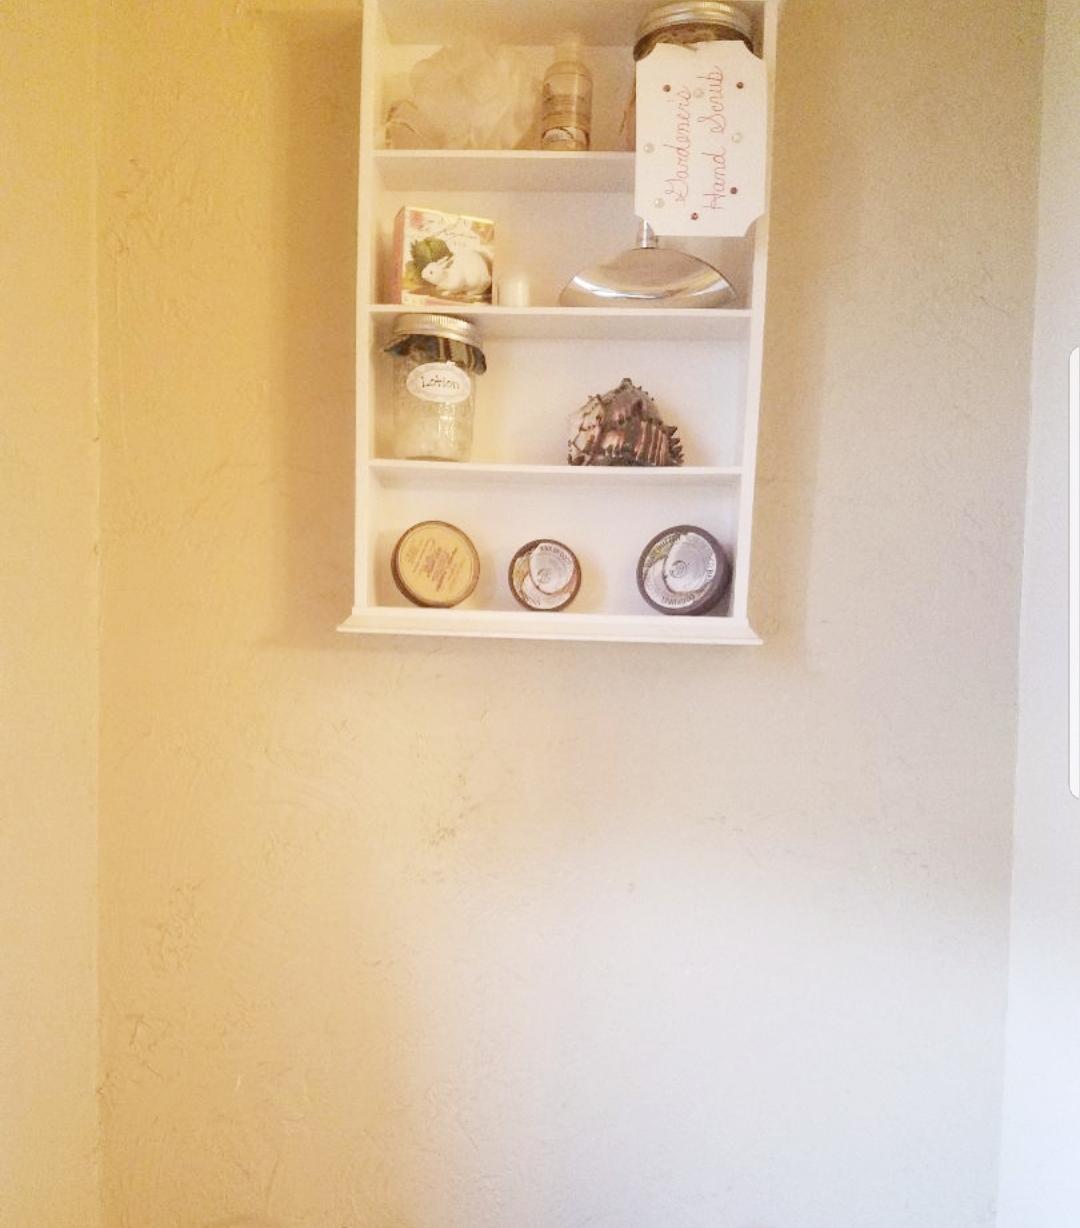
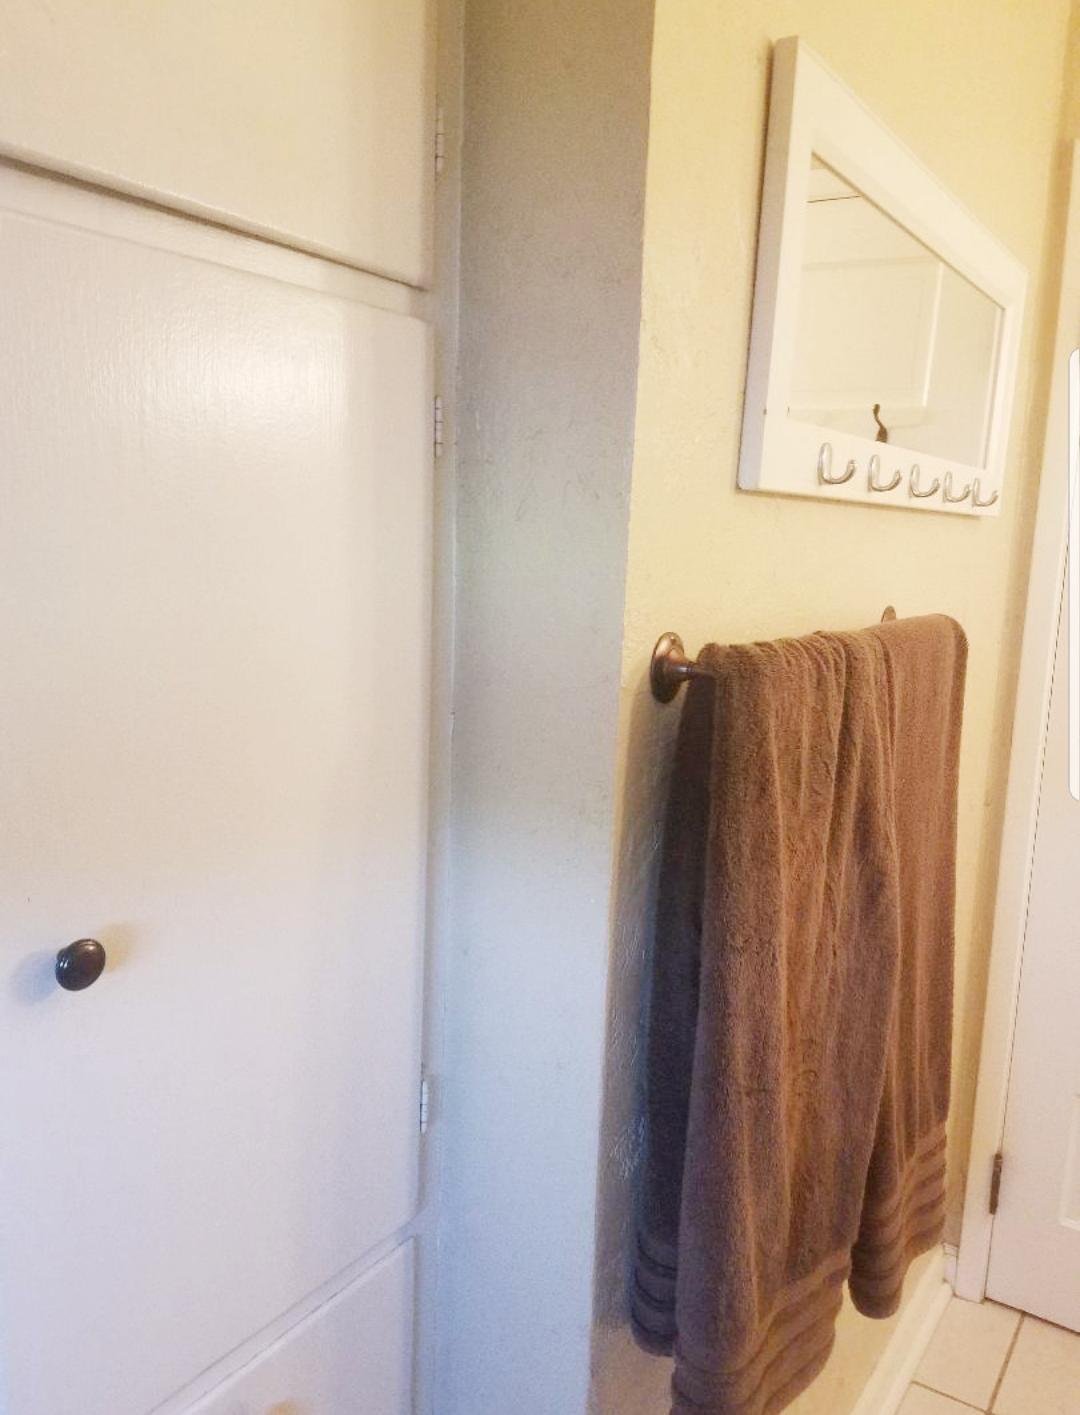
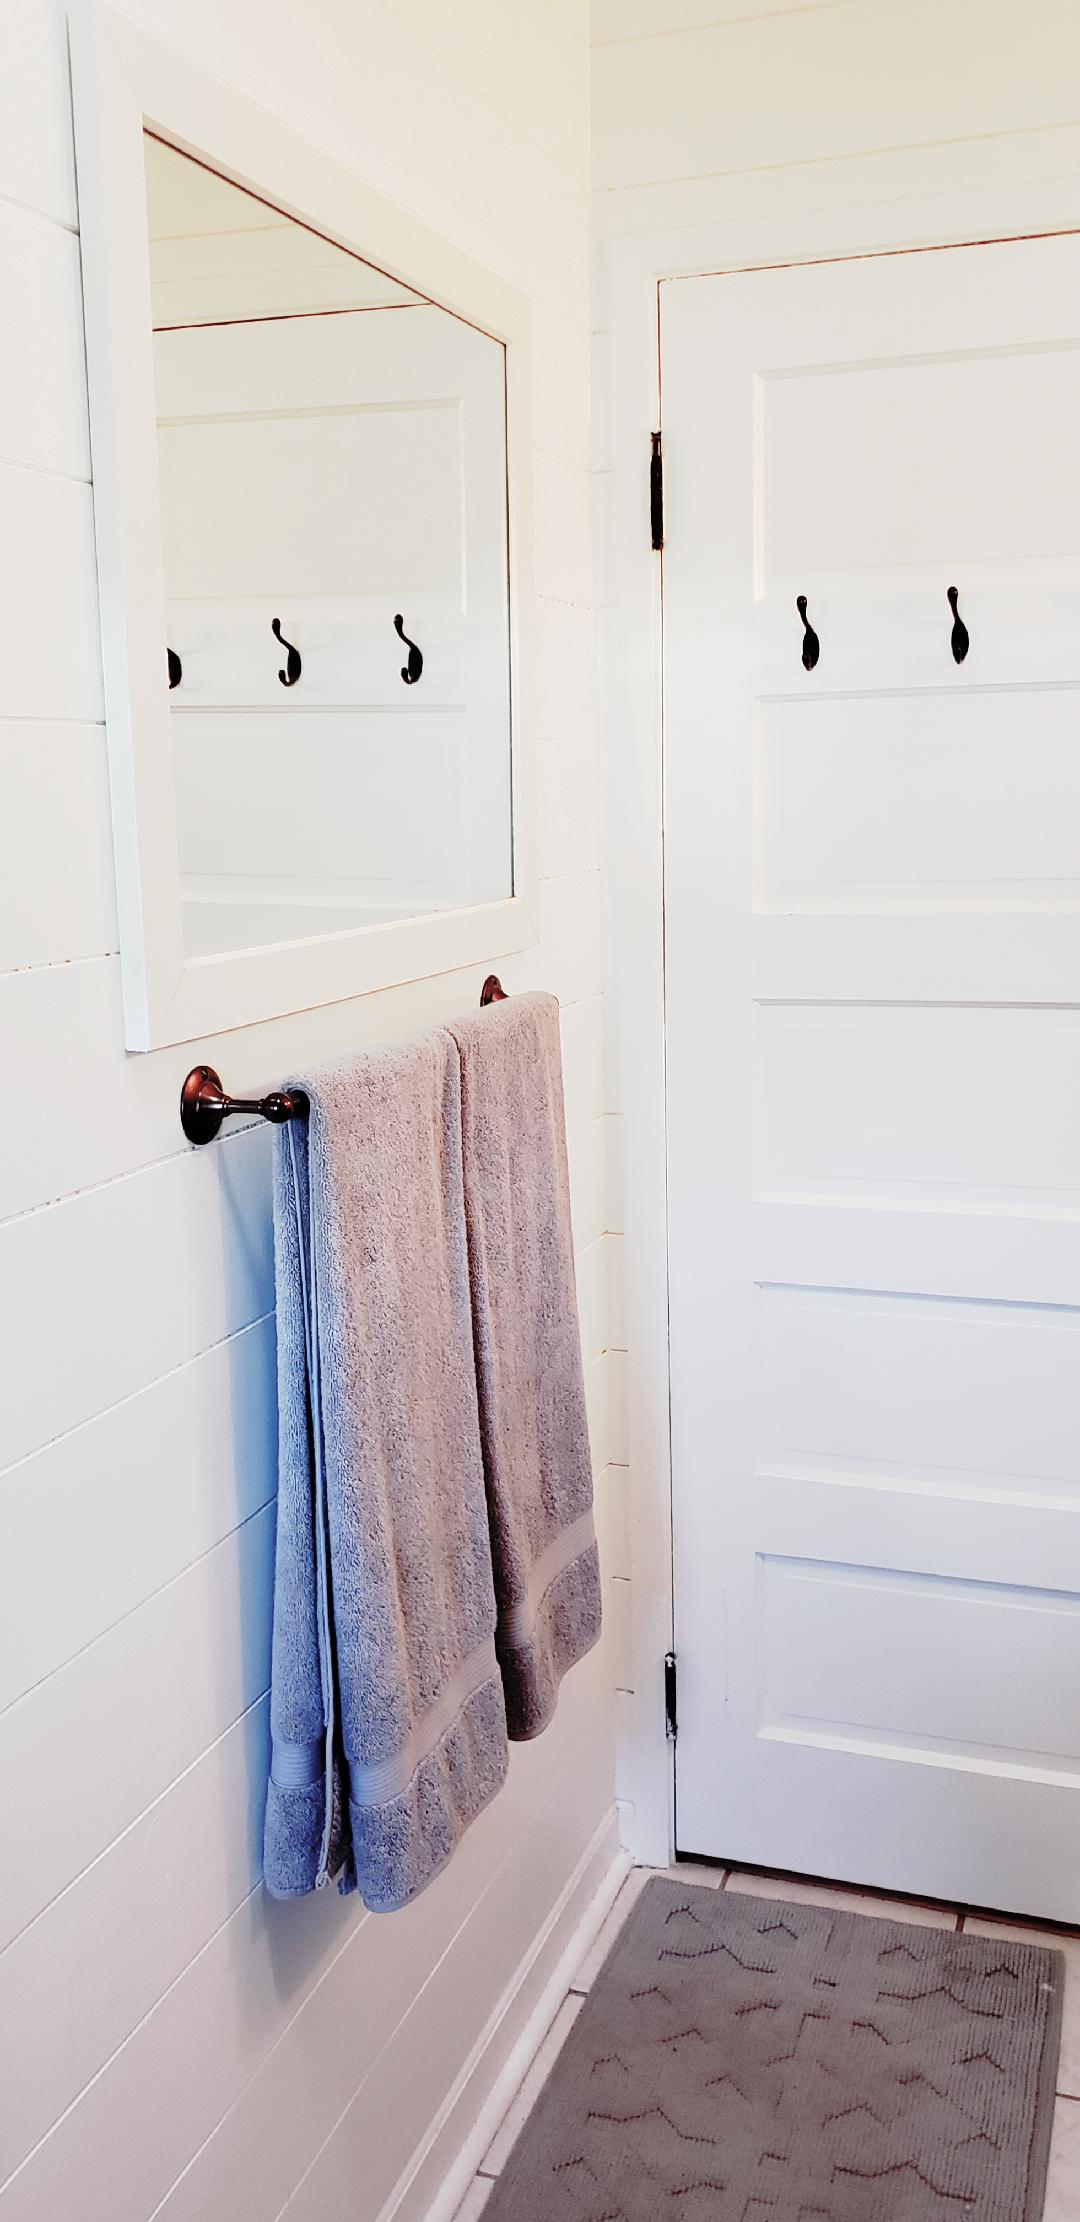
You can see here with these before and after pictures of the bathroom how much of a difference it made.
You can also see that the texture on the walls was really thick and outdated but by just shiplapping over it, the whole look became more of a modern farmhouse feel.
Then with updating the vanity with a newer one, all I had to do was just paint it with this slate grey color that I already had and loved!
When I was dreaming and scheming for this bathroom re-do, I knew I wanted to change the color of the bathroom first and foremost from this tan color to something more fresh and spa like.
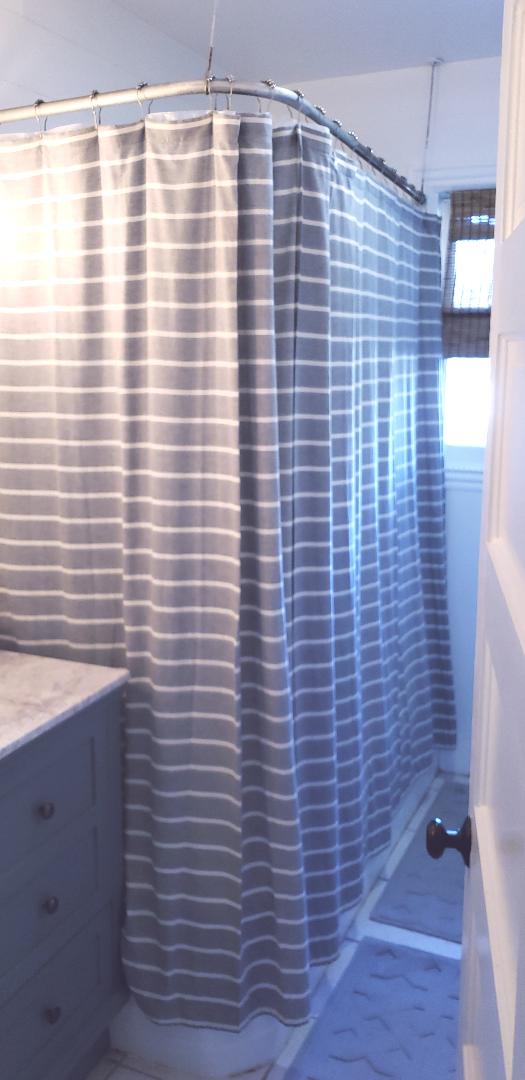
And I just knew that these all-white shiplap walls with just a touch of this slate grey color would be a perfect combo for what I wanted. So I added that pop of color on the vanity and on this darling shower curtain that I got at Target. I was thrilled when I found it because it had that farmhouse look I love and it really rounded out the over all color touches to go with the white.
It’s hard to picture that this bathroom looked this dull and dreary before without the pictures for proof.
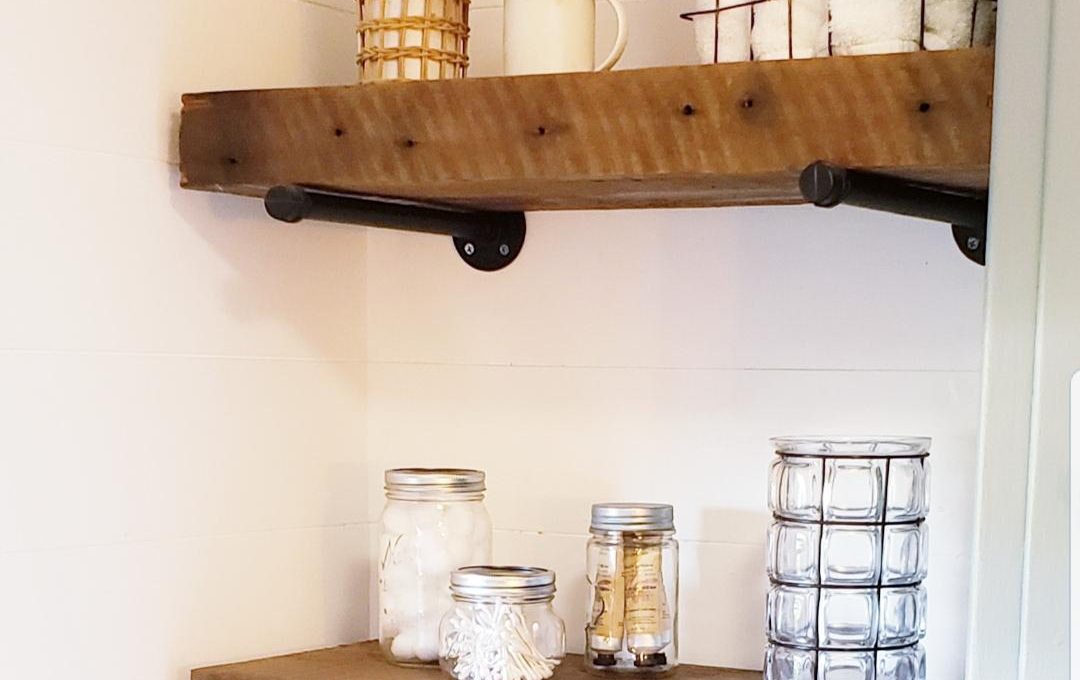
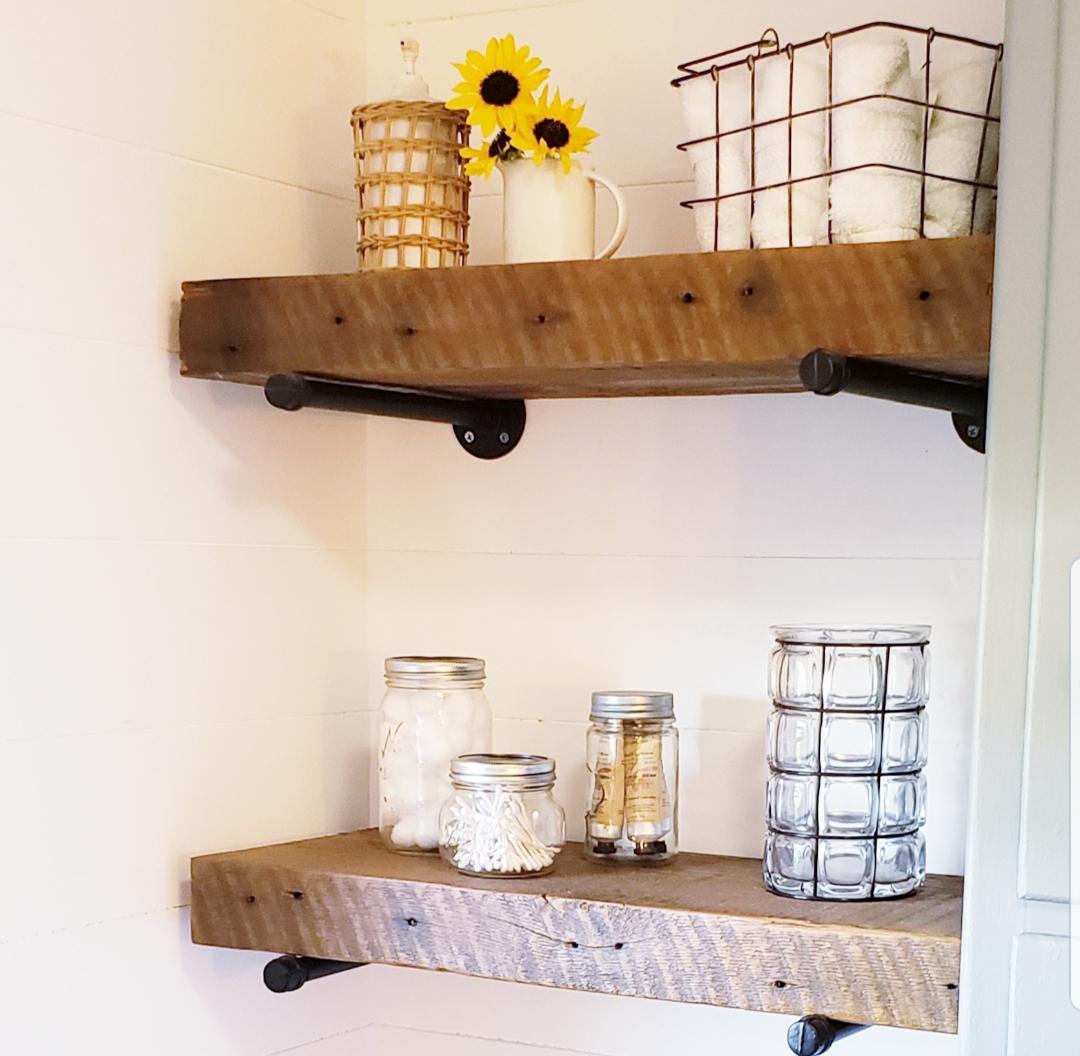
Even right here above the toilet where the open shelves are now is such a huge difference! If you’d like more details on these shelves just click here.
This whole project gave me a higher confidence in my DIY skills, but truly it wasn’t that difficult and over all so inexpensive. To shiplap this entire bathroom cost me less than $100.00 including the wood, nails, adhesive, and paint.
You really can’t beat that and it didn’t take me that long either. In just one weekend I was able to put it all up and the next weekend I painted it. If we would have had our nail gun and air compressor like we do now, it could have been put up one day and painted the next.
I’m so pleased with how it all turned out and so proud of myself too! Our next project in here will be to replace the floors with hexagon shaped tiles. I think they would be just perfect because they have a vintage yet timeless feel that would still fit in with the fresh modern farmhouse look of this bathroom now.
I just love the ever evolving projects of giving our home a little love here and there and continually making if cozier and homier all of the time. And when you do it yourself, you really can make your dreams come true!
Happy Homemaking my friends!
XO Jerri
