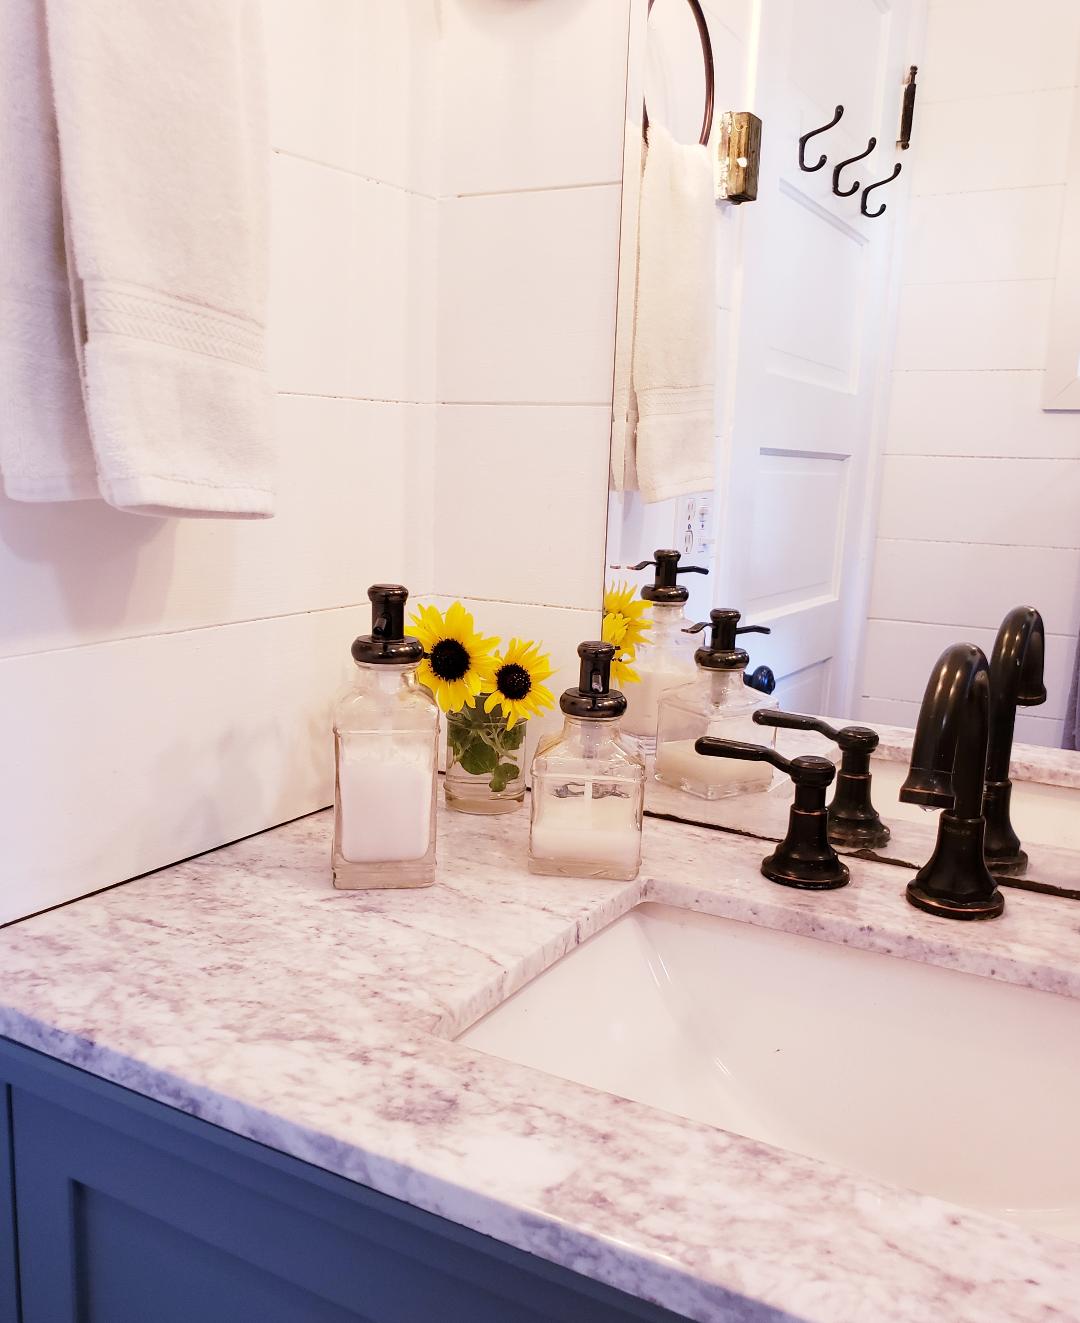
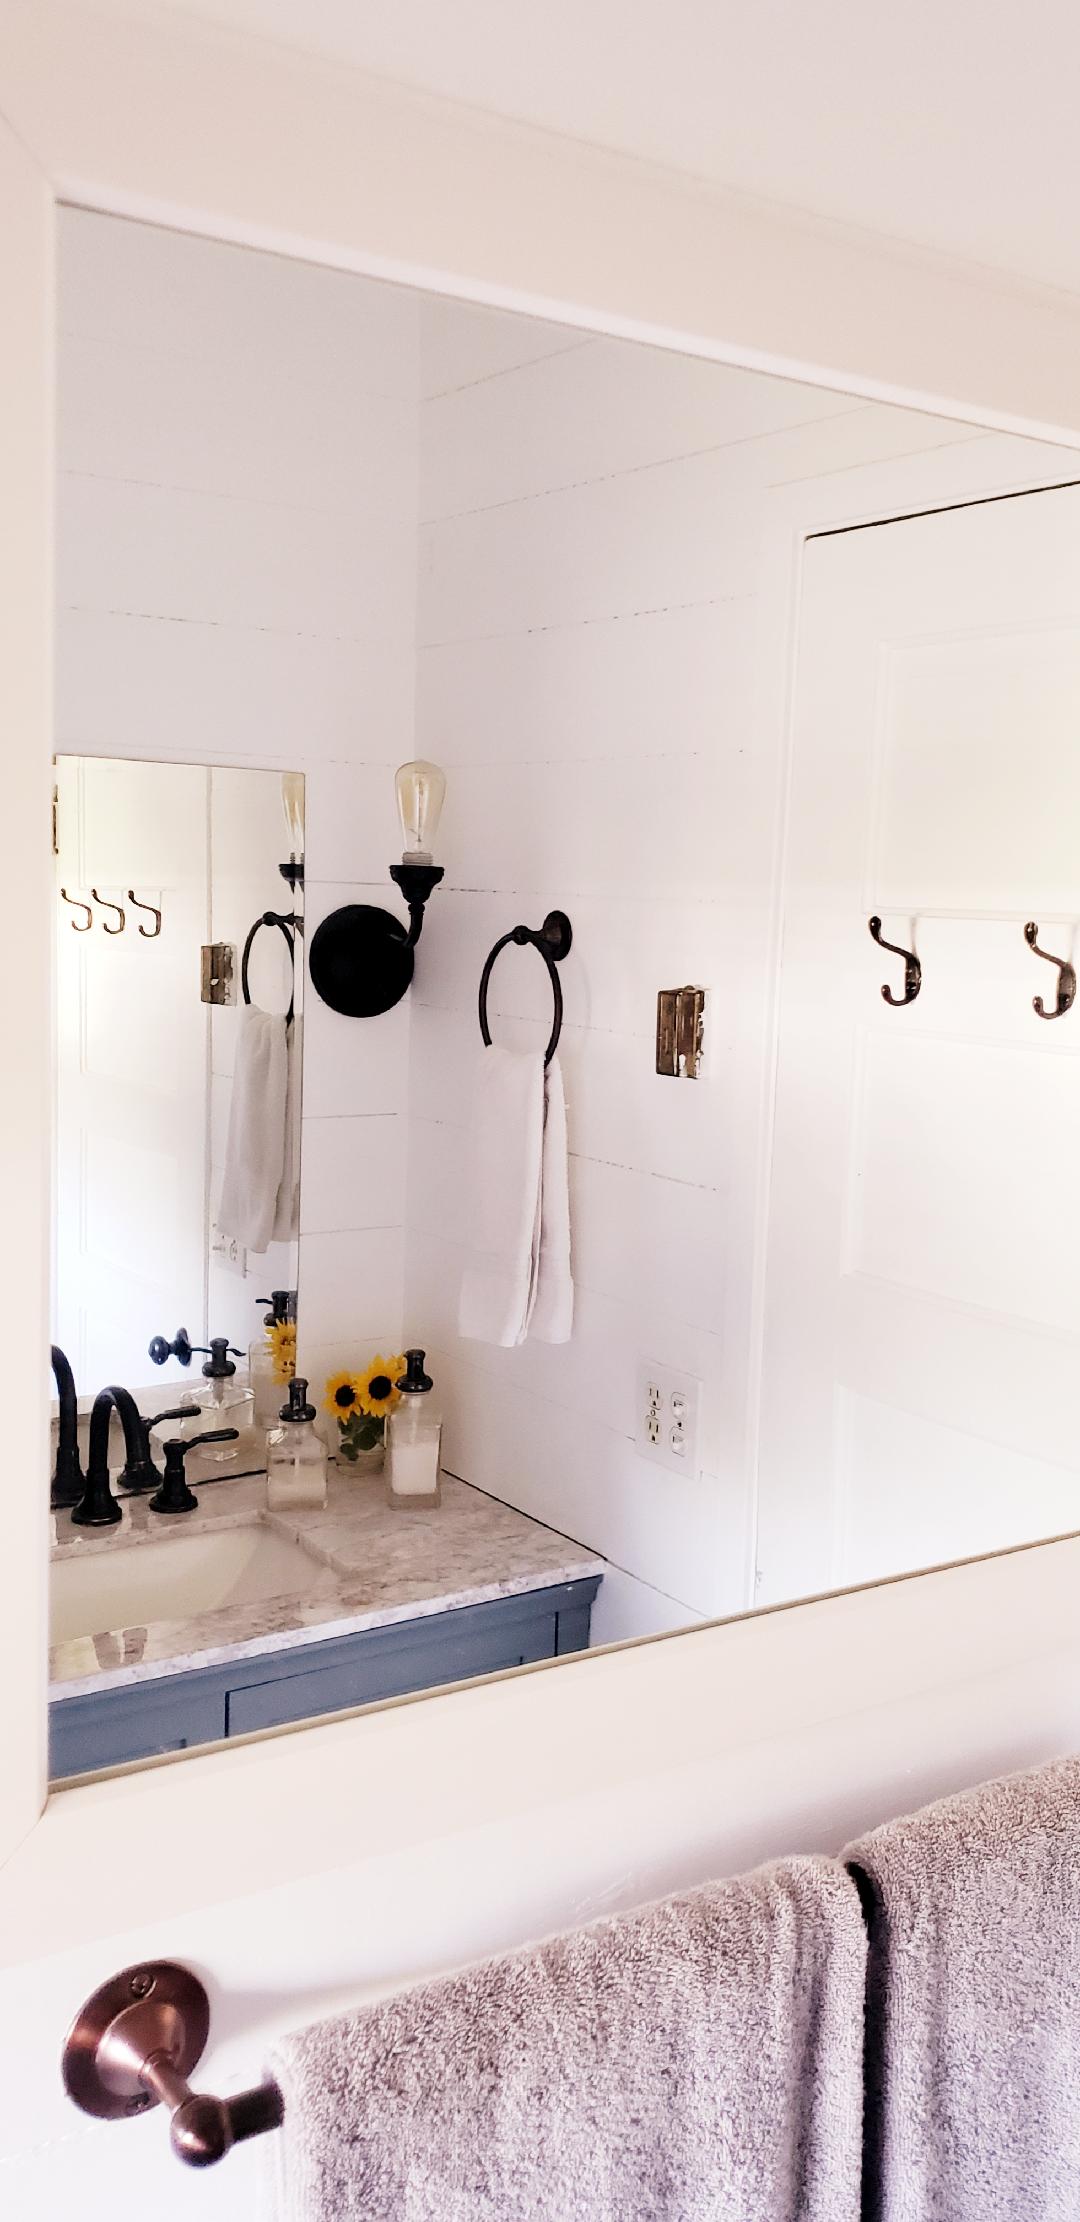
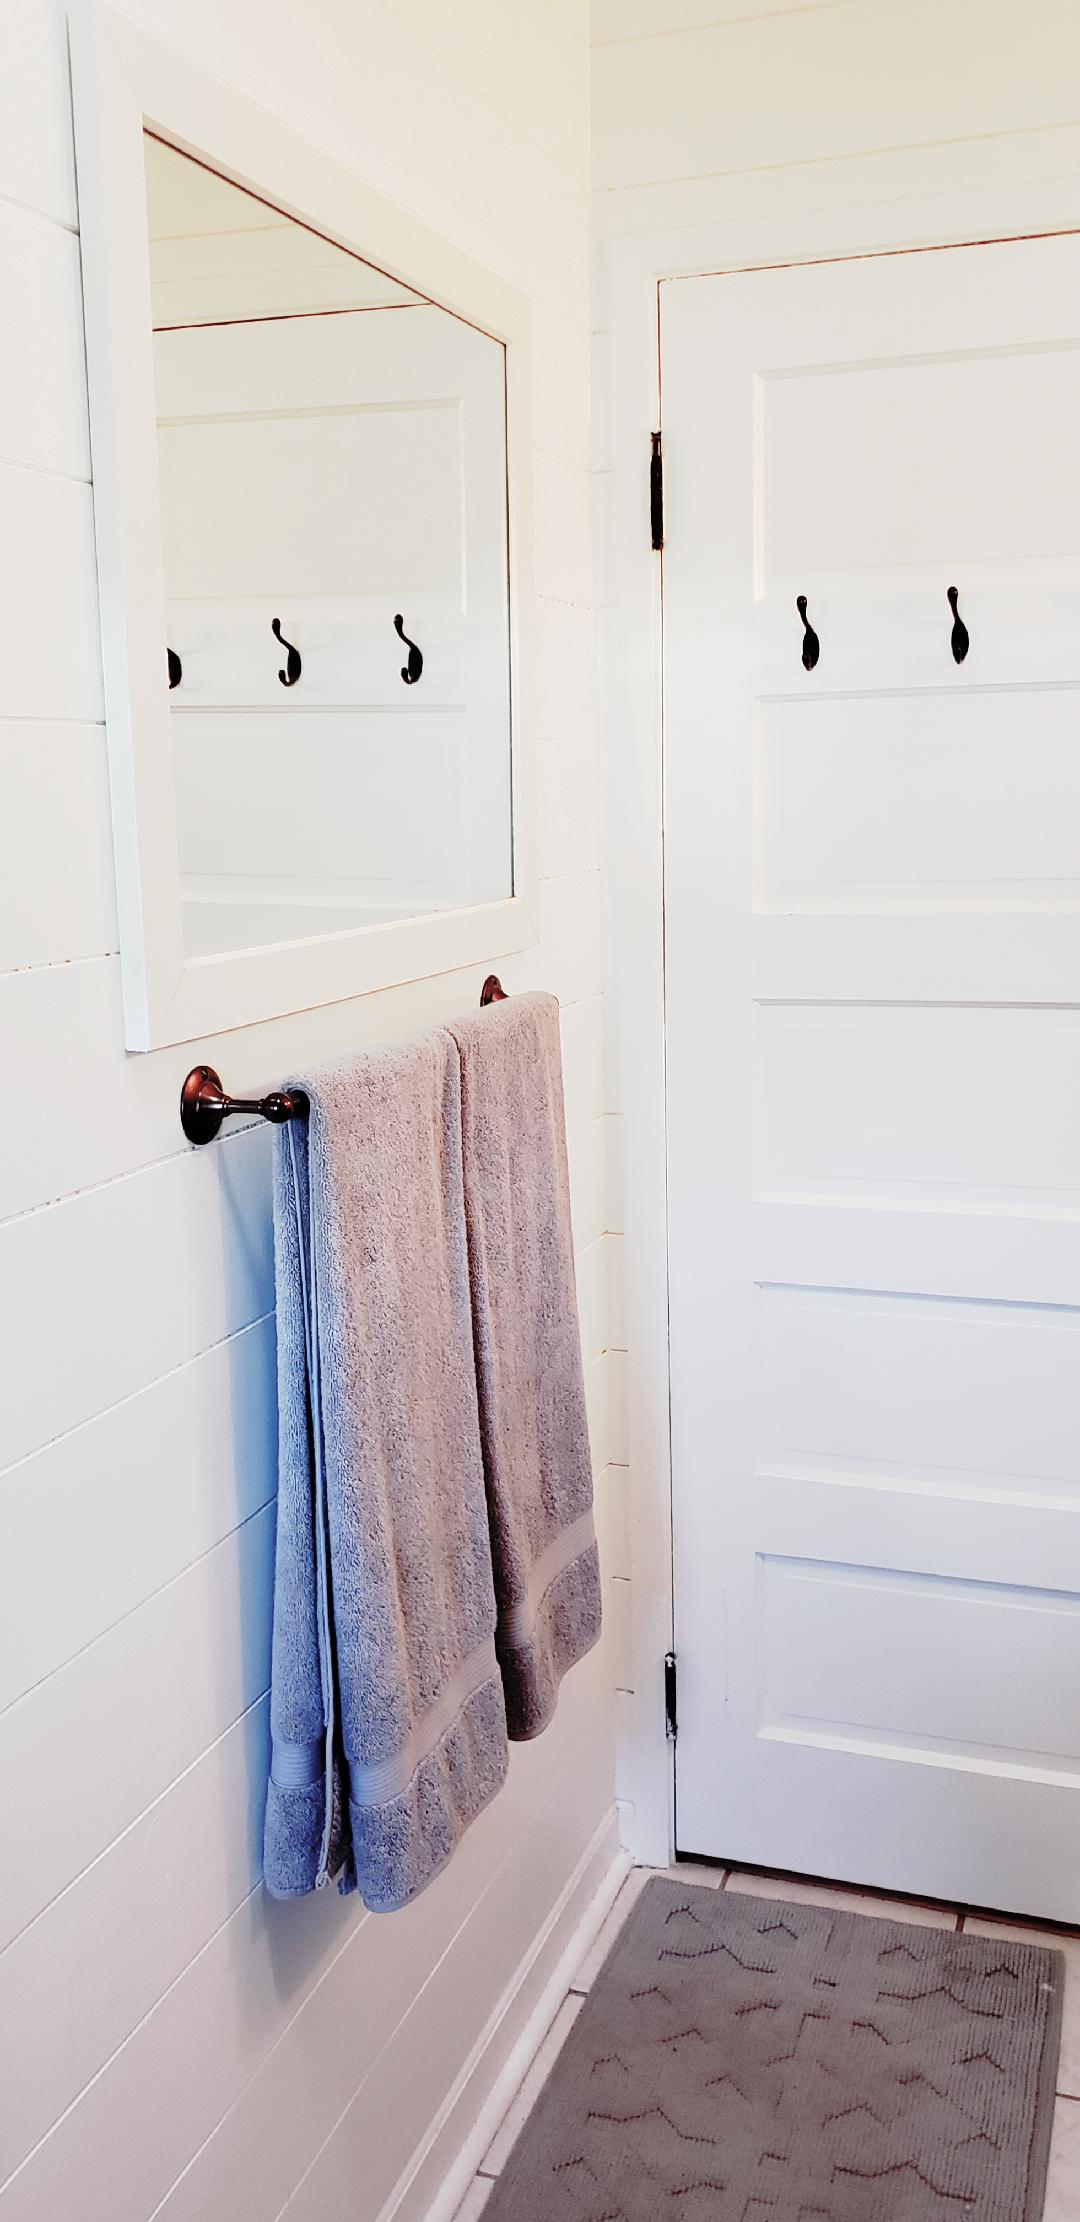
Well here it is! Our Farmhouse Bathroom! But it didn’t always look this way. Actually it has gone through a few transformations since we’ve moved in here.
Do you do renovations in stages too? We certainly do. If I finished everything at the same time (I would probably have to have a bigger budget) and I don’t know, I’d have to do it all over again before too long because I really do enjoy the process of renovating and decorating.
I like the before part, of course! Finding my inspiration, dreaming and planning of how I could capture that vision into what is do-able for our home and budget, then getting creative of how to transform it into reality! Woohoo! That is like the most fun part of it all and to tell you the truth, sometimes I don’t even break ground, so to speak, because I get lost in the dreaming and scheming way too often.
I’ve even created my own “dream book” (a binder full of magazine clippings of all of my visions for our home), I know, I know, this is before Pinterest. Then when I was ready, or hubby was ready, to put it into action, I knew exactly what I wanted.
Or even better, when I was out and about, if I saw something on clearance or at a thrift store that was perfect for my vision, I could snag it in preparation for the big reno day. And, that reno day finally came right before our son’s wedding last May.
Well, when our son Rodney and daughter-in-law Meredith announced that they wanted to have their wedding reception at our lil’ ol’ farm, I knew I wanted to give each room a small update to prepare for the big event and the arrival of many guests. As you can imagine, the budget for these updates would have to be frugal since, goodness, we did have a wedding to plan for. So that’s when I got creative.
Most often my updates involve paint because, painting is like the best bang for your buck. You can make such a big difference with painting a room or a piece of furniture and it’s so cheap to do! But just painting the wall wasn’t enough this time. This bathroom was so outdated and grungy looking and I couldn’t fix everything, so I thought let’s give it a wow factor to distract from some of the majors I could’t replace yet like the tub, and the floors.
So I decided to ship lap it! Yep, I decided and I did it, all by my lil’ ol’ self!
Aren’t you so proud of me? I know, right?! I sure was! But I’ll tell you all about how I did it in another post. Just wait, that’s another great story!
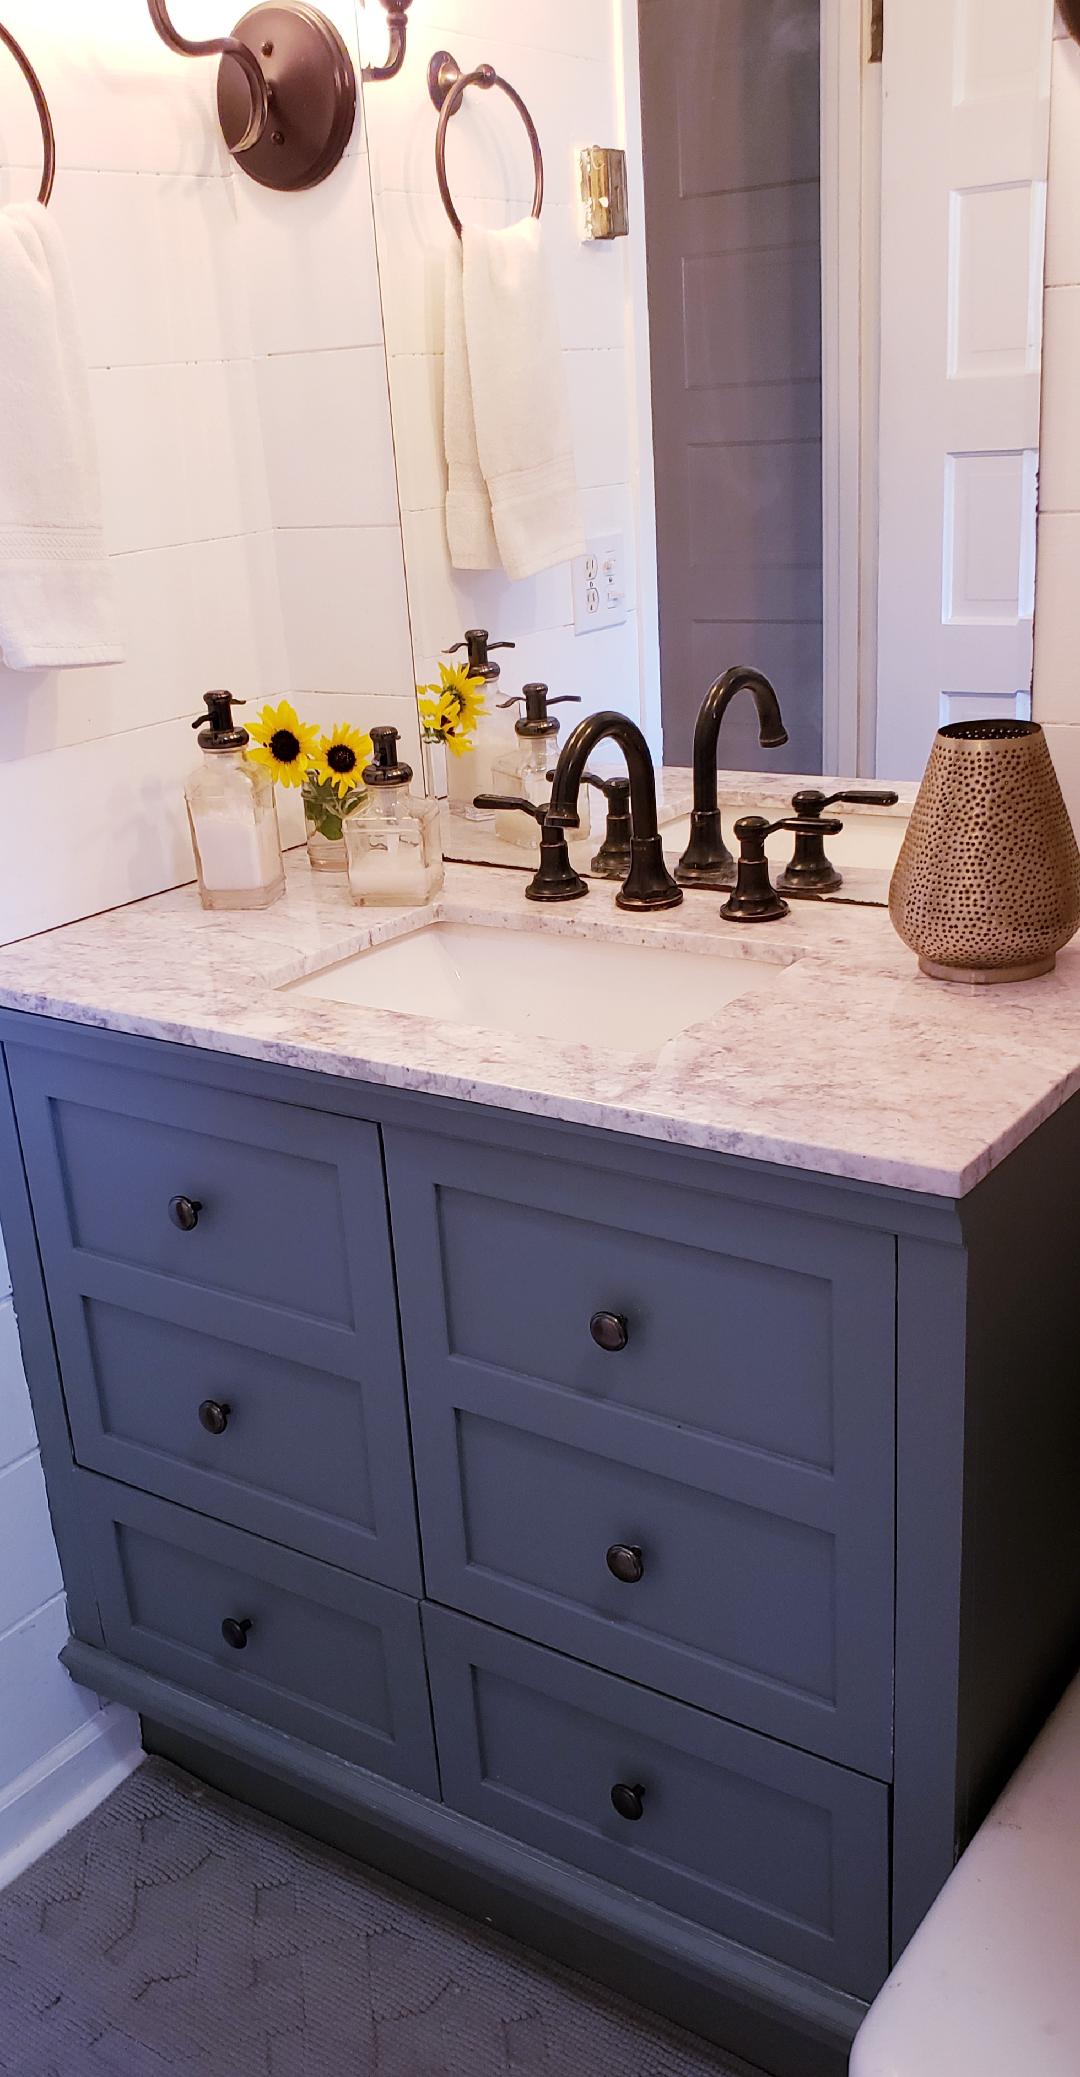
After the ship lap was all up and painted, we really needed a new vanity. The old one was falling apart and while I painted the dark and outdated wood white for an update, it still lacked style, and function. It is funny that this tiny farmhouse has only one bathroom and we raised two sons here. Then when they get married and move out, that’s when we remodel. Crazy!
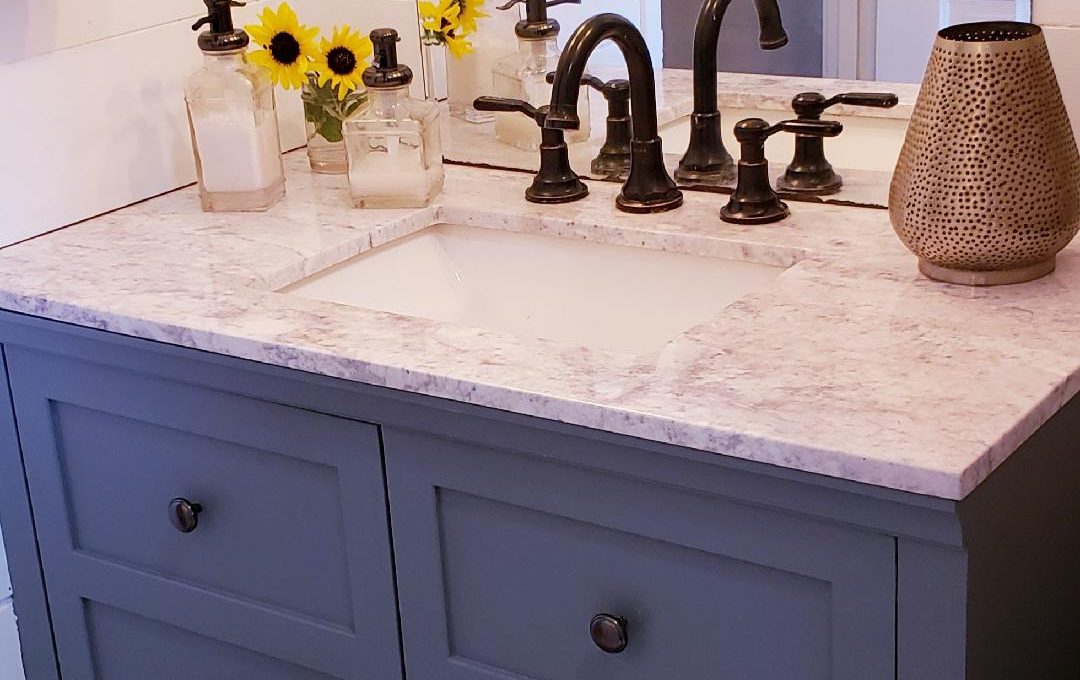
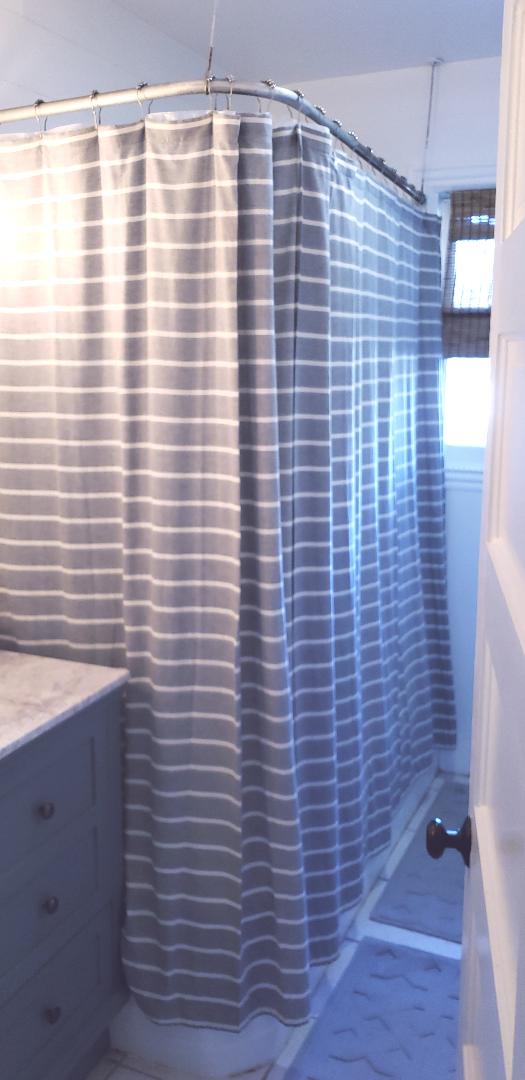
I liked this vanity I saw at Home Depot, so we brought it home and Rod (hubby) built a box frame to set it on so we could remove the four legs that it rested on because I did not want to crawl under there to dust and it allowed us to raise the height which I am loving. Then I painted it and the cabinets we left in this cool slate grey color. I was also able to find this really cute shower curtain at Target that really tied it all together.
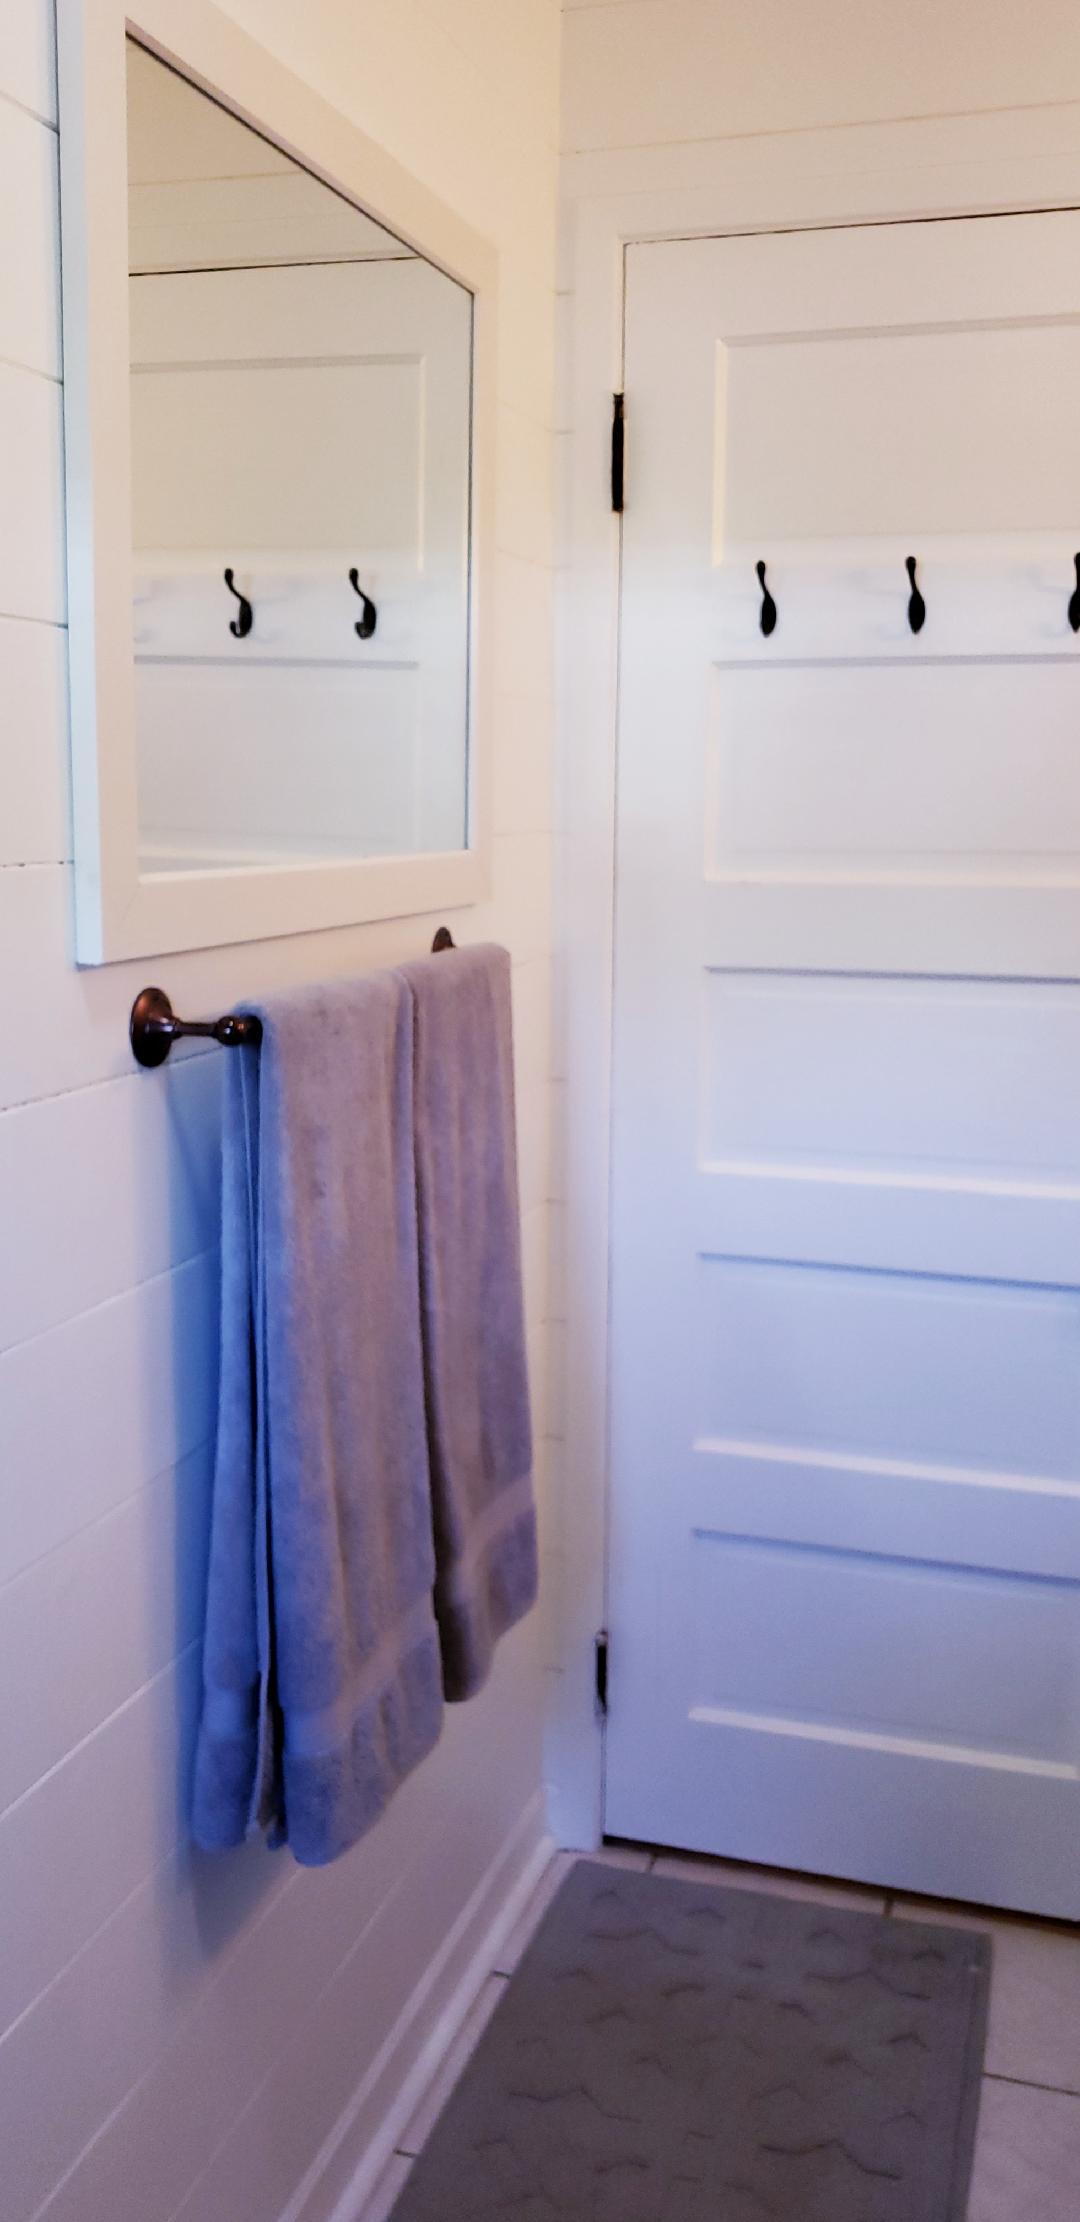
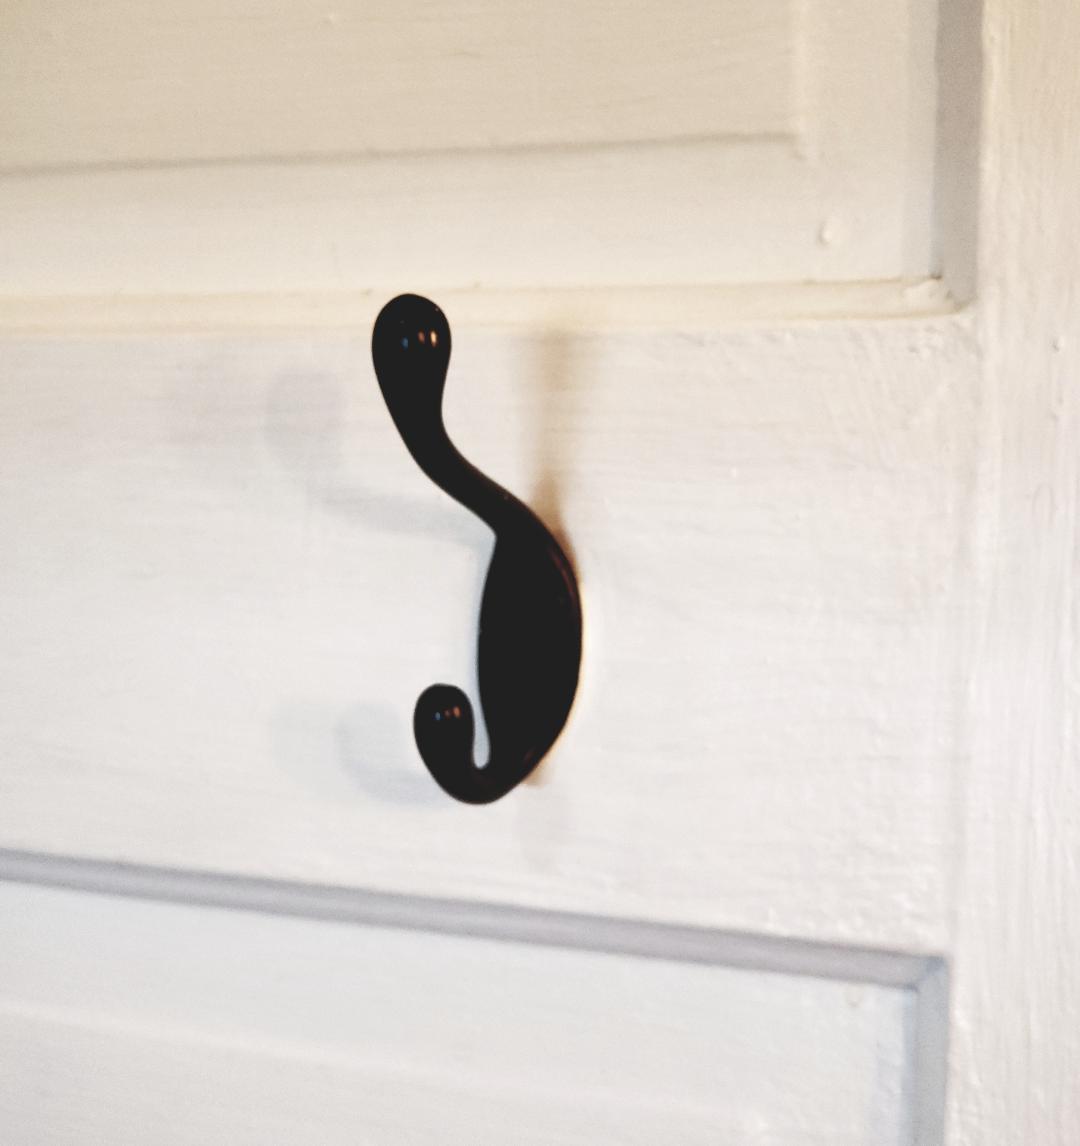
We added bronze accents everywhere like these hooks on our neat old fashioned door (that the whole house has), and with the toilet paper holder, waste basket, faucet, sconces, and towel holder we got at Target and Home Depot, everything looked really vintage which it should, I mean the house was built in 1912!
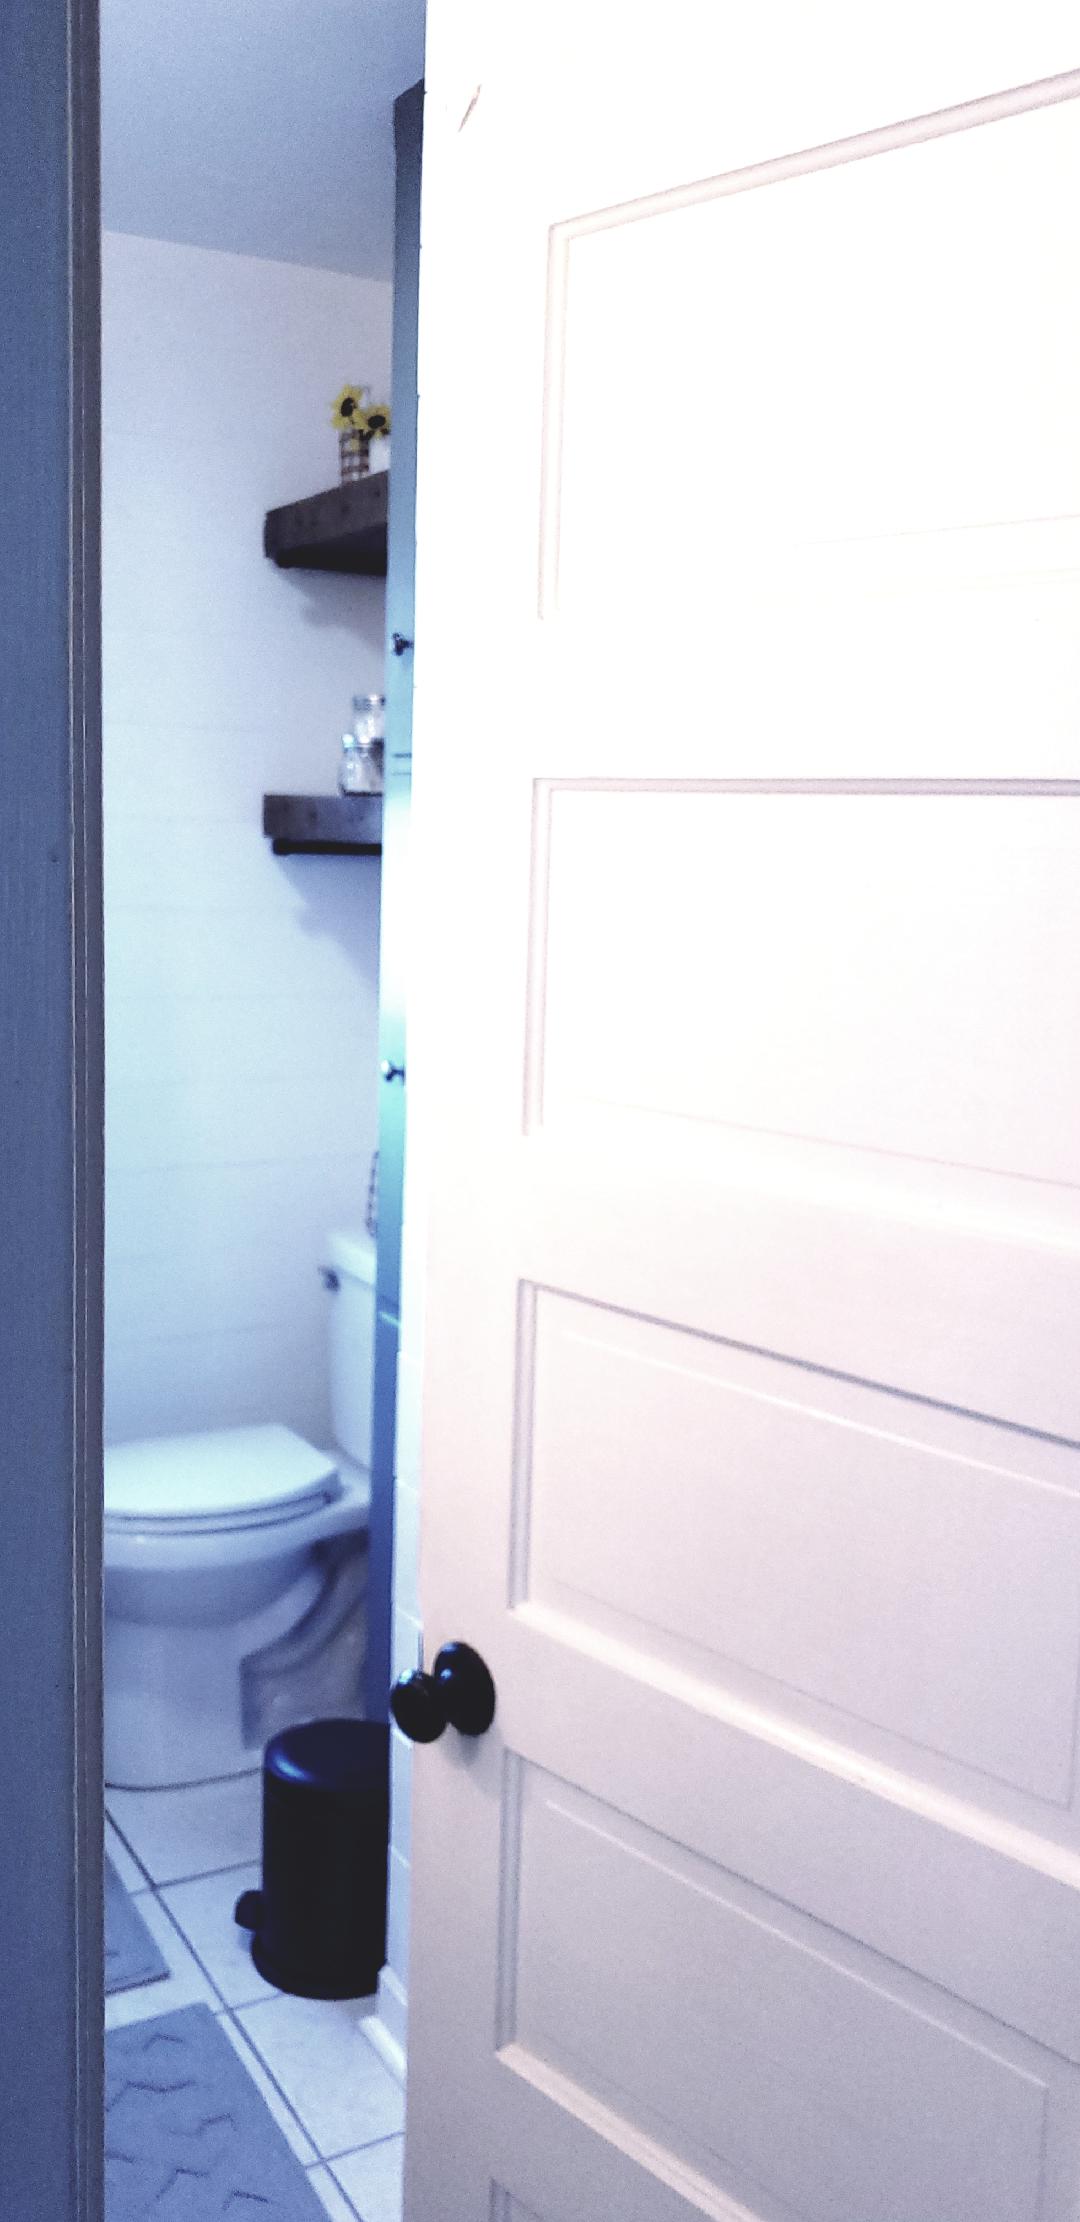
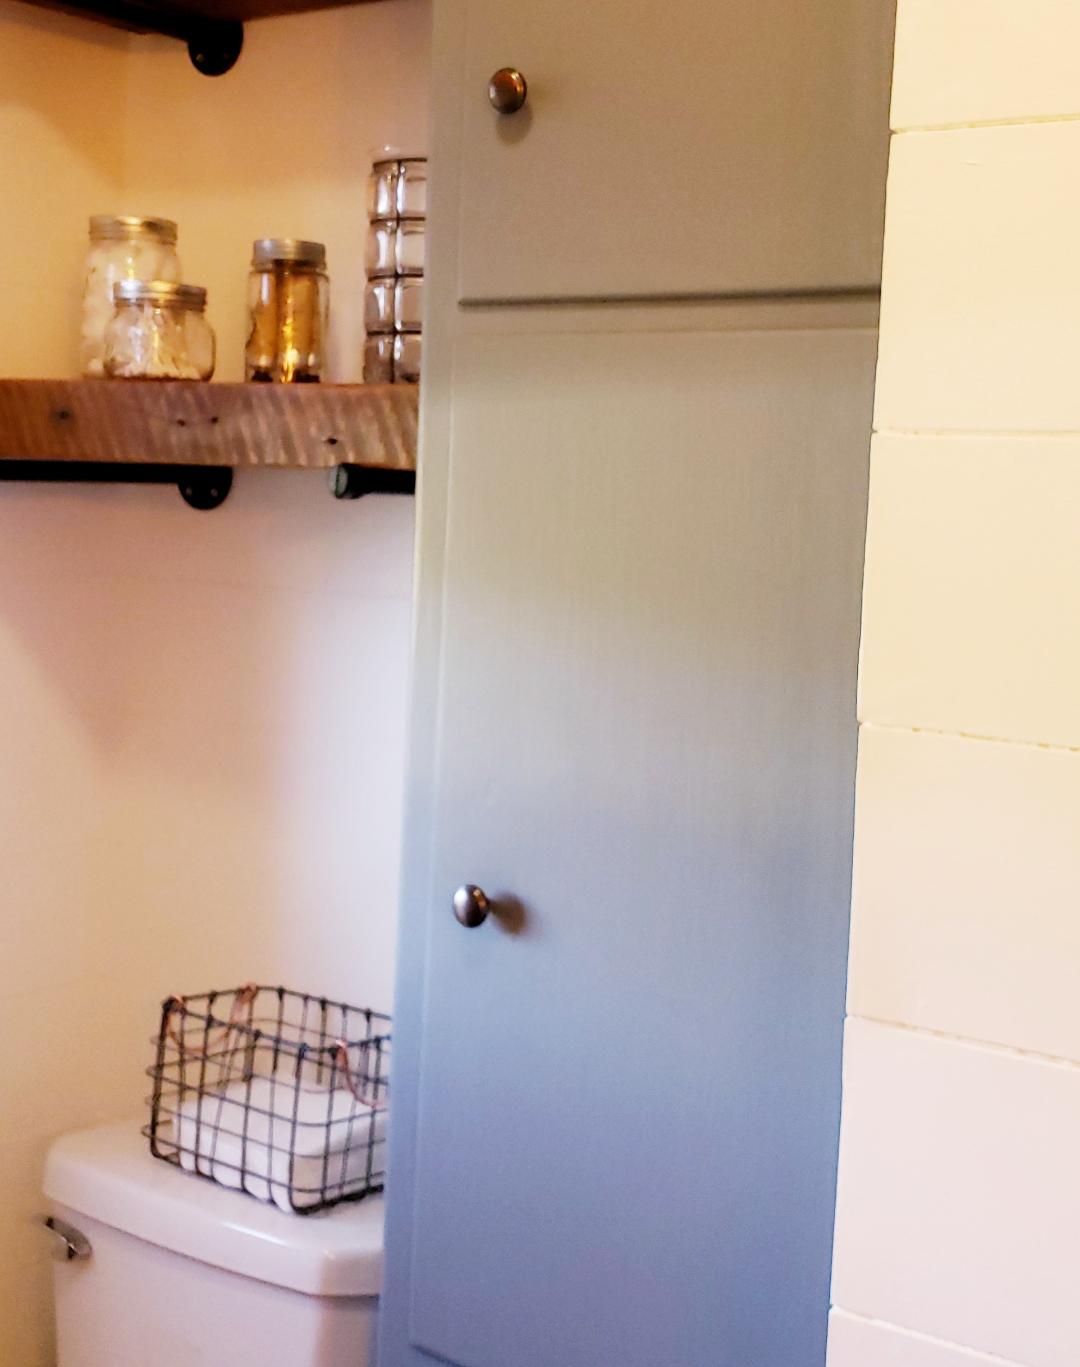
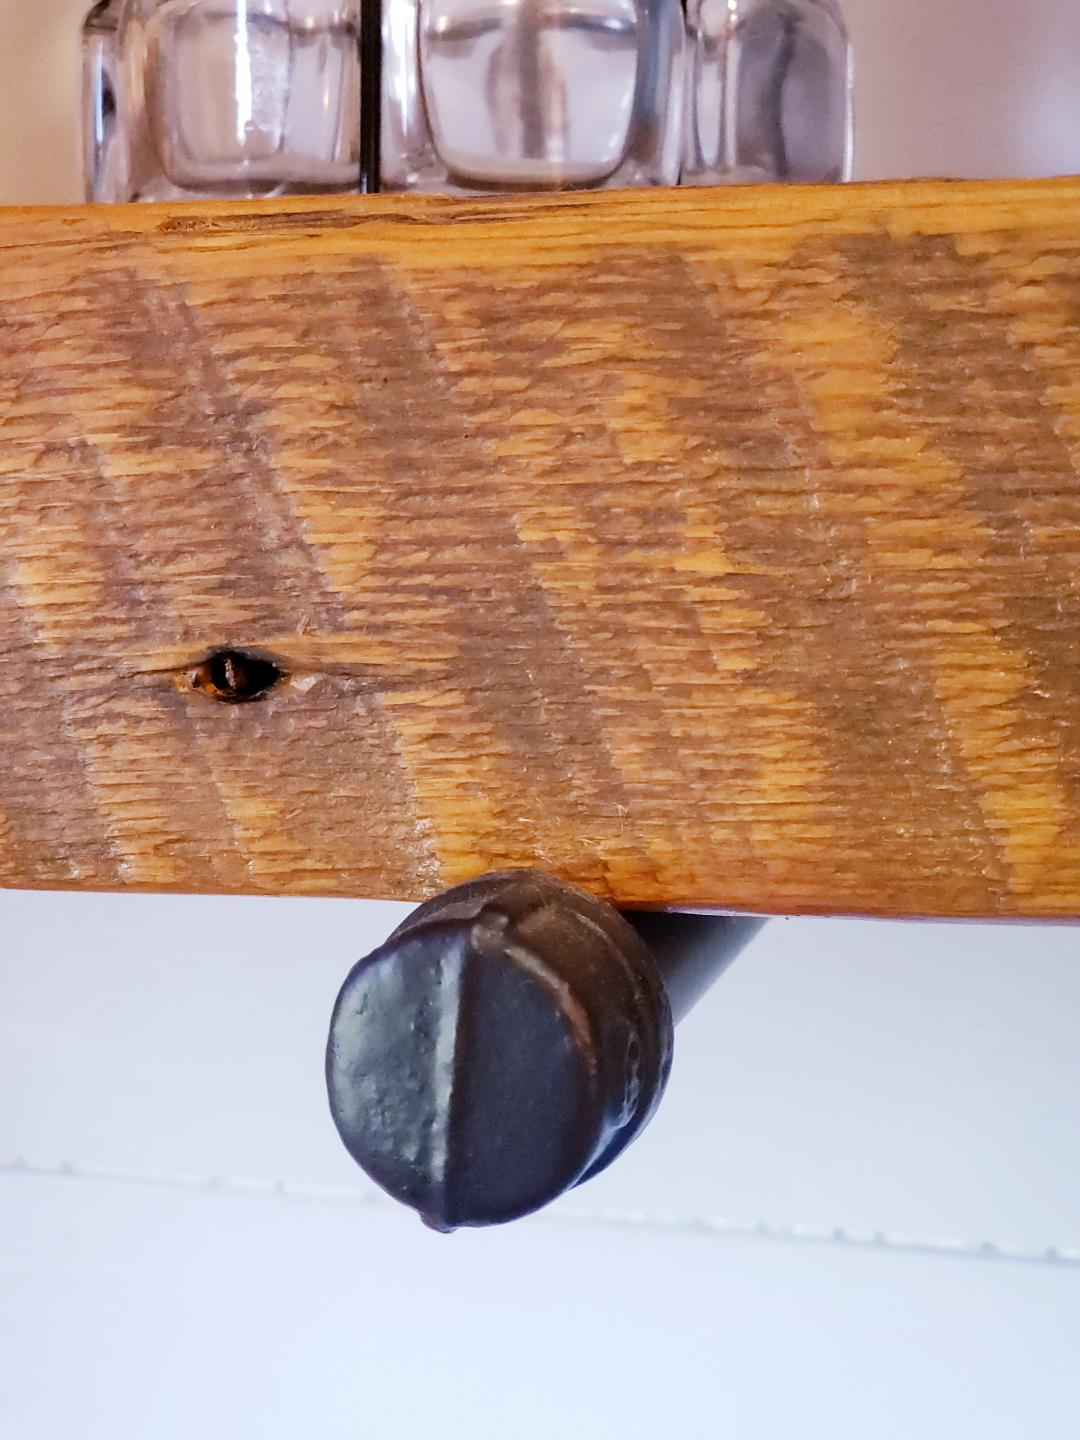
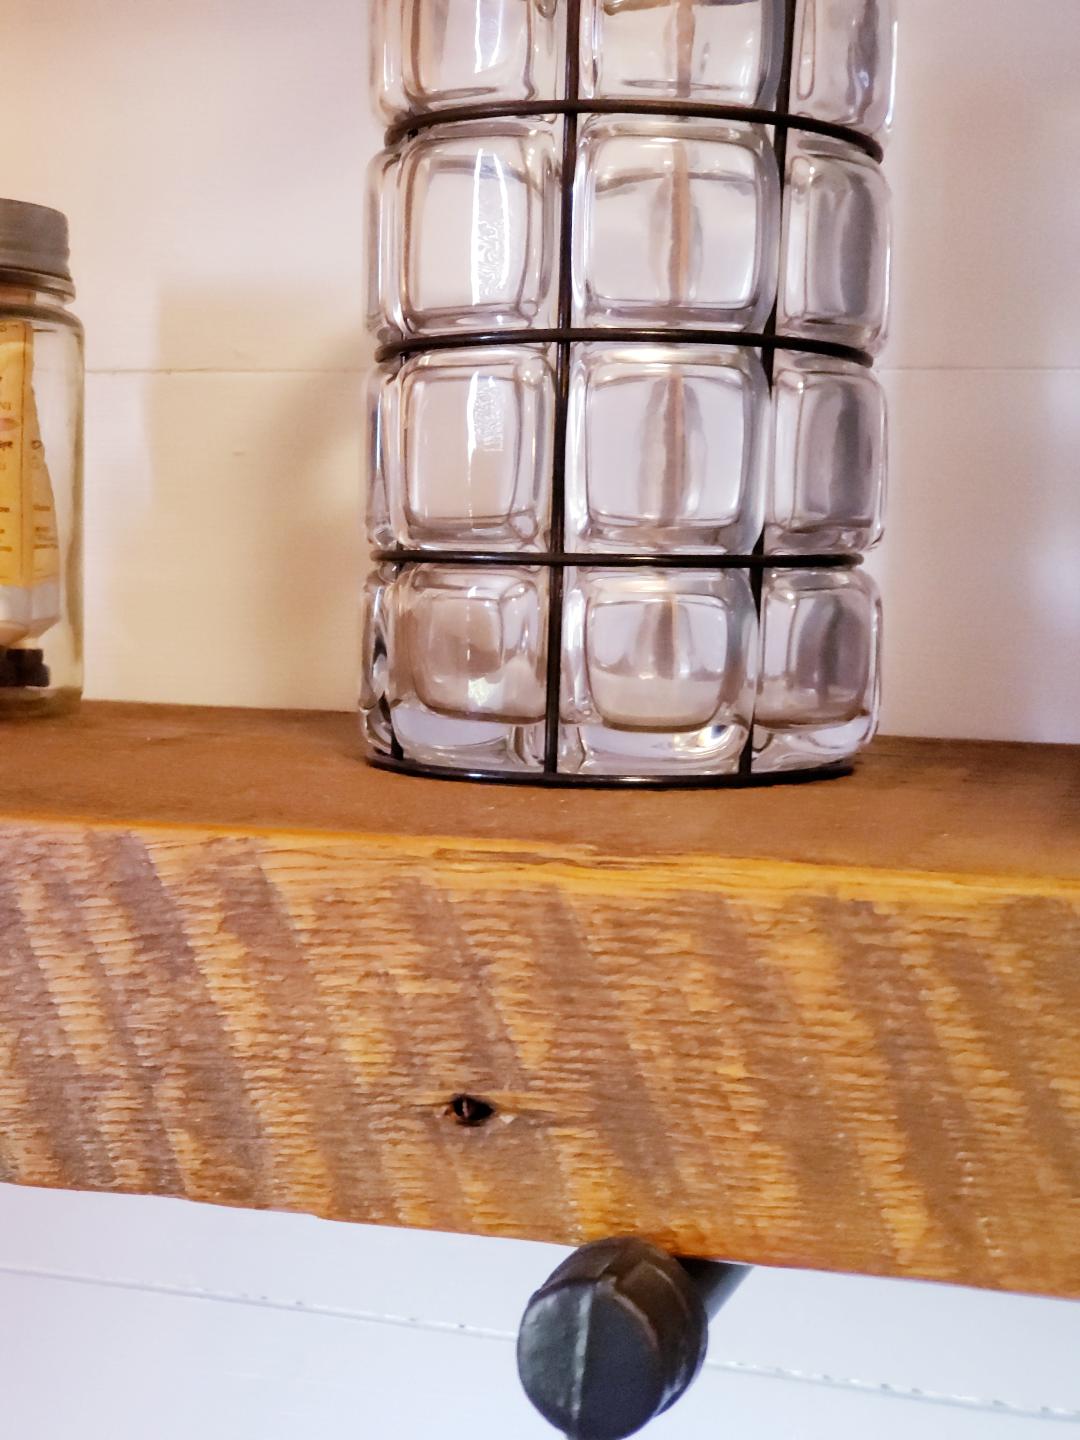
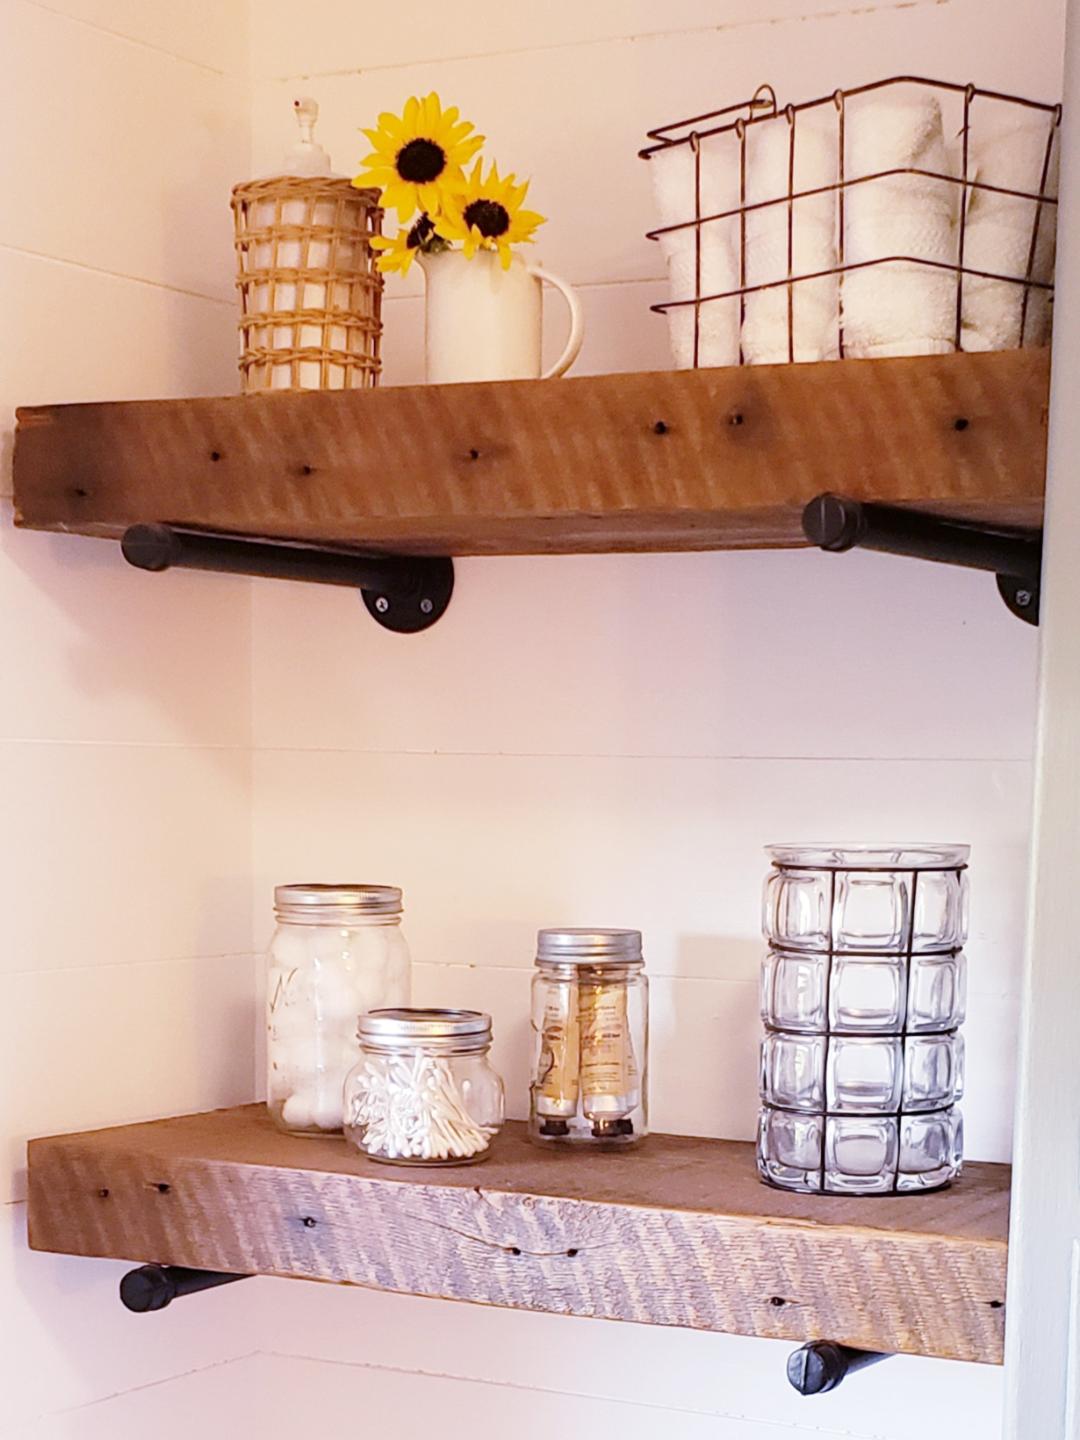
Aw, then these open shelves. We used these industrial pipes that we got from Home Depot and put them above the toilet to hold up these (not faux) but really heavy fabulous wooden shelves. We (and I do mean “he”) took these old redwood beams that was from the old windmill water tank house on the property, and cut them down to size to make them for just what we wanted.
Hubby just sanded them a little (to take some of the rough edges off) but wanted to leave the rustic look that they already had. Then he put a light coat of varathane on them to seal and protect.
Didn’t it turn out so cute?! I’m so pleased with it. It just has a fresh spa like feel because of the cool colors, yet the warmth of the wood and industrial touches make it cozy and a little modern farmhouse too!
I just goes to show you that with some ingenuity and creativity, even on a small budget you can create a beautiful space.
XO Jerri
